
KV5R’s Video Teleprompter Project
© 2013 by KV5R — Rev. Feb. 24, 2013.
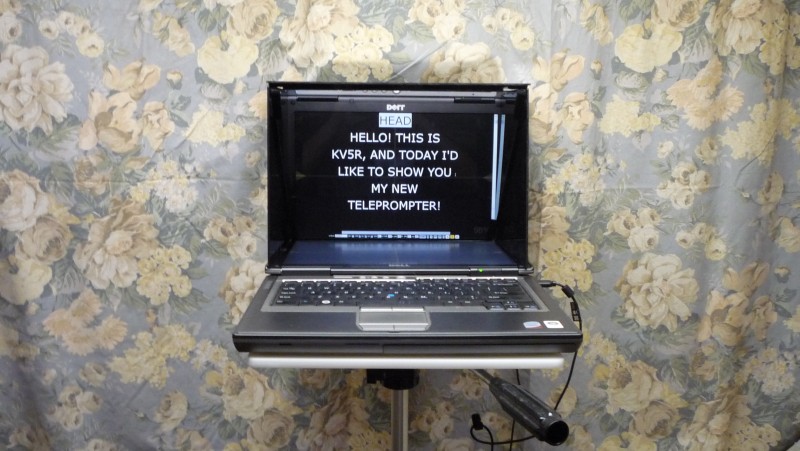
What is a Teleprompter, and How Does it Work?
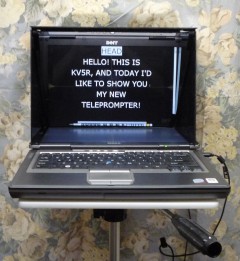
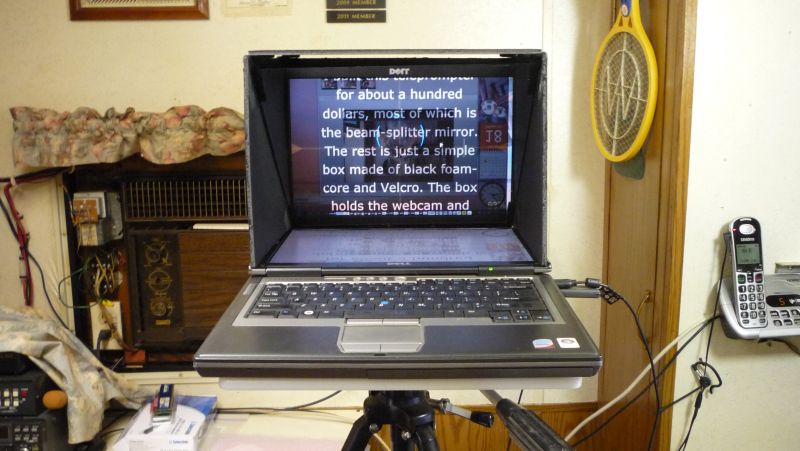
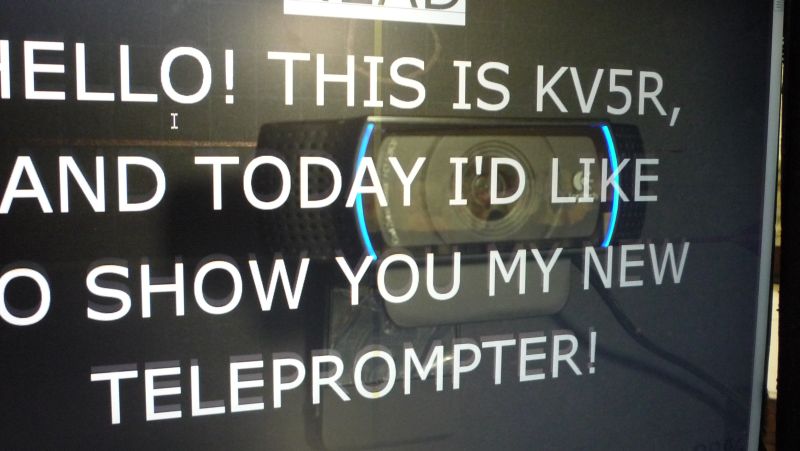
KV5R's HD Teleprompter
I was watching webcam videos (including some of mine) and became annoyed by people always looking at their monitor, and not at the camera. It’s very distracting! I had earlier made a bracket to hold my webcam in the center of the screen, but that approach is not optimal, so I finally decided to build a proper teleprompter.
A teleprompter is actually a very simple device: it uses a (so-called) one-way mirror to reflect scrolling text, while the camera shoots right through it. But is seems almost like magic when you can see the text so well, and the camera doesn’t see it at all! The secret is that it must be very dark on the camera side of the mirror, just like those dark observation rooms next to interrogation rooms with the mirror between them.
What’s not so simple is making that special mirror glass: an extremely thin layer of aluminum is applied, atom by atom, in an expensive industrial process called thin-film sputtering. The result is that teleprompters tend to be quite expensive, with the special glass and commercial TV monitor making up most of the cost. But with the proliferation of laptops and tablet computers, which many people already have, adding the special glass, and a simple frame to hold it in position, has made homemade teleprompters a reality. Indeed, I made one for just over $100, which when added to the existing used laptop and webcam, makes a fully-functional teleprompter that works just as well as the professional rigs that coast thousands of dollars.
And the best part is, you can read your script and look straight at the camera, thus improving your delivery by making eye-contact (as it were) with the viewers.
Another interesting development is that the top-end web-cams now support full HD video, with hardware compression in the camera, and they will take very nice HD video indeed. Not as capable or flexible as a $25,000 pro HD camera, to be sure, but actually quite excellent for the $100 home user. In other words, we’ve never had it so good, when it comes to video. But making better video is about more than just snazzy hardware. It takes a lot of study and practice! And the more you can do like the pros do it, the better it will be. One of these “pro-ish” things is learning to both write, and read, a script, and for that, you need a teleprompter. There’s just no way around it.
Things to not try…
When I started looking up Youtube videos about homemade teleprompters, I came across several that were very cheap and looked pretty ineffective; and several others that looked effective but quite expensive. The first question is the mirror: to buy the “real” stuff, at nearly $100 per square foot, or will something else work almost as well, at much lower cost? Well, no…
Some people just use regular window glass. It works, but since both sides are equally reflective from both sides, it makes a double-image that’s sure to make you rub your eyes a lot.
What about something transparent, reflective, and very thin, like Saran wrap tightly stretched on a frame? That might work, but it would be very delicate, and any wrinkle would surely distort the video.
I researched window films for two months. Most of them are tinted, being designed to block light and UV, and though reflective are not suitable to shooting video through. I did find one window film with the right specs—70% visible light transmittance (VLT) and 20% visible light reflectance (VLR)—called Century Nova 70, but alas, it’s a commercial architectural product that’s only sold through dealers, and only to professional installers. I contacted three of them for a sample, and could not even get a response.
It may also be possible to sorta make your own thin-film aluminized glass, without the expensive sputtering process. I’ve made colloidal silver before, and the inside of the glass jar took on a bit of an iridescent sheen, but the trouble with electroplating glass is that takes a long time, and also that it oxidizes and turns dark, as unprotected silver always will. Just like good ol’ photo film.
So in the final analysis, if you want a real teleprompter, just get real teleprompter glass! The rest is easy.
Photos and Notes
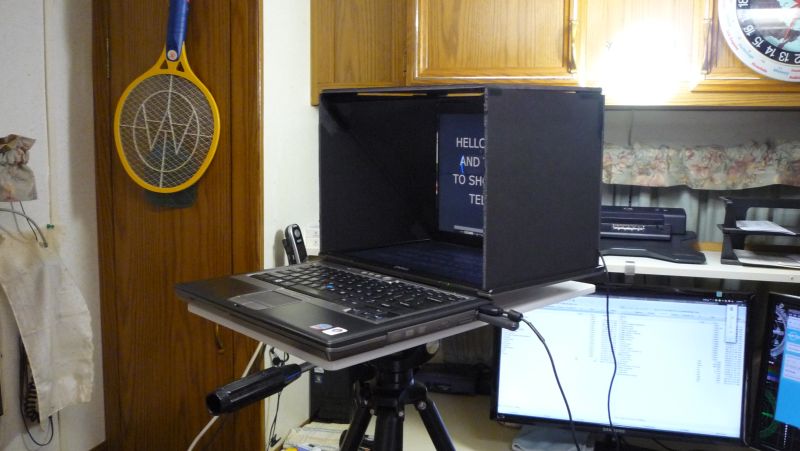
The Tripod Table
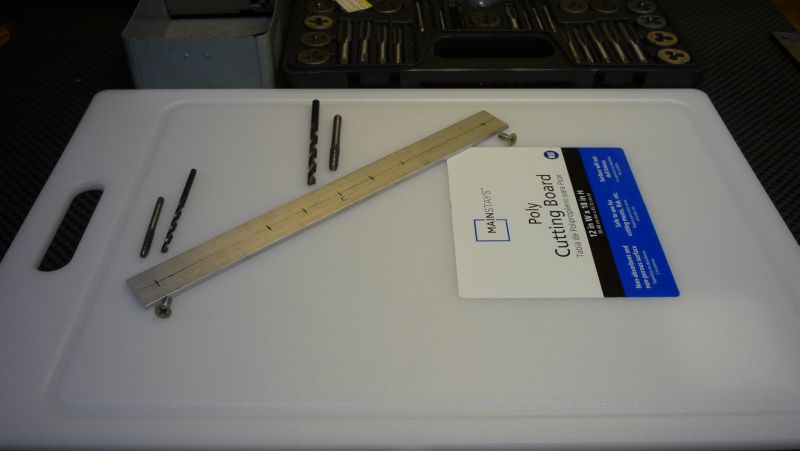
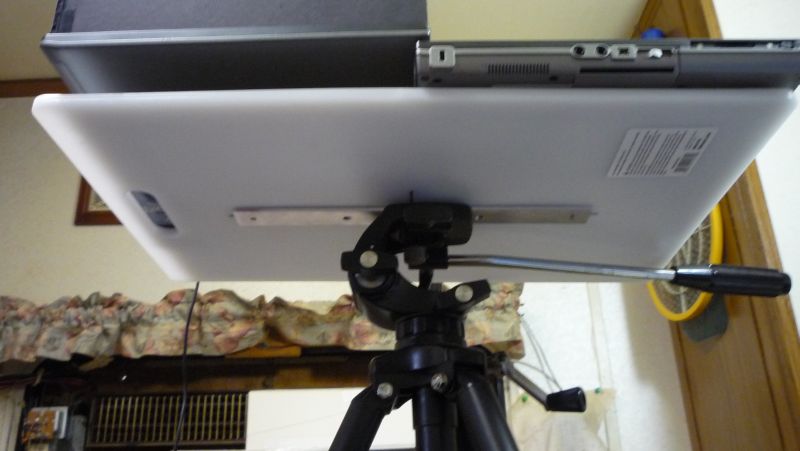
12 × 18 poly cutting board and aluminum flat-bar mount

Drilling the 5⁄32 and 7⁄32 holes for tapping
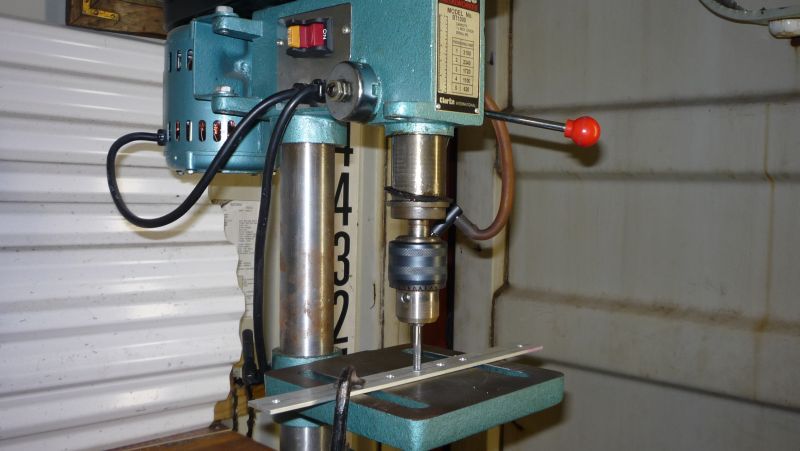
Tapping 10-24 and ¼-20 threads by hand on drill press. Note: release the lift spring,
remove the drive belt, and turn the pulley by hand.
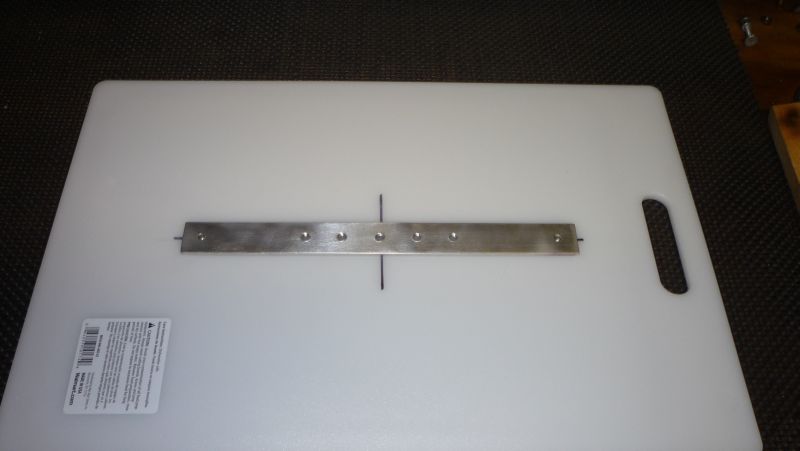
Flat-bar mounted on poly cutting board using 10-24 flat-head counter-sunk screws
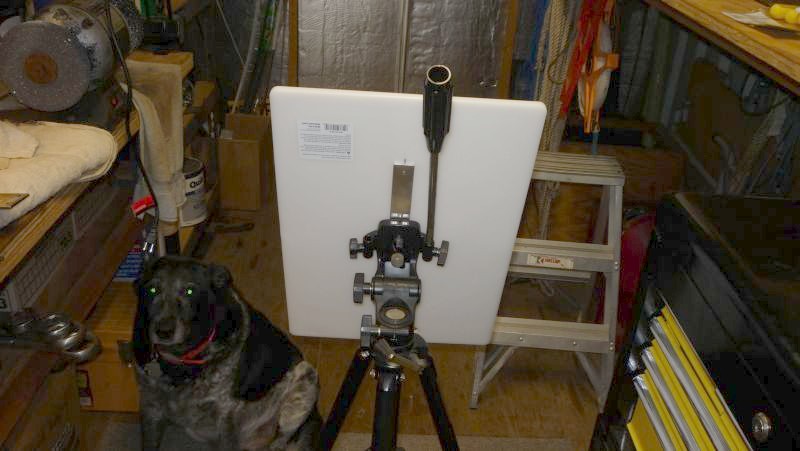
Mounted on a fairly heavy-duty camera tripod
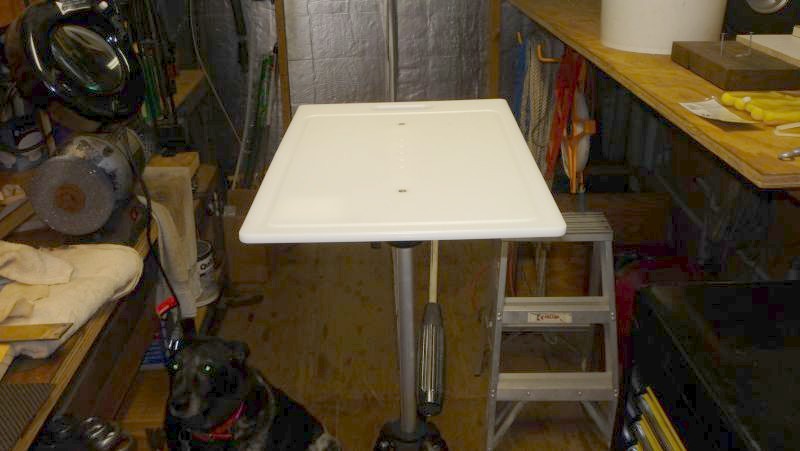
Top view of tripod platform
Version 1: Foam-core Frame
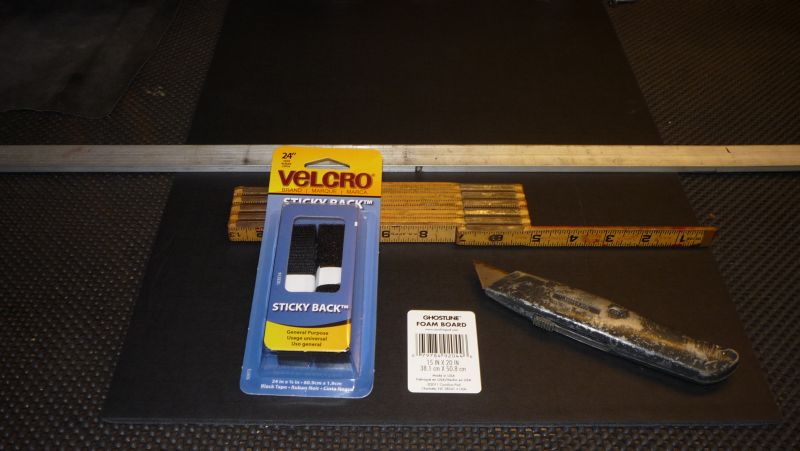
Parts and Tools
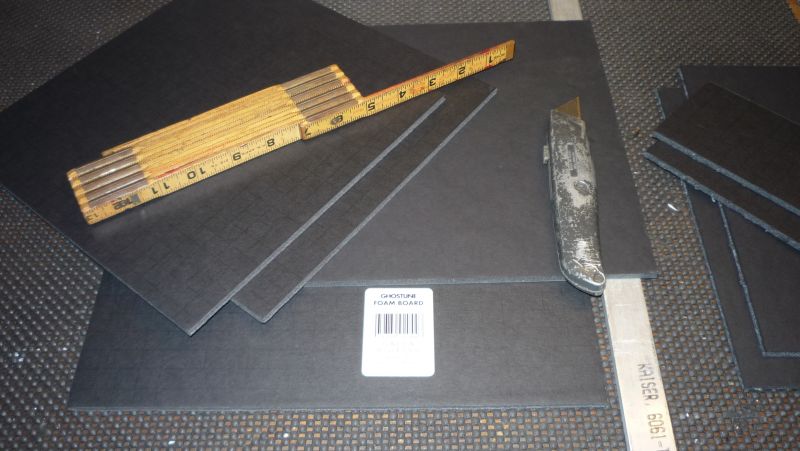
Two 9 × 9 sides, top and back are 9 × 12½
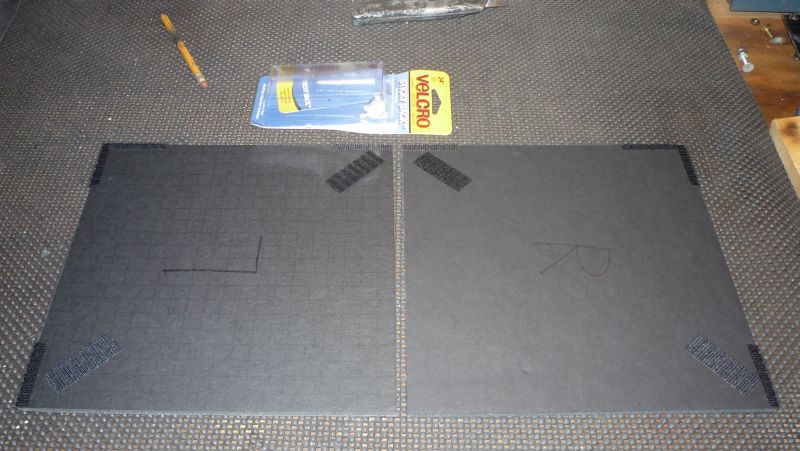
Six pieces of Velcro hooks; two on top and rear edges, and two diagonally on inside of both sides.
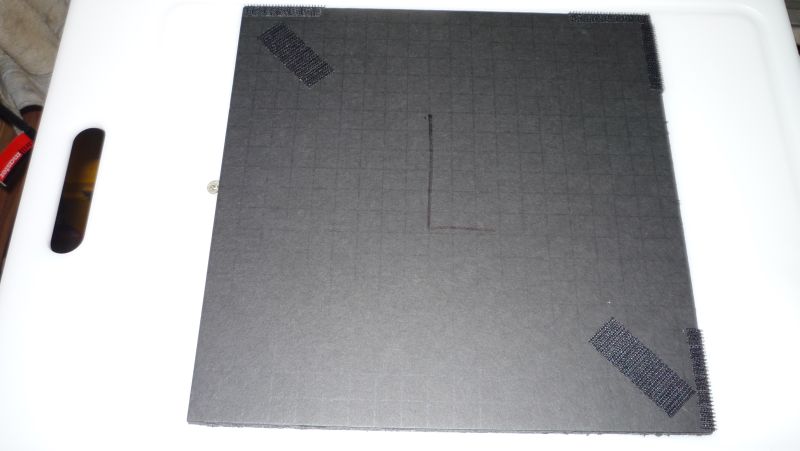
Left side close-up (camera angle makes it look rectangular, but it’s actually 9″ square).
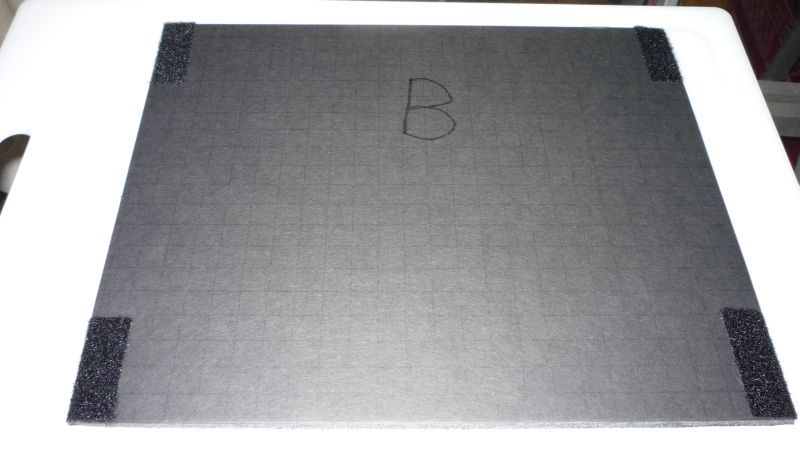
Back close-up (top is same; 9 × 12½)
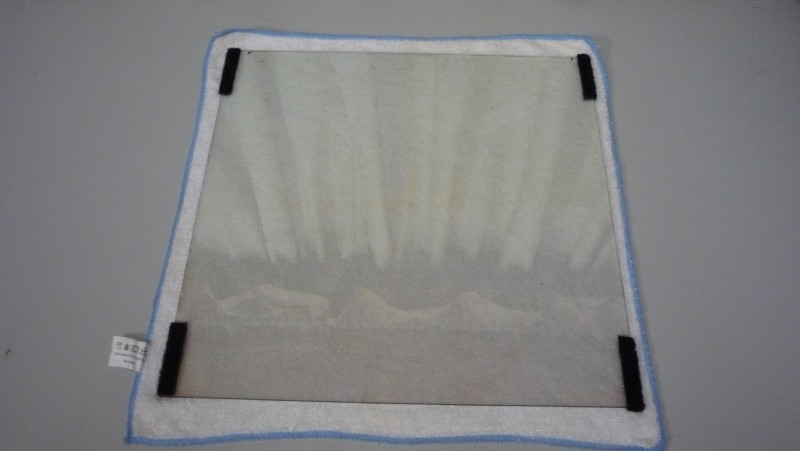
Mirror close-up; Velcro loop pieces on two edges.
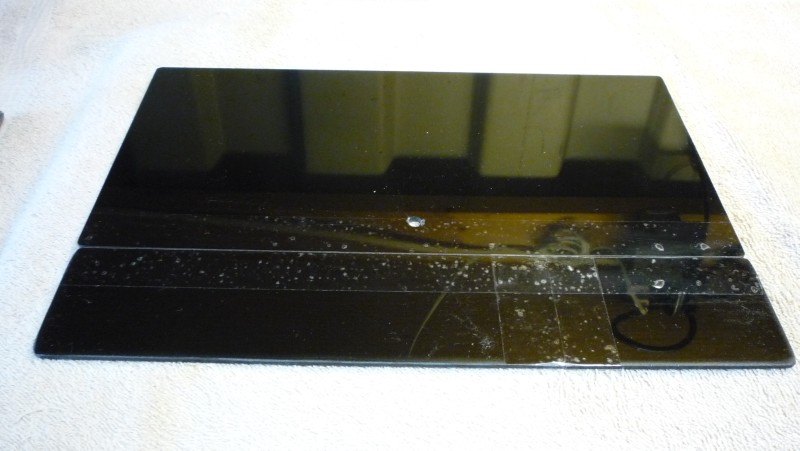
This is a 12 × 12 × 1⁄8th″ professional 70⁄30 teleprompter mirror,
from telepromptermirrors.com. $70 + ~$15 U.S. shipping.
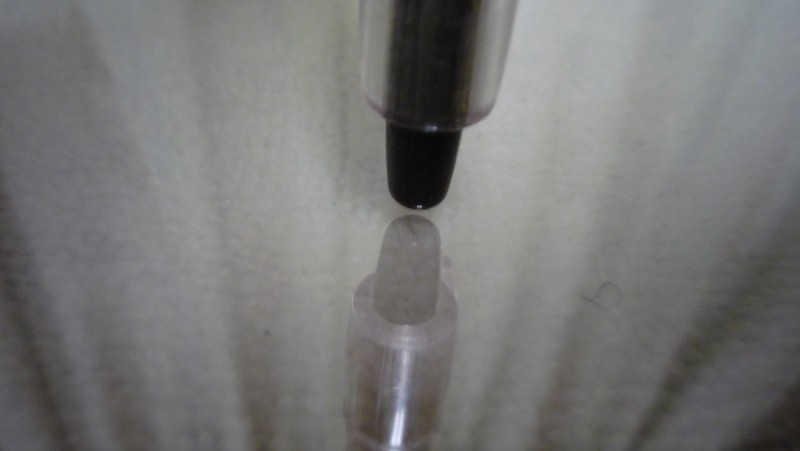
Finding the front: This is the rear side—note the gap!
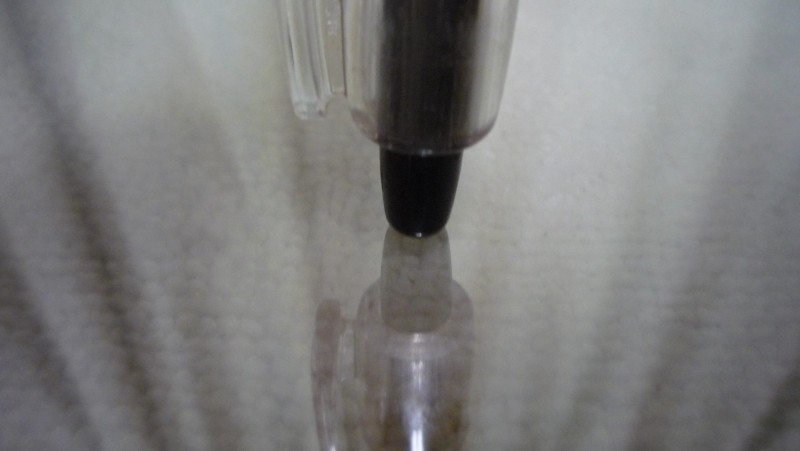
This is the front (reflective) side—no gap!
Mark the front side to make reassembly easy.
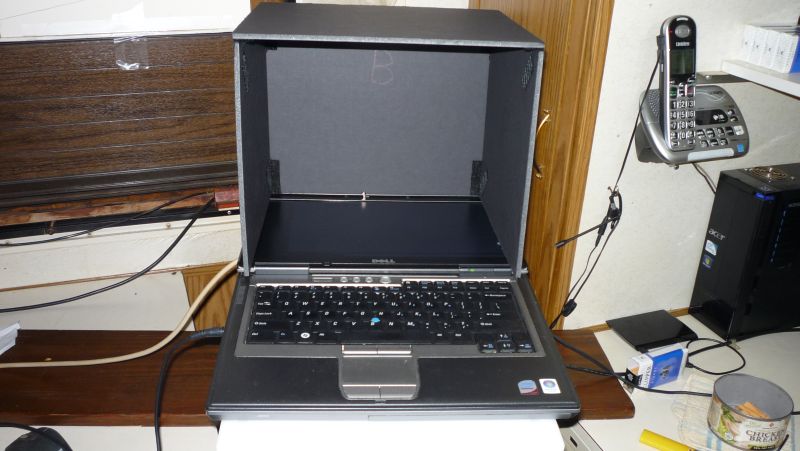
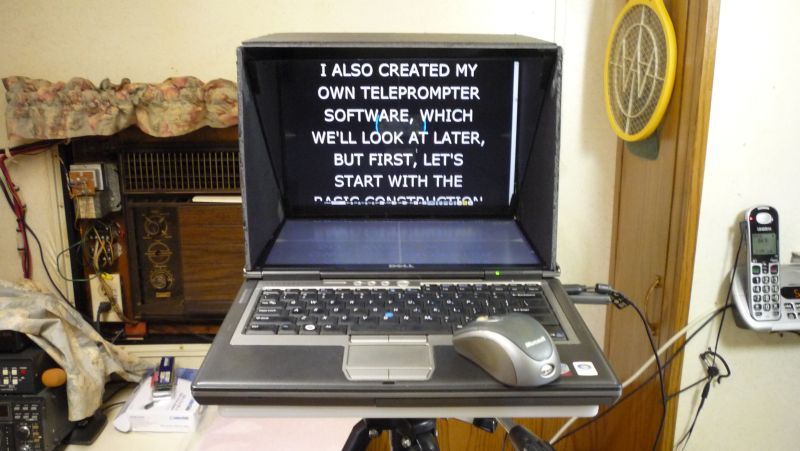
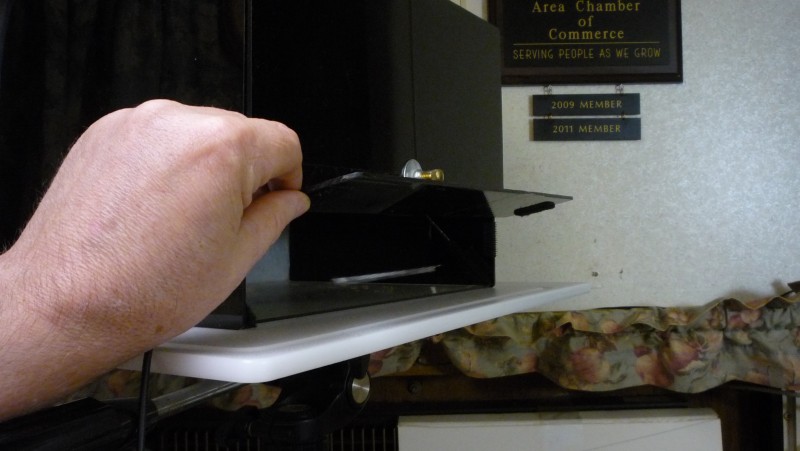
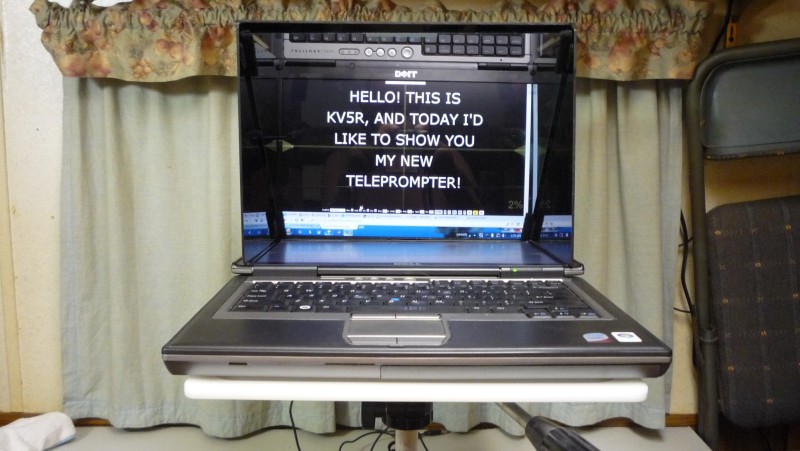
Test-fit on laptop screen. This is a Dell D630 with a 14″ diagonal screen.
The visible area is 7½ × 12, which is perfect for a 12 × 12 mirror at a 45° angle (12×.707=8.48″).
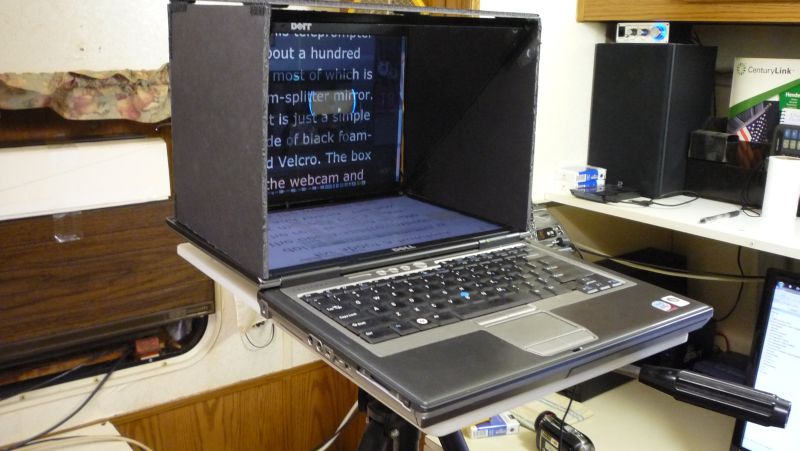
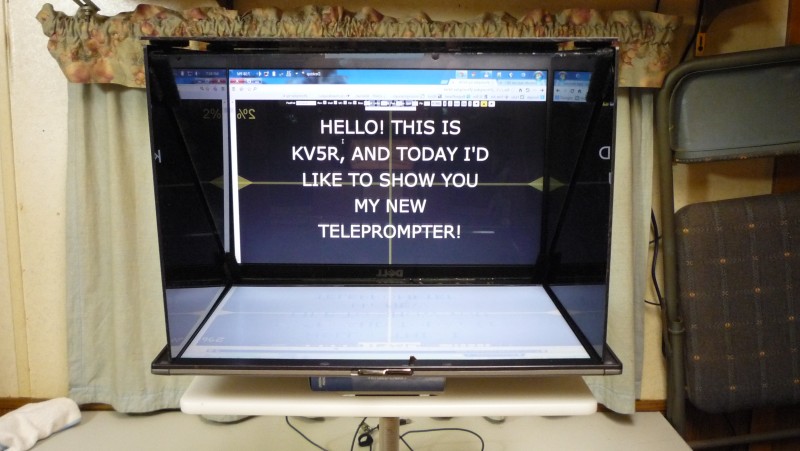
Mirror installed! IT WORKS! Note that I have reduced the prompter
window’s opacity here, so can see the camera preview window behind the prompter text.
The foam-core is plenty strong enough to safely hold that expensive piece of glass,
but I’m just not happy with the overall appearance—it looks too much like a cardboard box…
The 12 × 18 cutting board is almost the perfect size to hold the fully-opened laptop.
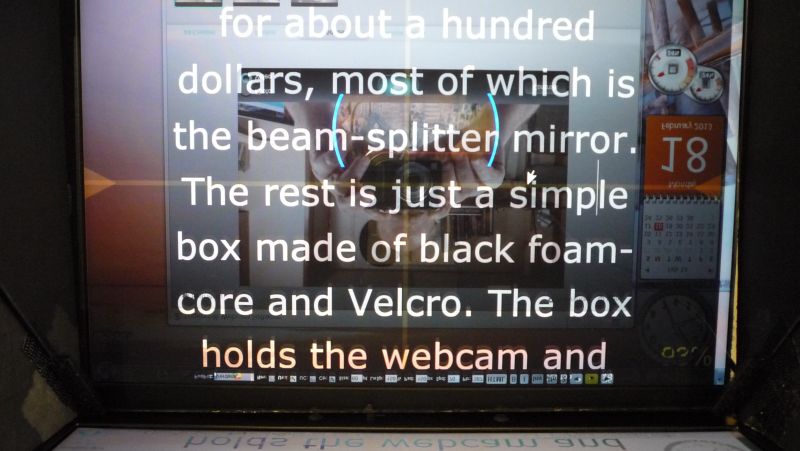
Close-up of mirror image
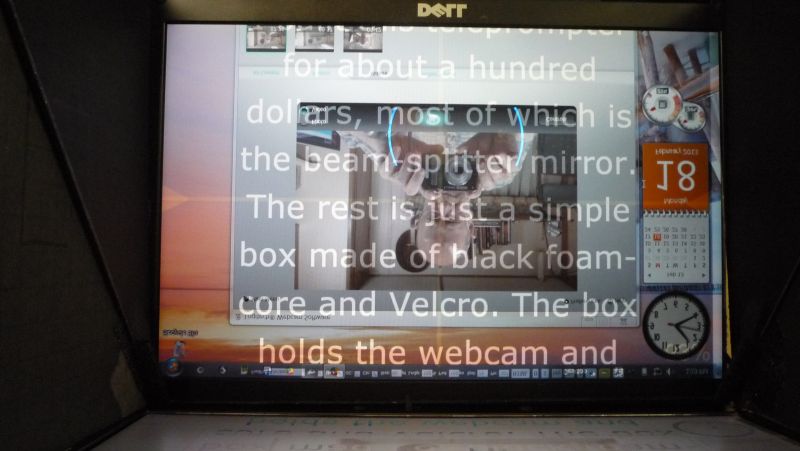
Too much transparency! I’m using an AutoHotKey script
called opacity.ahk to control the window opacity.
Close-up with no opacity.
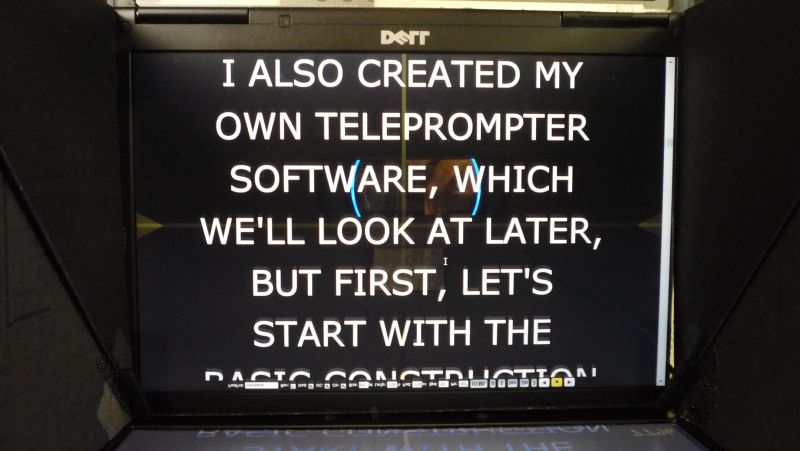
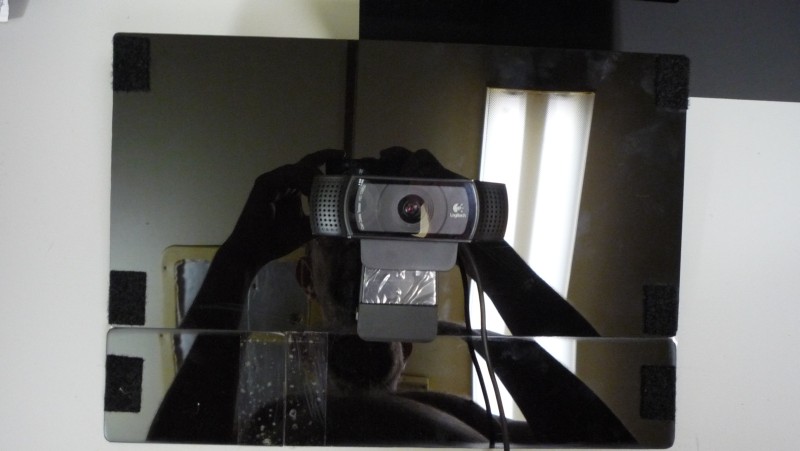
The blue parenthesis are the LEDs on the camera, and
you can also see a little reflection from the camera.

If you shine a flashlight, you can see the camera through the
mirror—remember, it’s 70% transparent.
Simple camera mount. My webcam has tripod threads, but it would almost as easy to
mount one that doesn’t, using Velcro inside the back.
With a lot of light, you can see the camera, but the text is still perfectly readable.

So there ya have it!
Version 1.
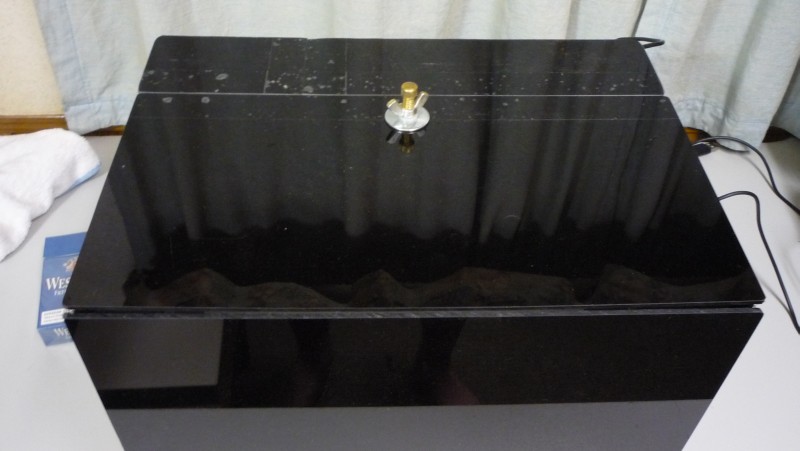
Version 2: Acrylic Frame
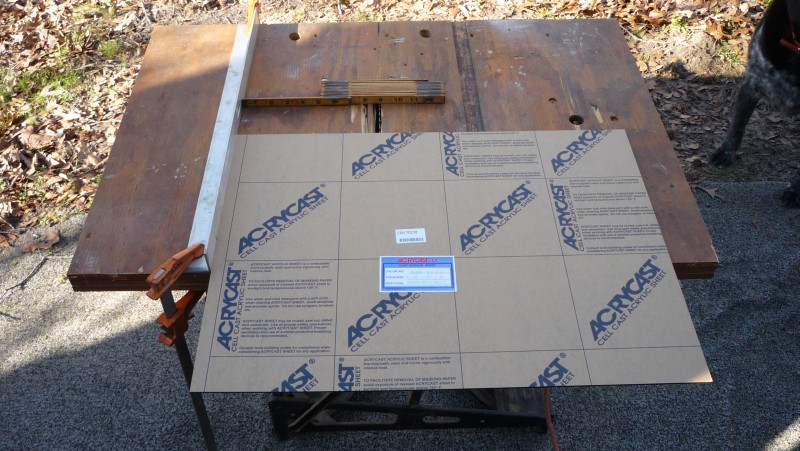
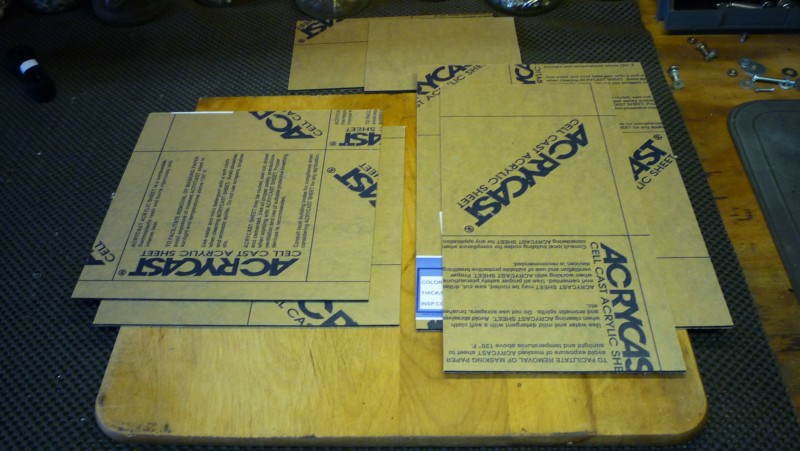
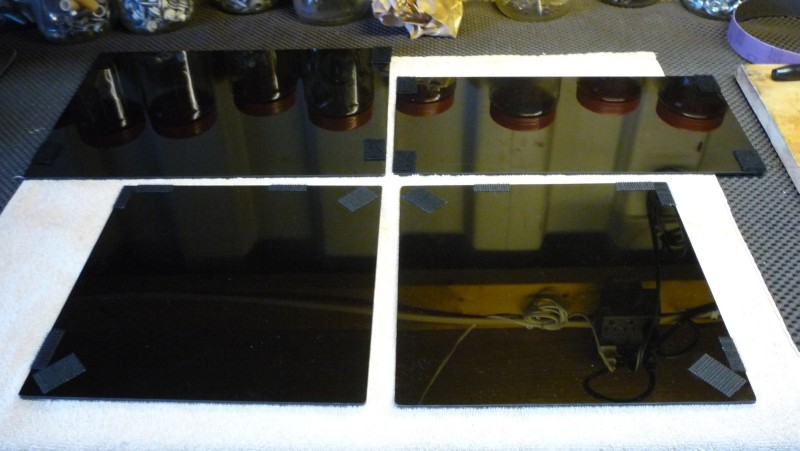
18 × 24 × 1⁄8th″ black acrylic, about $12 + $12 shipping, from eStreetPlastics.com.

DIY table-saw…
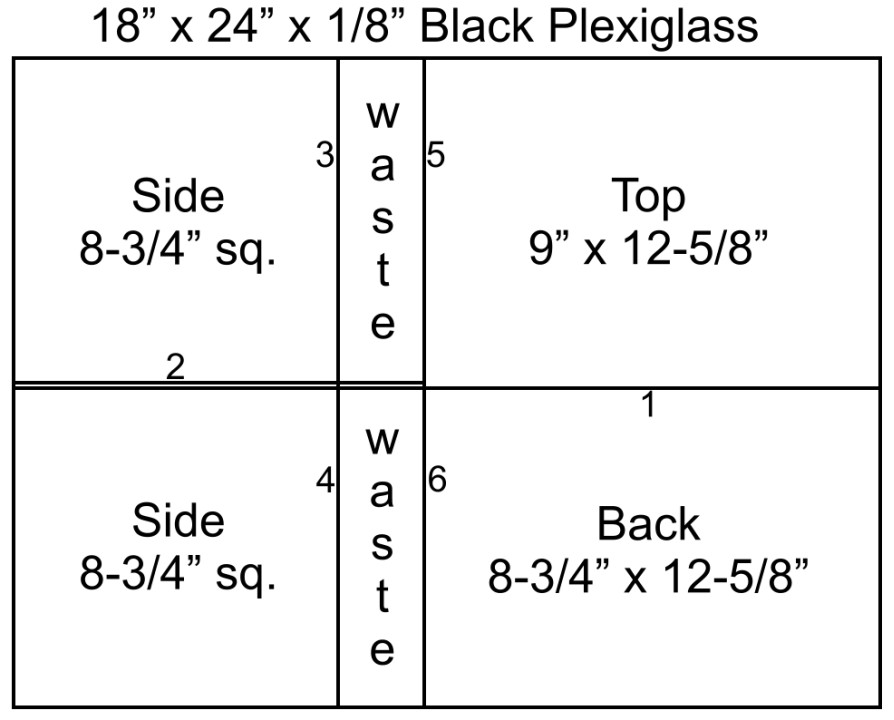
I made a proper layout sheet after making the second cut the wrong way.
Note the cut-line order numbers…
The two sides are 8¾ square; the top and back were supposed to be
8¾ × 12-5⁄8, but my wrong-direction cut made the back 2½ too narrow.
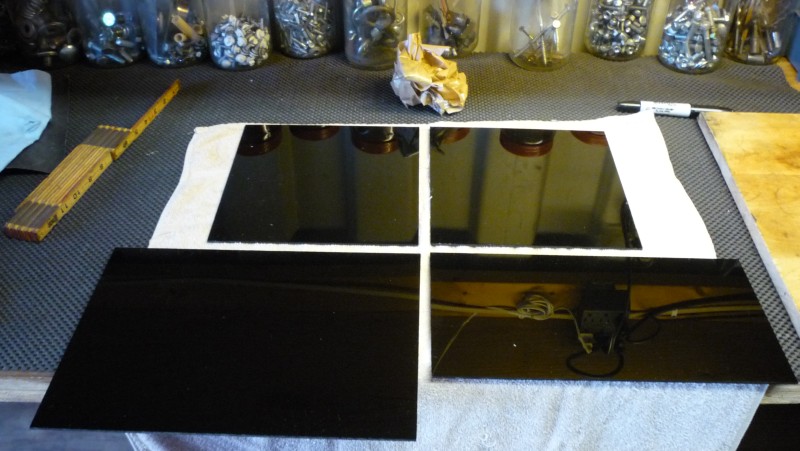
Removing the paper
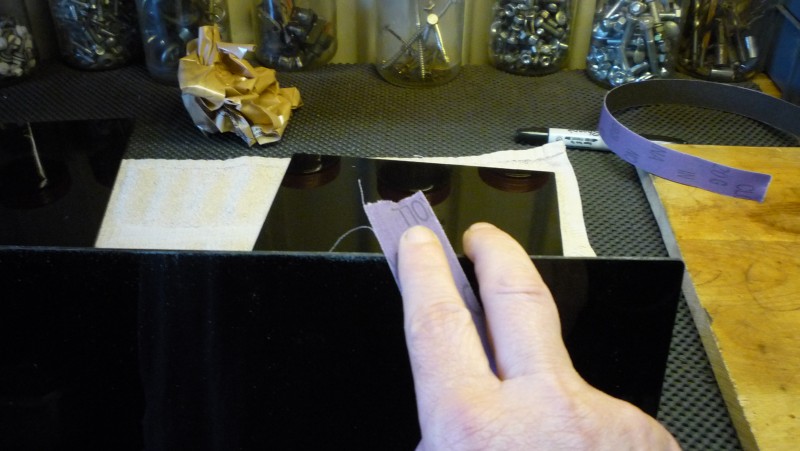
Sanding the sharp edges—it may be plastic, but it can still cut you like glass!
Note: If you’re gonna glue it together, don’t round the edges until afterward.
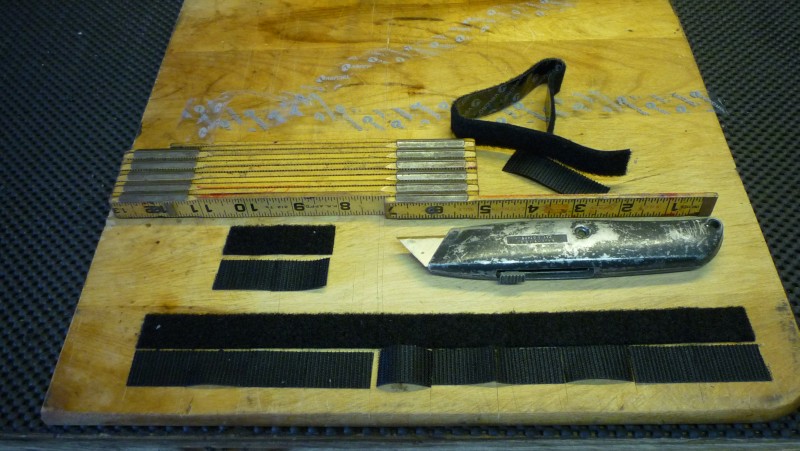
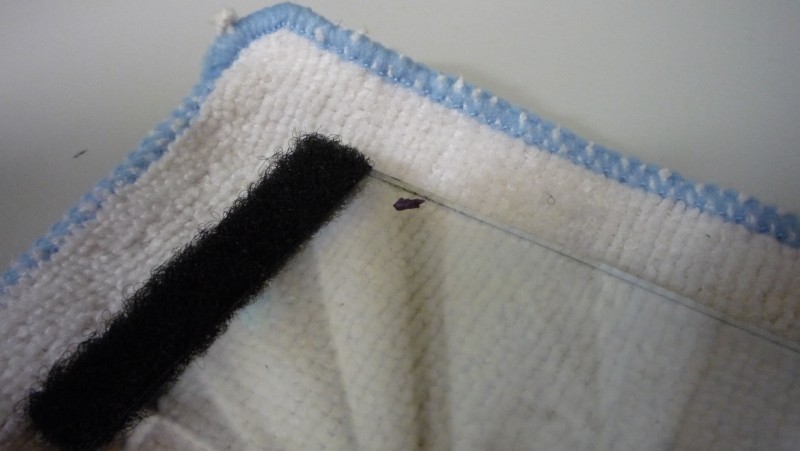
Cutting 12 pieces of Velcro
Velcro hooks in sides, loops on top and back, as before.
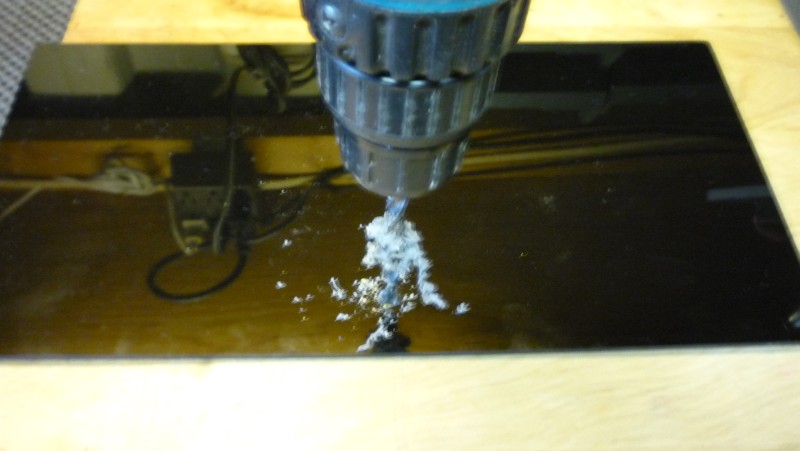
Drilling for the camera mount screw. Break through with the lightest possible pressure,
and back it up with hardwood, or you’ll surely crack the acrylic.
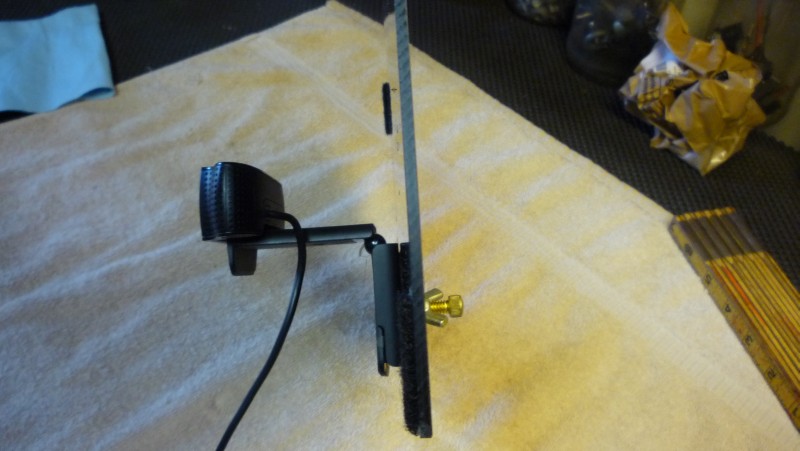
Mount camera on back
Stick the back on

Not gonna work with that 2½-inch gap in the back—
Made 2 pieces from the scrap and taped with packing tape
Oh well, it makes a handy little door to adjust the webcam…

The Velcro idea as so I could store it in this briefcase…
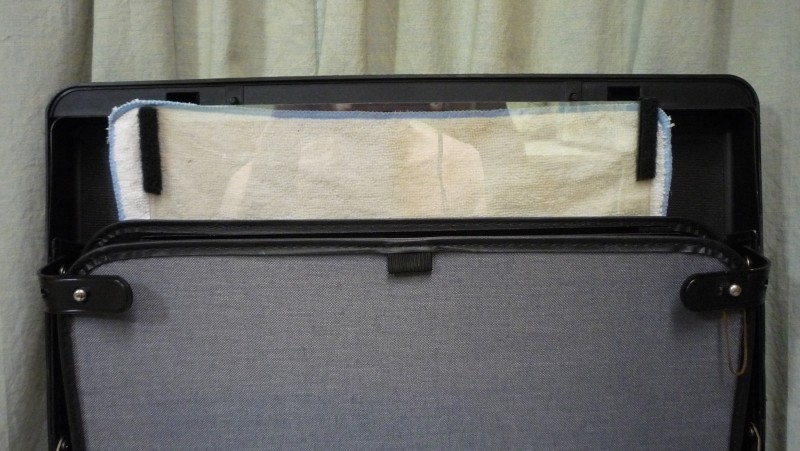
…but it’s about a half-inch too small for the mirror!
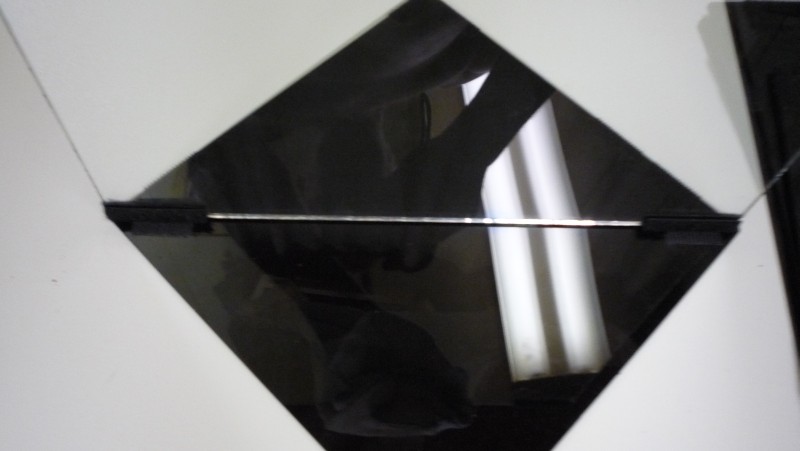
To assemble, first stick the mirror to one side, making sure the front
(reflective) side of the mirror is facing forward.
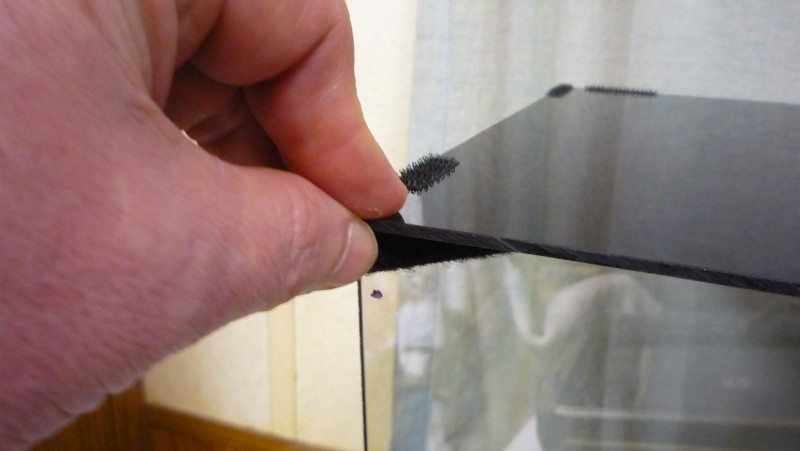
Then stick on the other side.
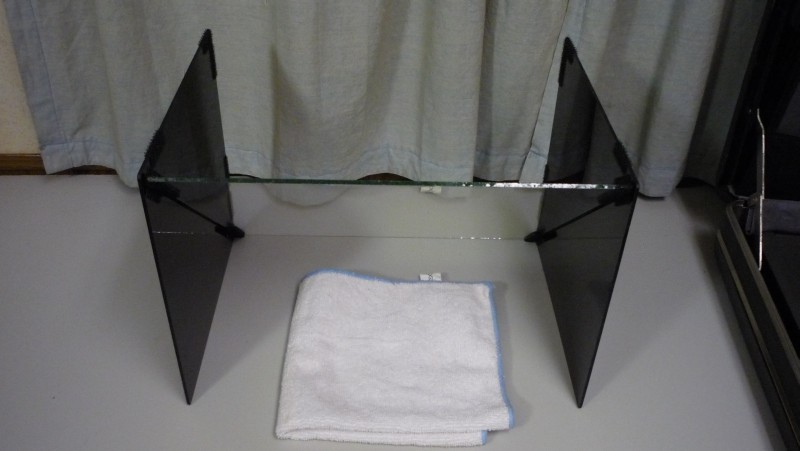
Then set it up (carefully)…
…and stick on the top, starting with the front corners.
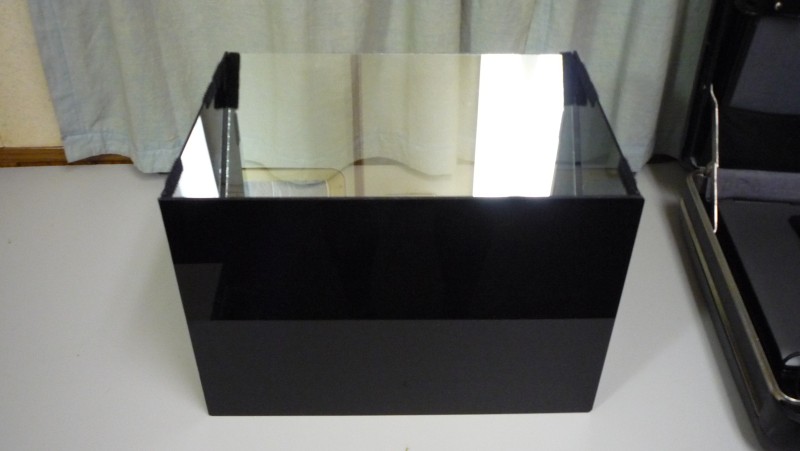
Roll it over on its front.
Mount the camera on the back (get it really straight)©
Then stick the back on.
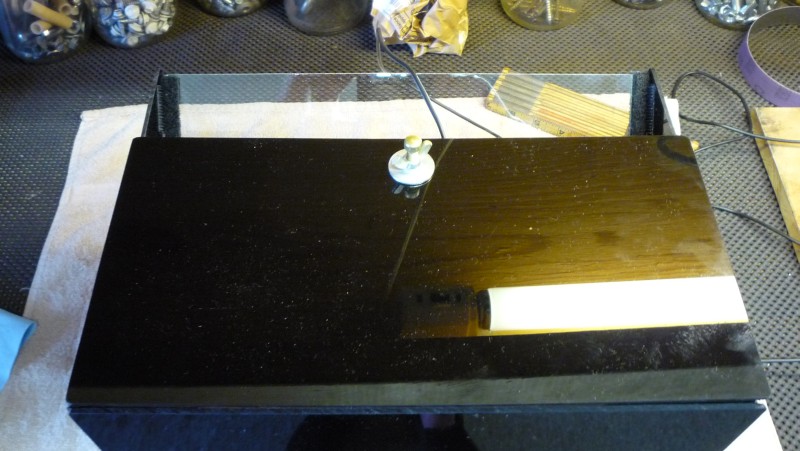
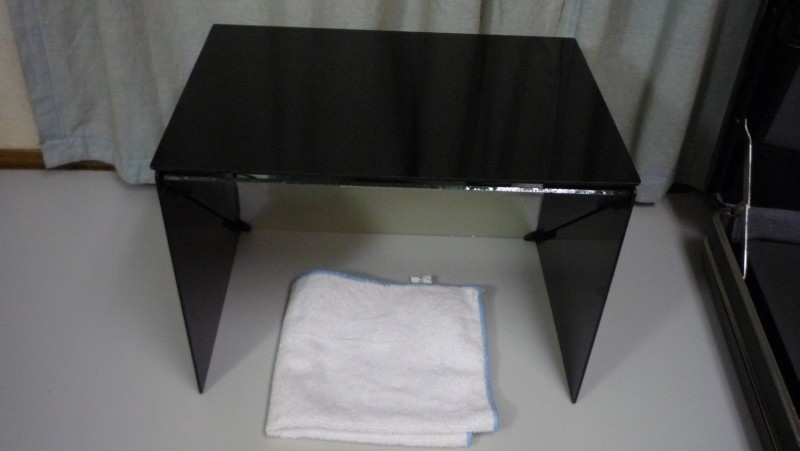
And there it is! Note the upside-down window chrome; the prompter text is vertically flipped.
Setting it up the other way puts the window chrome right-side-up, but backwards,
so the prompter text needs to be horizontally flipped.
That sure looks better than foam-core!
Video
Better in HD 720p, fullscreen…
—KV5R
Loved your video about making a teleprompter! Thanks for posting it! So, am I understanding correctly that the actual teleprompter glass you ended up using was one-eighth inch black acrylic?
Thank you so much!
No, the frame box is black acrylic. The mirror is 70/30 commercial teleprompter mirror like the pro units use, $80 from telepromptermirror.com.
Thank you! Does it have a timer to keep tabs on how long one speaks? Just curious.
No, it doesn’t know how long you’ve been speaking, since you’re free to continually adjust the reading speed, pause the scroll, etc, as needed. Not to mention post-editing, retakes, etc.
Thanks for putting this up. My plan is to start with an ebay aluminum brief case, mount the glass in the lid and use a prop link to hold it up. I’m thinking a wire frame to hold the felt over the top. I also plan to attach the camera mount to the back of the case so I use one stand. I’m thinking I can get a cheap used monitor and an old laptop with a broken screen (almost free). This way I can set the laptop out on a table and set the monitor in the briefcase. the brief case gives me a nice storage box when I want to put it all away.
I’ve downloaded your program to get familiar with it. Thanks again.
Peter
very nice and well presented!
I built the same kind of thing for use and work in making training videos.
We used a plain piece of glass – it worked – but not real well….
thanks
Yeah, the trouble with glass is that it reflects off both sides. The 70/30 first-surface mirror is an expensive vacuum-metal-sputtering process (~$75/ft2) but it works great. I actually found a 70/30 window tint film but the manufacturer only sells to commercial installers and they wouldn’t even send me a sample. Too bad for them! As that, on eighth-inch acrylic, would make a good teleprompter, at a tenth the cost.