
have a look at installing a solid-state drive…
© 2012 by KV5R. Rev. August 5, 2012.
The Transplant Patient
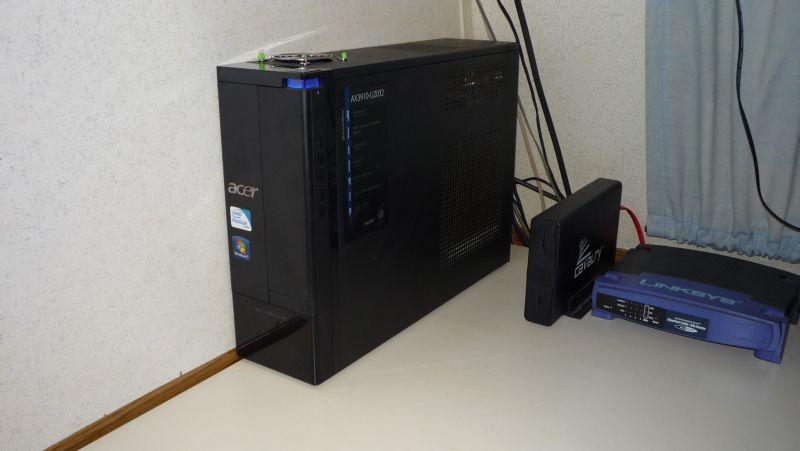
Here’s the patient receiving the transplant, an Acer X3910 with Intel Core 2 Duo
E6600 at 3.06 GHz, 8 GB RAM, and to be removed, a 7200 RPM Hitachi 640 GB hard drive.
Un-box and Connect
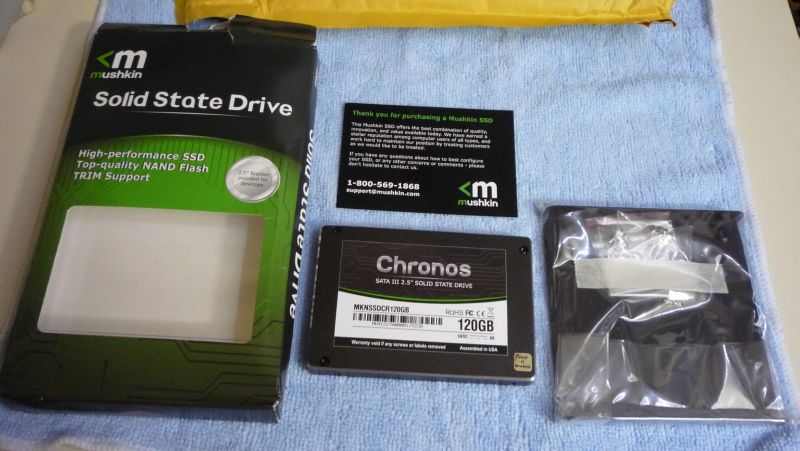
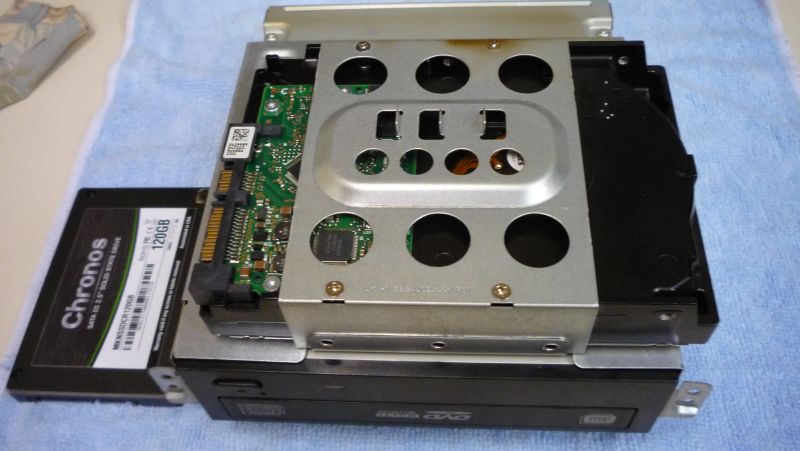
The Mushkin Chronos came in the mail, in a padded mailer, in a retail box.
It comes with the SSD, 3.5-inch bracket and screws, and a little card. No instructions.
This is the base model; they also have an MX and a DX line, which are more expensive.
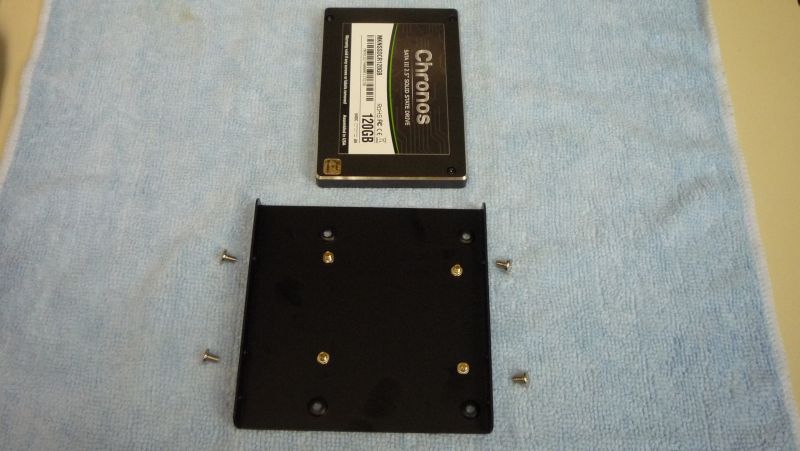
The 3.5-inch mounting bracket for desktops. The SSD is so small and light
that it almost doesn’t need to be mounted. Some people just use Velcro.
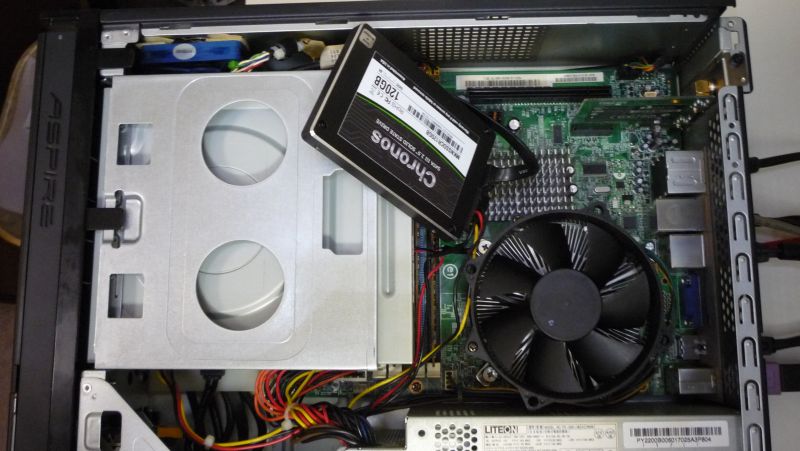
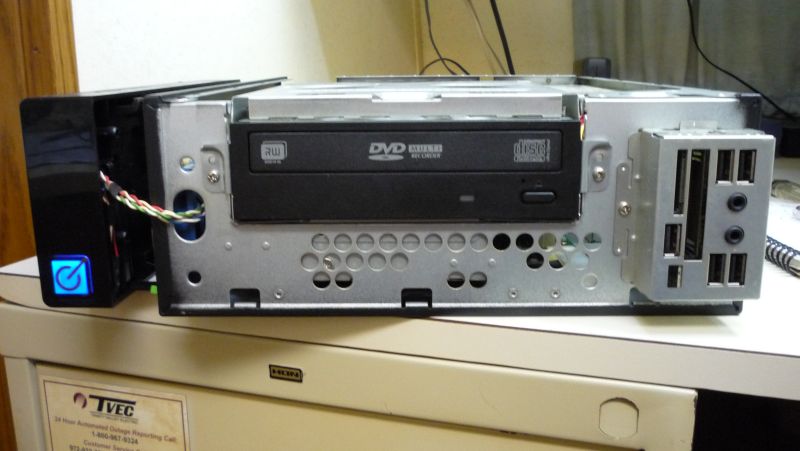
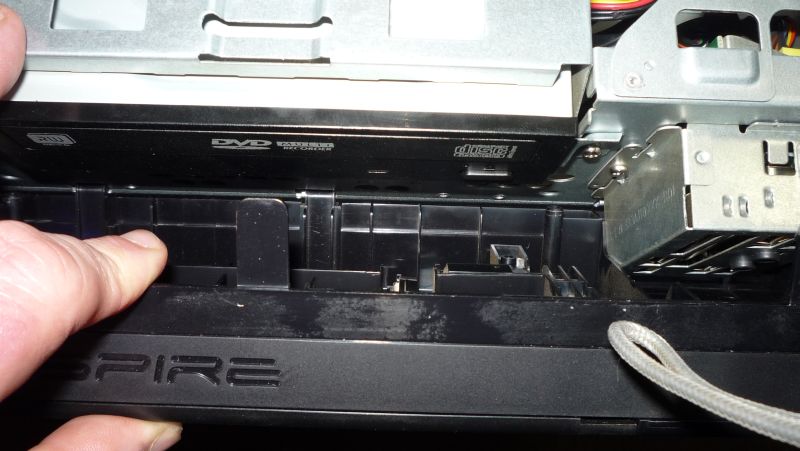
My system has 5 SATA-II ports but only 2 connectors, so I plugged the SSD into
the DVD drive’s cables for cloning. AOMEI doesn’t need to run from a CD.
The hard drive is under the DVD drive.
Clone and Test
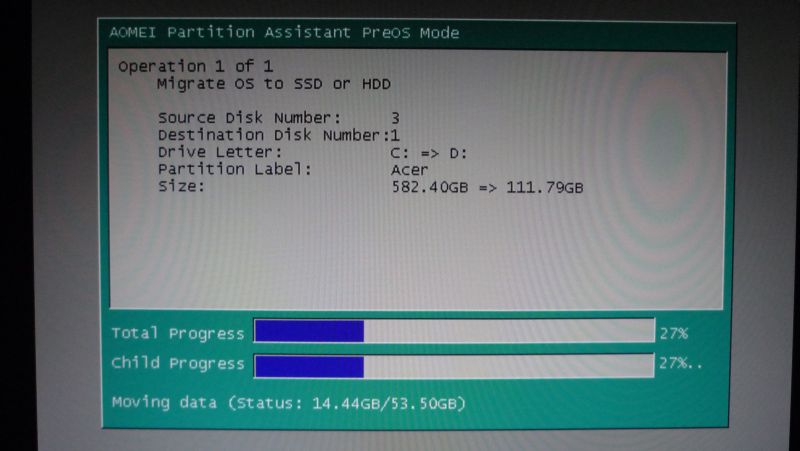
Cloning the hard drive to the SSD
The SSD comes unpartitioned and unformatted, since most people will do a
fresh install or a clone. I used AOMEI Partition Assistant to clone it. You set up
the operation in Windows, then P.A. reboots into a Pre-OS environment and clones
the C: drive to the SSD. It’s very easy, and took about 15 minutes (~56 gigs).
NOTE! When this operation is done, you must power-down and disconnect the HDD before
booting the SSD, else the BIOS will see two “Active” partitions in the system and not
boot anything. It’s very easy to forget!
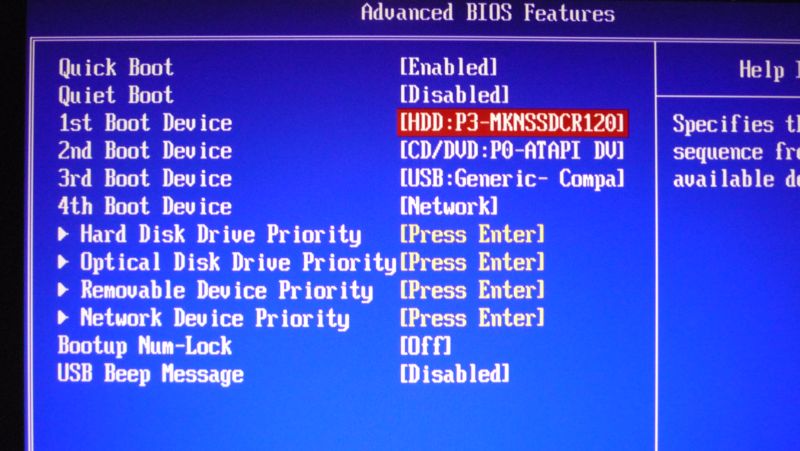
As soon as boot starts, enter BIOS setup and make the SSD the first boot device.
But at first it didn’t appear and I went to Hard Disk Drive Priority…

…to select it. This is because I left the external drive connected, so it found two drives.
F10, Save and Exit, Yes, and (drum-roll)…
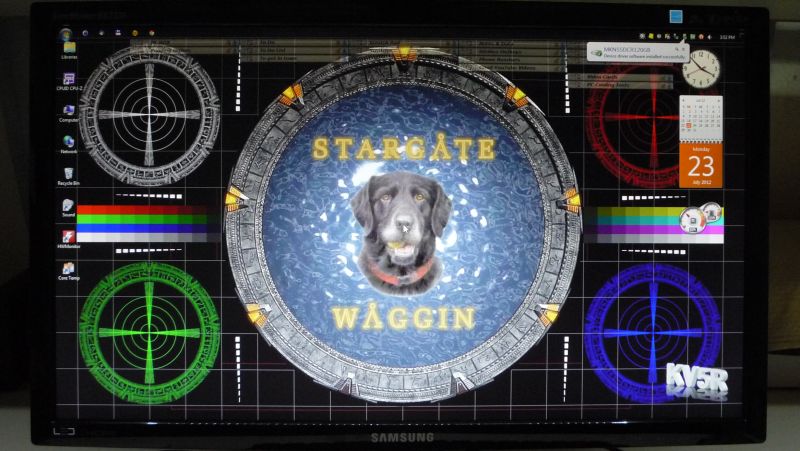
TA-DAAAAAAAA! Windows is now a silicon-based OS.

I then updated the drive’s firmware, previously downloaded.
It was already the latest, so it did nothing.
Physical Installation
The single drive bay in this little machine mounts the HDD
sideways across the bottom of the optical drive bay…
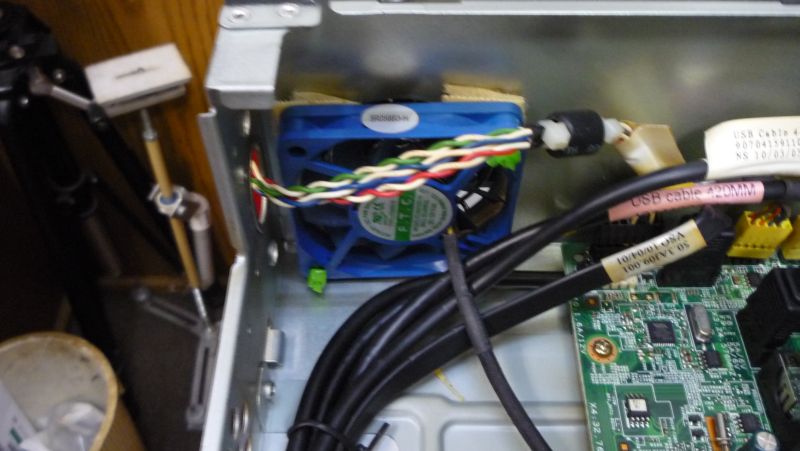
…and here’s the little 60mm fan I installed to cool it, since it was always running
52°C (125°F) and the best range for hard drives is ~35-40°C (according to a
Google engineering study 3.4 Fig. 4).
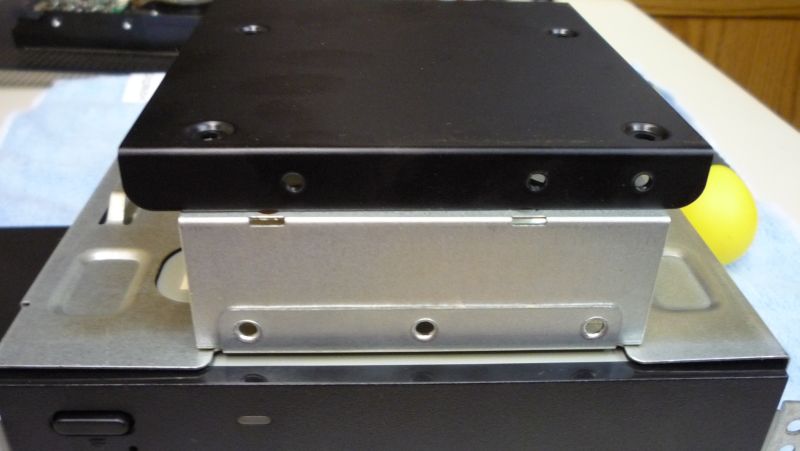
Oops, no holes! The HDD was mounted to its bottom, but the SSD adapter
needs side-mount holes. Time for some drilling!
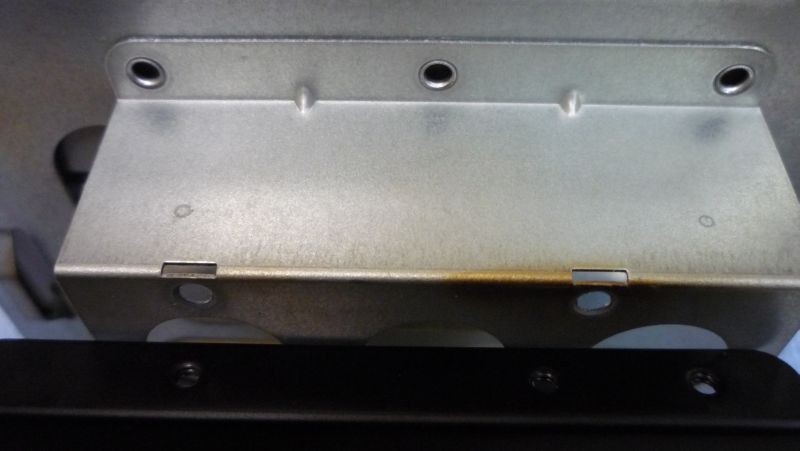
Used the bracket to mark it, and…
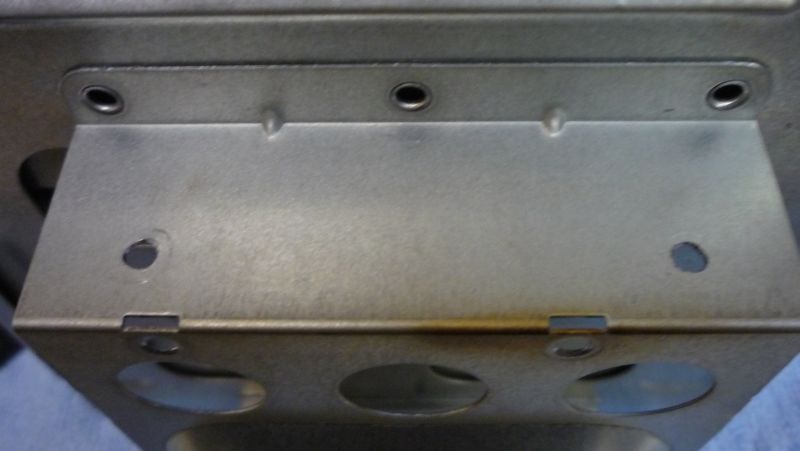
…drilled 4 little holes.
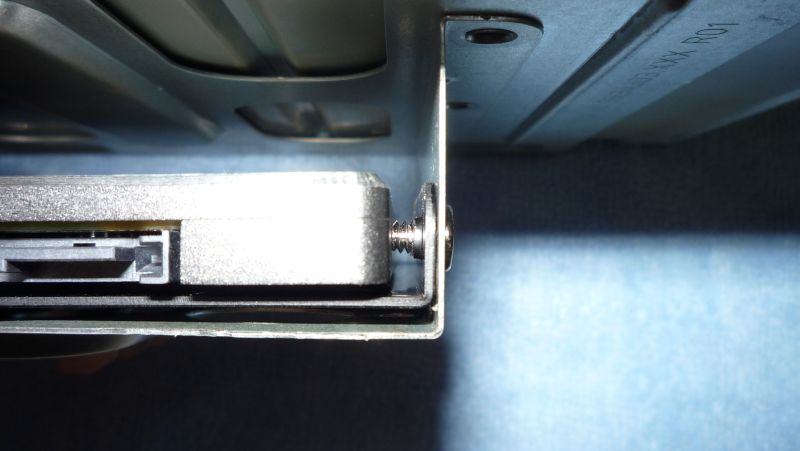
Oh, wonderful… The screws that came with the SSD
are just long enough to run into the drive…
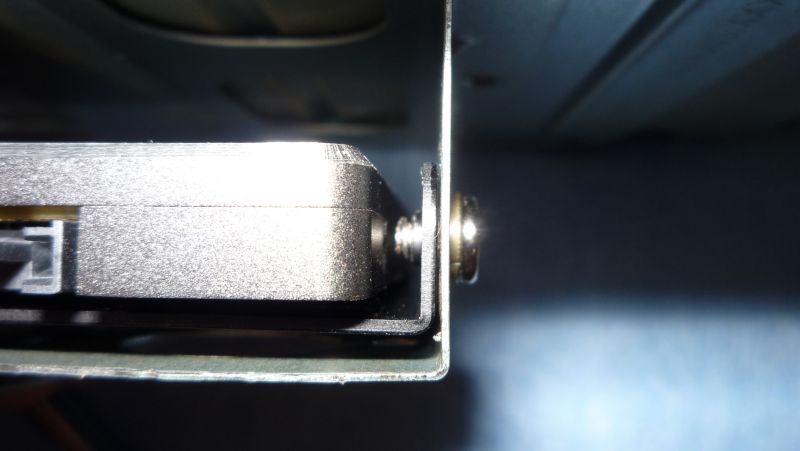
Little-bitty lock-washers to the rescue.
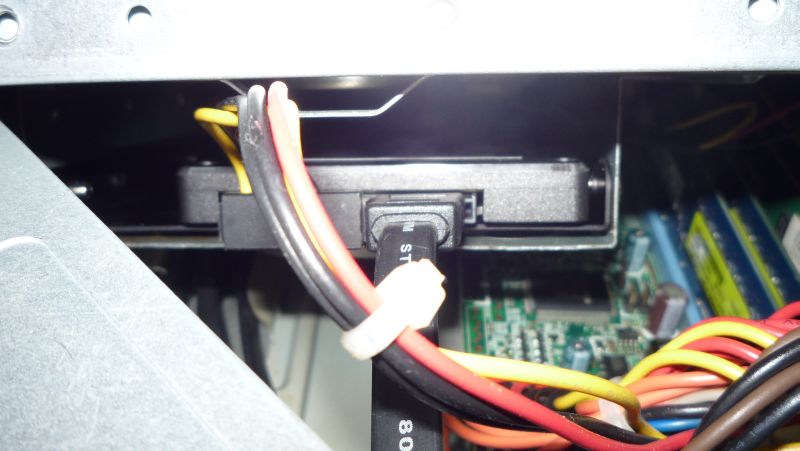
Plug it in,
mount the drive cage,
snap on the front and button up the case.
Benchmarking With ATTO
The important things to look at are the 4k write speeds and the 64k and up speeds.
4k represents most of Windows background housekeeping activities, and because the
SSD has no moving parts, these small read/write operations are much faster.
The 64k and up speeds are more typically representative of applications,
DLLs, and user data (documents, pictures, and such).
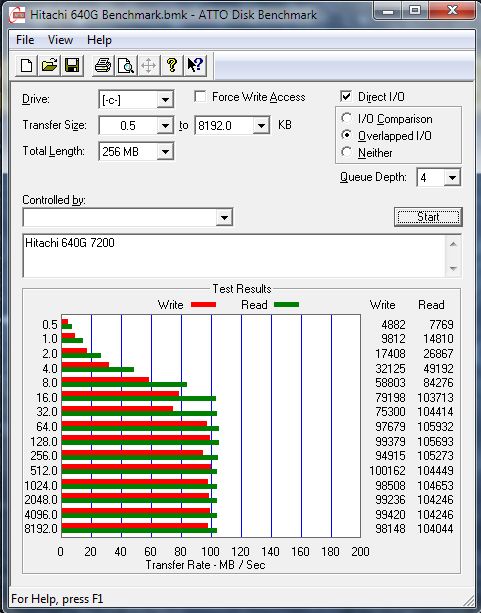
ATTO Benchmark on the Hitachi HDD.
The 4k write is about 32 MB/s, and the 64k write is about 97 MB/s.
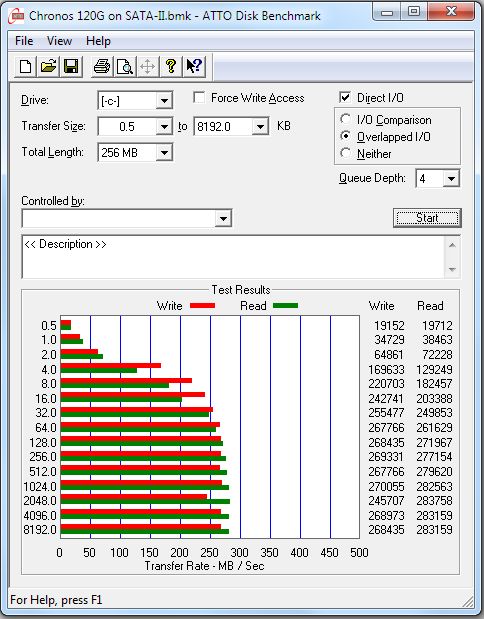
Atto Benchmark on the Chronos SSD.
The 4k write is about 170 MB/s (~5x faster), and
the 64k write is about 268 MB/s (~2.8x faster).
Note that on SATA-III these would be twice again as fast!
The Video!
A short (00:03:48) overview of this article, using the photos above.
Better in 720p HD, full-screen…