
3-Oil Soap With Pine Tar, Citronella, and Cornmeal
© 2010 by KV5R — Rev. Dec. 12, 2010.
Shop for soap making supplies here.
Goals
- Acquire better soap-making skills. Make a soap with pine tar—extremely fast to trace and set, requiring planning, speed, and very cold ingredients.
- Make a batch of soap suitable for camping or working in the woods. It needs to clean well, and leave a scent bugs can’t stand.
- Make exactly the right amount to fill my polyiso-insulated silicone mold.
The Stuff
Same as the second batch, with the addition of pine tar, citronella, cornmeal, and an insulation box I made for the silicone mold. I used soybean oil instead of olive this time, because it has almost exactly the same soaping properties as olive oil, at one-fourth the cost.
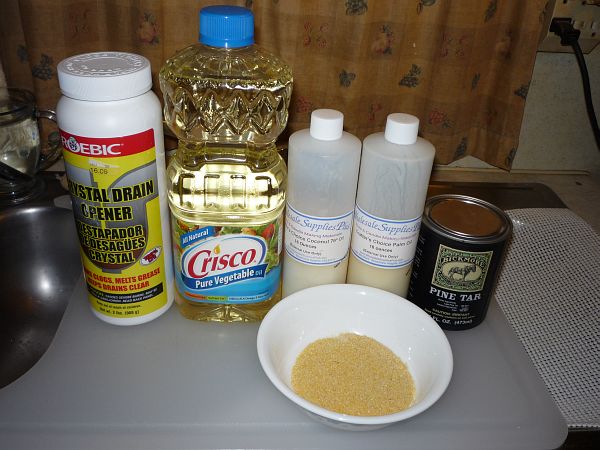
Ingredients
The Recipe
Developed using the Chris Mathes Soapsheet, after reading several articles on pine tar soaps, citronella soaps, and (you guessed it) cornmeal soaps.
- 300gm. (38%) Crisco “Pure Vegetable Oil” (soybean oil)
- 200gm. (26%) Coconut Oil 76°
- 200gm. (26%) Palm Oil
- 80gm. (10%) Bickmore Light Pine Tar (TSC)
- 25gm. Citronella oil
- 42gm. Hard Cornmeal (made by grinding and sifting popcorn kernels—and yes, it was way too scratchy!)
- 106gm. NaOH × 2.0 = 212gm. water = 33.33% caustic solution (6.33% water discount)
- 4% Superfat (SF)
The Proposed Procedure
Due to the additives, this time I’m gonna get all the oils and additives measured and mixed first. The caustic will be made with chilled water, then both it and the oils will be chilled down to 60°F before mixing. Pine tar makes soap react so fast that many soapers say use room-temp ingredients, use full water (lye × 2.7) and don’t use a stick blender. I plan to use chilled ingredients and a 6.33% water discount—and the stick blender is needed to keep the cornmeal aloft (it settles very fast).
- Chill water and cup down to 40°F. in freezer.
- Heat the coconut and palm in the microwave (16 oz, 1 min.) so they’ll pour easily.
- Weigh the pine tar into a disposable container and microwave it a bit (20 sec.).
- Weigh each oil (and pine tar, citronella, cornmeal) into SS pitcher, whiz, and put in freezer.
- Weigh lye and mix with the water, cool to 90 in the sink, then put in freezer.
- Stabilize both temperatures at 60°F.
- Pour the 33.3% caustic solution into oils.
- Mix and stick-blend with very short bursts until medium trace.
- Quickly pour into prepared, insulated silicone cavity mold.
- Cover and insulate.
- Clean-up.
- Next day, un-mold and cure 4 weeks.
Total time: about 1 hour, including pictures and clean-up.
Results
The process went fairly well, but trace was again much faster than expected. Even with 60 degree ingredients, it got thick in about 1 minute—it nearly seized as I was molding it! This time, my volumetric calculations were almost perfect, but it thickened so fast that the waste was hard to recover, and one bar will be a tiny bit short. I should have started pouring about 15 seconds sooner.
After a couple hours, I stuck the thermometer through the insulation to check it’s gel-phase temp. Surprisingly, it was only about 95 degrees, and quite firm. So it’s not gonna gel? Maybe it needs some help. I took the mold out of the insulation box and put it in the oven at about 140°F. According to what I’ve read, 4 hours at 140 will finish saponification—but OH! that smell! Not the pine tar, but the citronella! It’s burning my eyes, and it’s too cold outside today to keep the door and windows open. I’m thinking 25gm was too much. Anyway, after about 4 hours in the oven I took it out to the tool-shed and aired out the house. Whew!
Tomorrow: Unmolded easily, and now that it’s cold, the citronella scent is light and tolerable. Little or no pine tar smell. The soap is a dark brown, about like coffee. The cornmeal didn’t settle during the cook.
So how does it work? Took a shower with it a few days later. Creamy white lather, moderate citronella scent, and the cornmeal is slightly scratchy, but I should have ground it finer and used more. Rinses easily and doesn’t leave any scent on you. May repel bugs during use, but not after. Overall, I’m a little disappointed.
I’m thinking maybe this should be a hot-process soap, with the pine tar and EO added after cooking, so they’re not part of the reaction.
Pictures
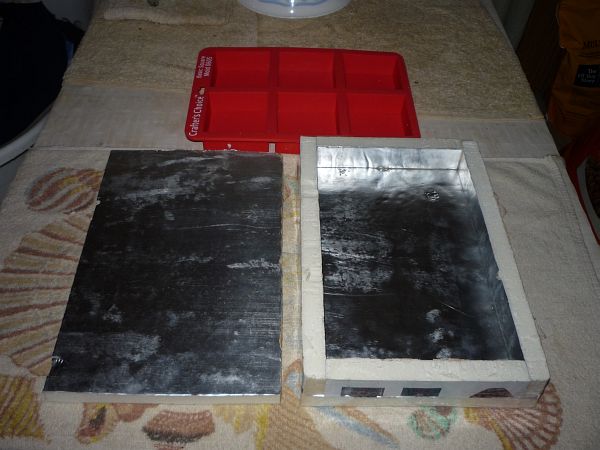
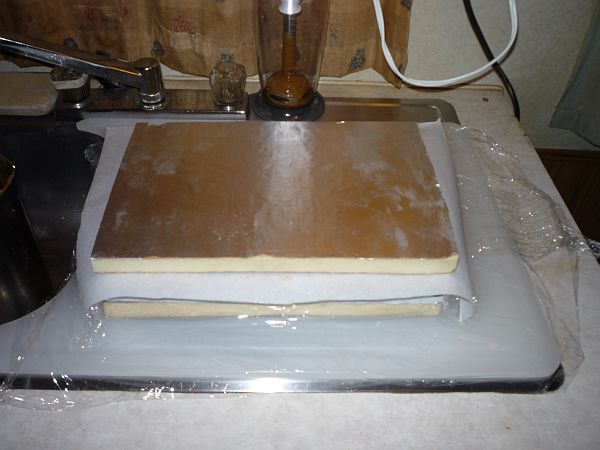
Here’s my ¾-inch polyiso mold insulator.
Corners are just taped; contact cement would be better.
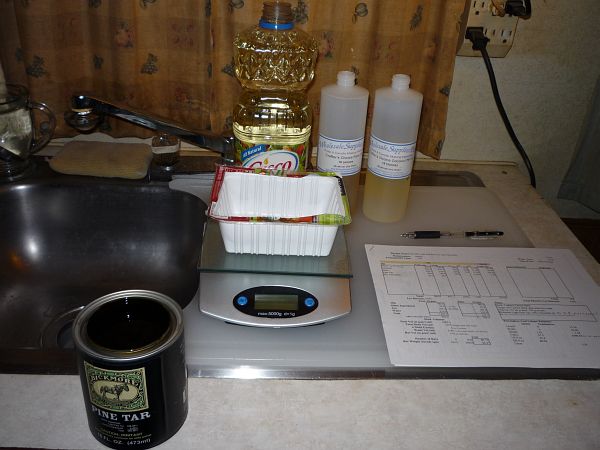
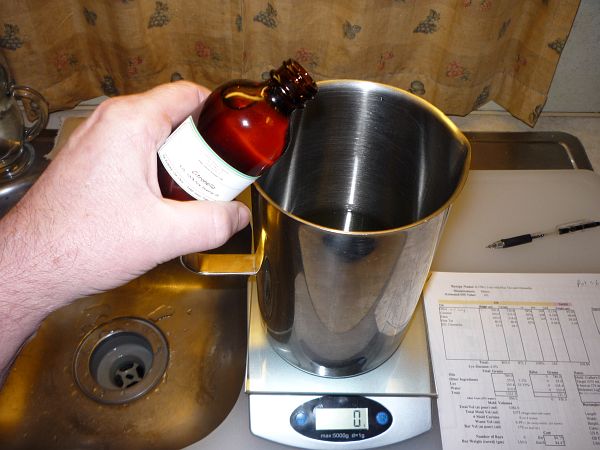
The pine tar comes in a paint-type can, so I knew it would be messy.
I decided to weigh it out separately into a disposable container, then
get the can cleaned up and closed as fast as possible.

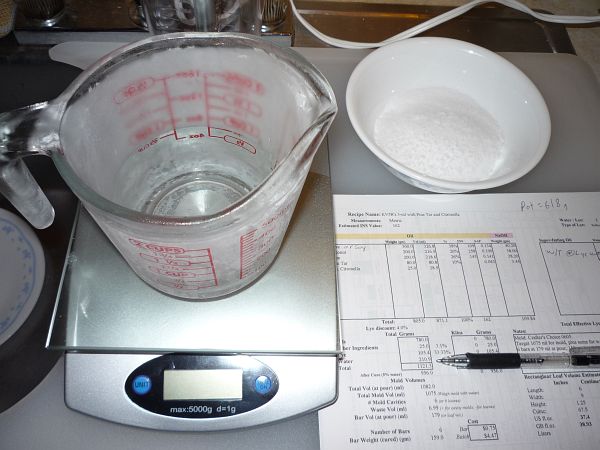
Weighing and taring the three main oils…
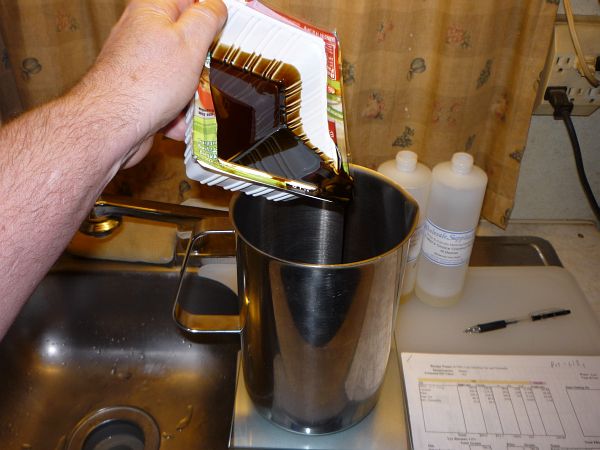
then adding the pre-weighed and warmed pine tar…
then the citronella…
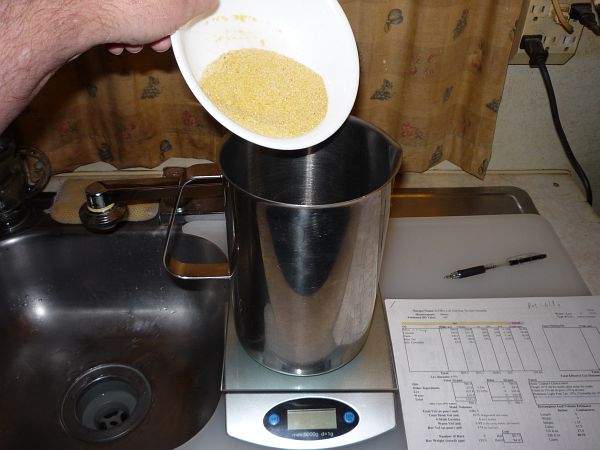
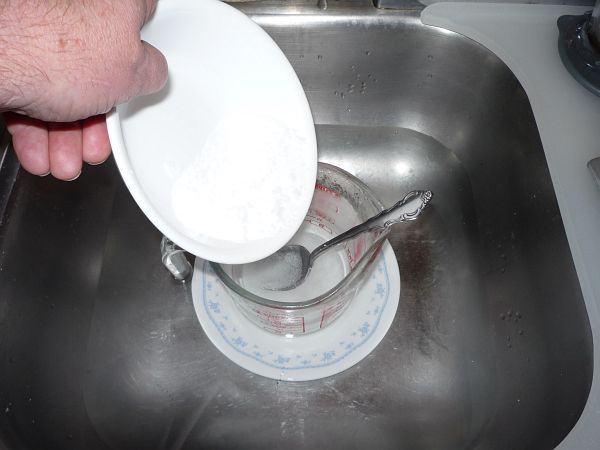
then the popcorn-meal…
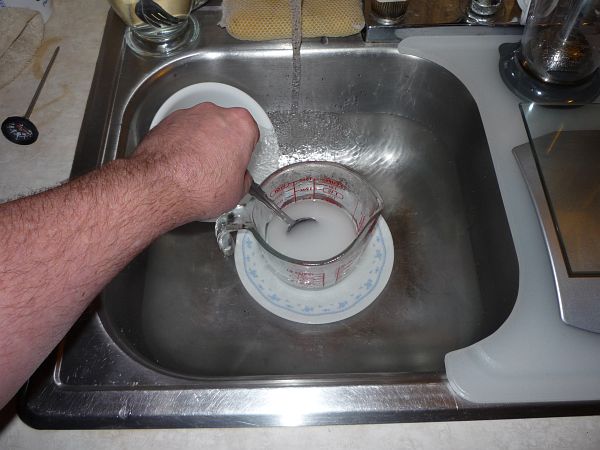
Mixing the oils and meal…
That stupid scale shuts off way too fast.

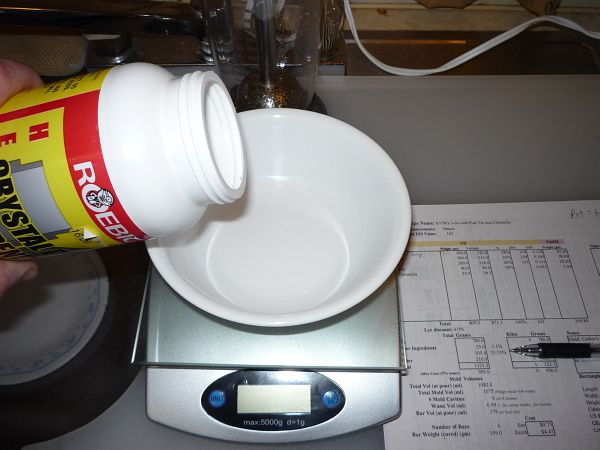
Weighing the lye powder (again)…
Weighing the cold water…
Adding lye to water (carefully)…
Stirring caustic solution (carefully)…
That water went from 42 to 155 in a matter of seconds. You can see
why a Pyrex cup is needed! That temp shock would shatter anything else.
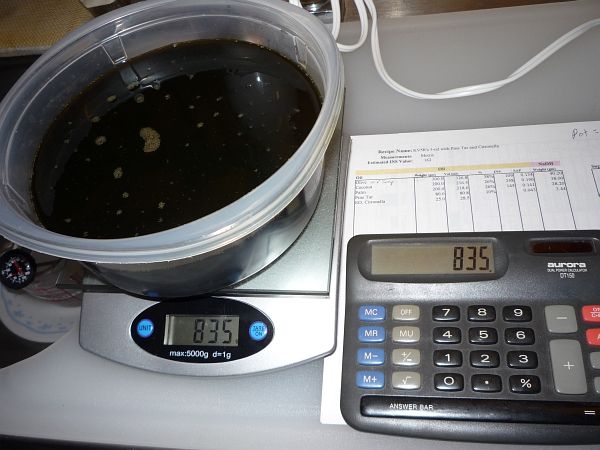
Meanwhile, I weighed my oil pot again, subtracting the weight of the pot,
and came up with way too much! Should be 795 grams. So I poured it into a
plastic container to weigh it again. Oops! I forgot about that 40 grams of cornmeal!
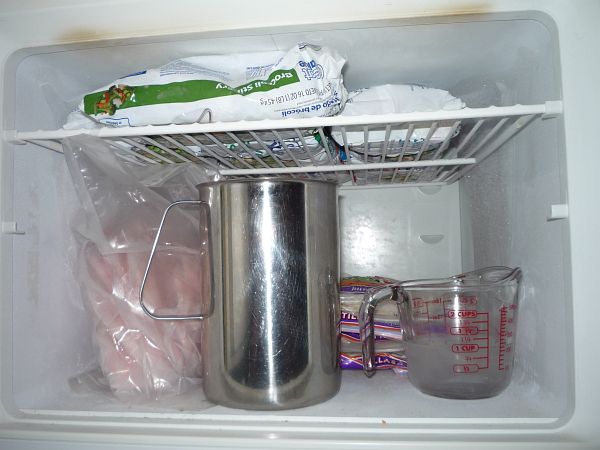
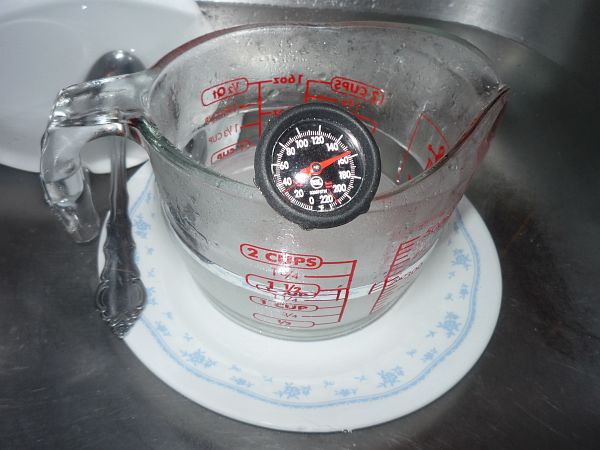
Caustic and oil be chillin’
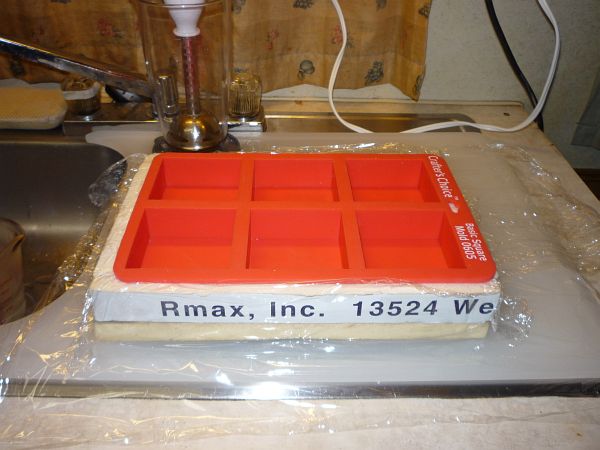
Getting the mold ready…
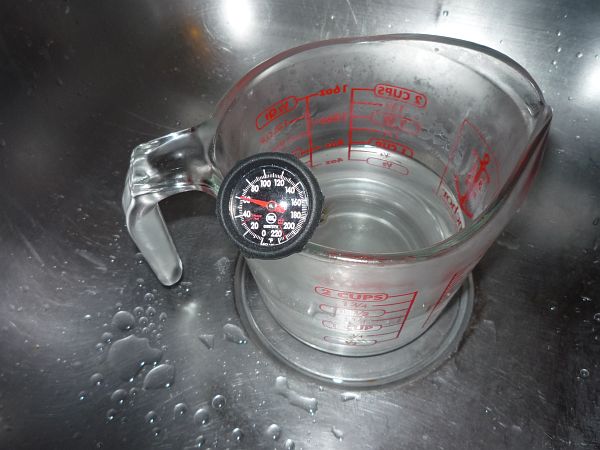
Caustic and oil both at about 60°F.
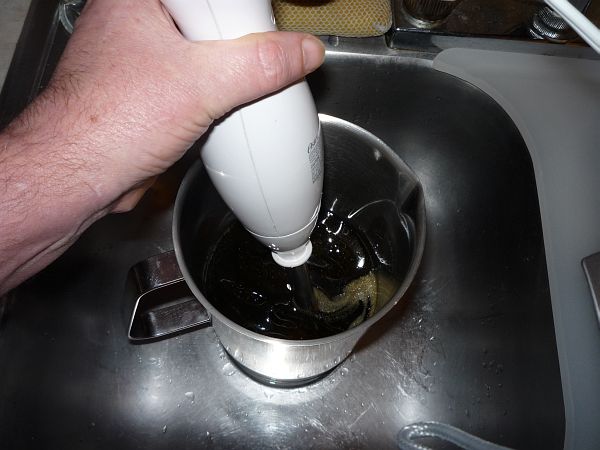
Here’s where both hands were busy and I couldn’t use the camera. I poured
the 33% caustic into the oils, whizzed and stirred about a minute, then poured.
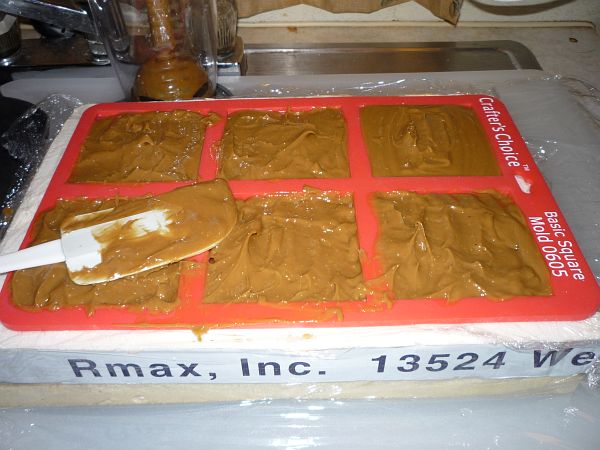
The first cavity (upper-right) poured easily, the next one didn’t, and
the remaining 4 were like peanut butter, scraped and forced into
the mold with a cake spatula. That stuff was setting up fast!
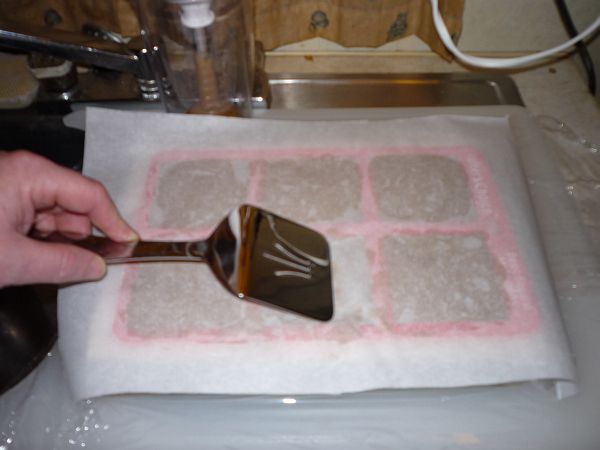
Cover with baker’s parchment and smooth the top with a spatula.
The parchment is much better than cling-wrap here.
Put on the top insulation…
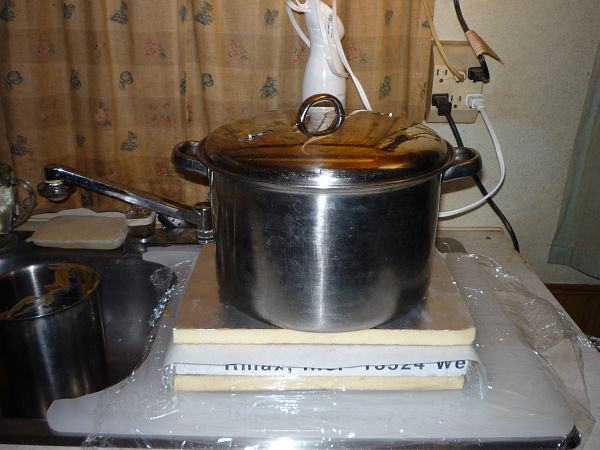
and set some weight on it.
Here’s the Soapsheet I used for this batch (PDF file). You can see why I forgot the cornmeal weight, I didn’t put it on the sheet! It needs a space for adding solids. Note that I’ve added volume calculations to the soapsheet. Volumes are derived from weights ÷ specific gravities, which are in the sap table on page 1 of the soapsheet.
So there you have it, my third batch. What did I learn?
- You can calculate the volume of soap needed for a cavity mold by using the Soapsheet, which has specific gravities for nearly all your materials. But don’t cut the waste too close—the pot, spatula, and stick blender hang on to a good bit. Not a problem with loaf molds, as long as the pour volume is less than the mold’s volume.
- Don’t put citronella in soap. Better to just put a few drops in a spray-bottle of water, shake, and use it that way. Orange or cedar EO would be a better scent choice for pine tar soap.
- The ground popcorn made a good abrasive, but I should have ground it finer, using a grain mill instead of a coffee mill.
- The soap set up way too fast and was not easy to pour. I tried a 60°F batch, and it was still too fast. It was so fast that by the time I got around to cleaning up (5 minutes later), the pot and blender had nearly solid soap on them! The cold temp didn’t really slow the reaction, it just made the pour that much thicker.
- I don’t know why it didn’t gel. Perhaps because (1) it started so cold, and (2) most of the saponification occured in the first few minutes.
- The pine tar should be transferred to a plastic bottle, so it can be poured without the drippy paint-can mess.
- Don’t make a strong-smelling soap when it’s too cold outside to ventilate the house.
- ¾-inch polyiso sheathing made a nice, simple insulation box for the mold. Weighting the top sheet flattened top of soap nicely.
See? No matter how much you plan ahead, there’s plenty to learn with every new batch. That’s what makes soaping fun!
I’m thinking that a little larger insulation box with a light bulb and a thermostat in it might be a good idea. A sheet of polyiso sheathing, cord/socket/bulb, and a bimetallic thermostat from an old hot water heater would do the trick. Would reduce cure times, too. A little dedicated soaping oven, for about $25. Yeah! I’ll try that next time, maybe…
Stay tuned for more in the coming weeks.
So until the next batch, good soaping! —KV5R