
what’s going on in that drop?
© 2014 by KV5R. Rev. June 1, 2014.
Introduction
Now that we have covered the basics of microscopy, let’s put it into practice. The simplest kind of microscopy probably is looking at some sand or salt grains, or perhaps a hair or feather, but that’s not very interesting for long. In this article, I will attempt to introduce the proper handling of the microscope by collecting a live pond sample, making a wet-mount slide, exploring its contents, and taking pictures.
This may seem like child’s play, but consider this: you start looking at all those critters, then you start wondering what they are called. How do they feed? and reproduce? and interact? and survive harsh conditions? And, and… suddenly you realize that observing them is only the beginning—one that leads to vastly complex field of microbiology! There is so much to be learned, and even if you learned it all, there would still be much left to be discovered.
Of course, one doesn’t need to be a microbiologist to enjoy microscopy, but learing what the more commonly seen critters are called is very helpful.
Sample Collection
Making a Pond
Pond critters live in ponds of stagnant, but moderately oxygenated, water. You’ll need to find or make one. If you don’t have one handy, just dig a little hole in the back yard or flowerbed and set a metal bucket in it, with the rim at ground level. Unfortunately, we can’t simply set a bucket on the ground because the temperature will vary too much. Setting it in the ground keeps the temperature more stable. Put some mud in the bottom and fill with water. Critters will soon wash in from the yard and blow in on the wind. The sun will power it’s ecosystem by growing algae, which will feed bacteria and larger critters. You might even give it a start by pouring in some potato water or adding a few grains of wheat or other starchy food.
It’s also possible to grow a pond ecosystem in a big jar or small fish aquarium, but it’s more work to keep balanced, and few people will appreciate the smell indoors, so it’s usually better to just build it in the ground and let nature take its course. The east side of the house is probably best, so it can get some full sun in the mornings, but not overheat in the afternoons. Refill it as needed from a bucket of water that has sat overnight and lost its chlorine.
If your little pond begins to stink (like sewage), it has become anaerobic (oxygen-depleted), and anaerobic bacteria have taken over, just like in a septic tank. Those nasty guys tend to make toxins like hydrogen sulfide compounds that kills off most everything else. If that happens, simply wash out your little pond with the water hose and start over. This will happen if your pond isn't getting enough light, particularly when it gets covered with leaves in the fall. Sunlight grows algae and, like all plants, they release oxygen in the photosynthesis process. The oxygen keeps the little animals alive, and they keep the anaerobic bacteria from taking over.
A larger pond, with tapered sides and a sloping bottom, will provide a more diverse and stable environment. Small landscape pond kits are about $100, and typically consist of a pond liner and a little fountain pump for aeration. Following the instructions, you dig a hole, line it with the flexible liner, install the fountain pump, then fill it up. You can then add some flat rocks around it, and some water plants, and have an attractive lawn feature as well as a convenient place to grow and collect critters. The best critter ponds have a gentle slope from one end to the other, so there’s a warm and shallow area, and cool and deep area, allowing critters to find their happy temperature and flourish. There should also be a fringe of green algae and/or moss around the edges.
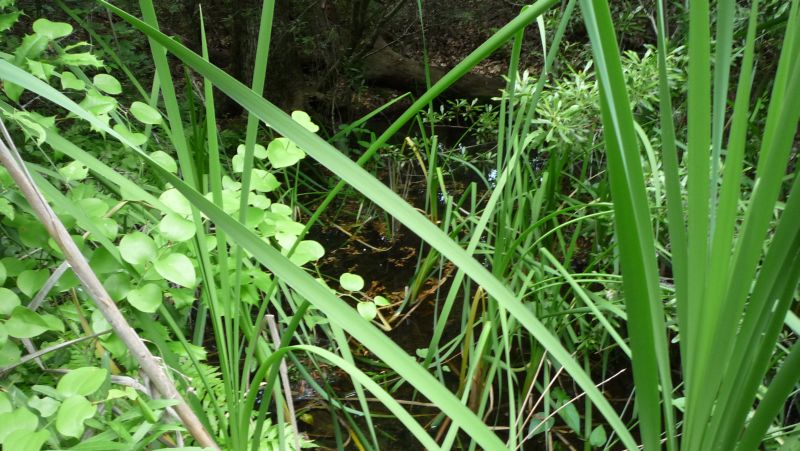
My land has a creek and numerous ponds.
They are a bit hard to get to! I need to make a sampler on a long pole.
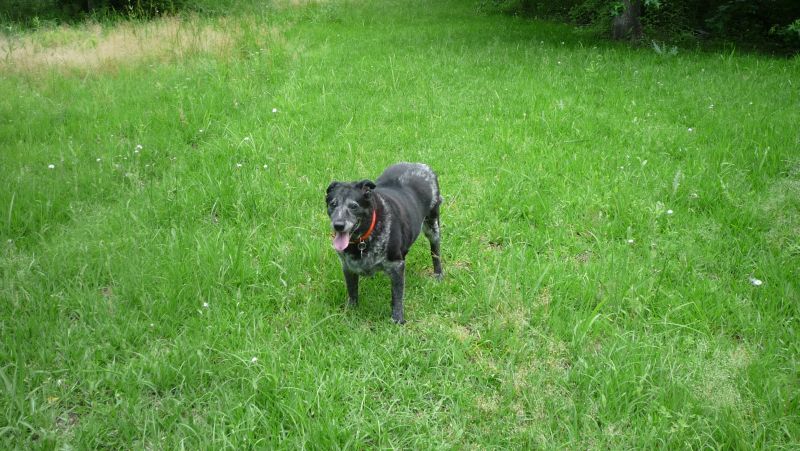
Always take along your helper.
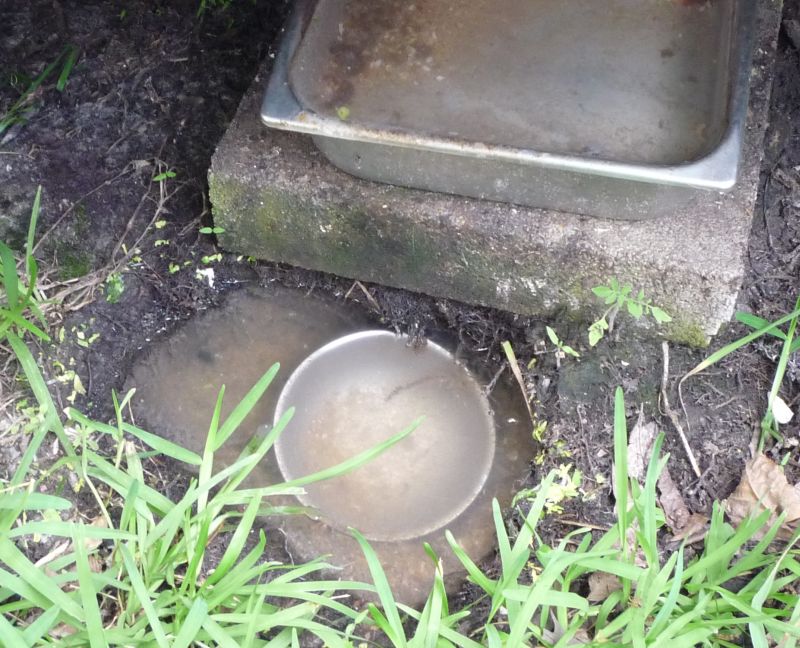
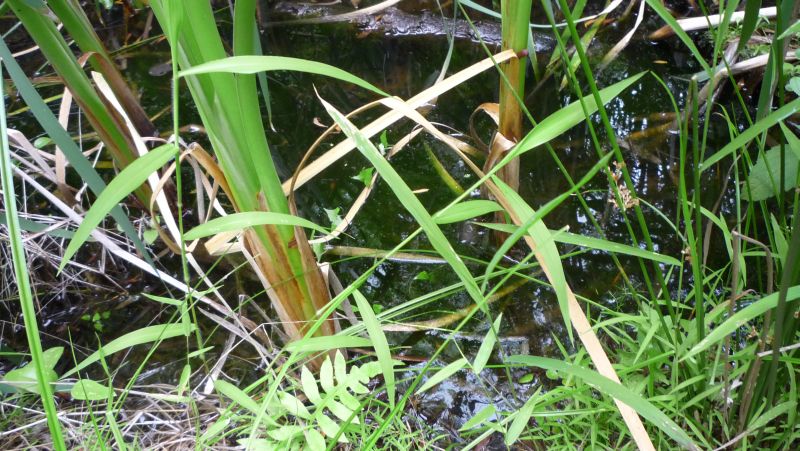
This is my little critter pond, conveniently located right behind the house.
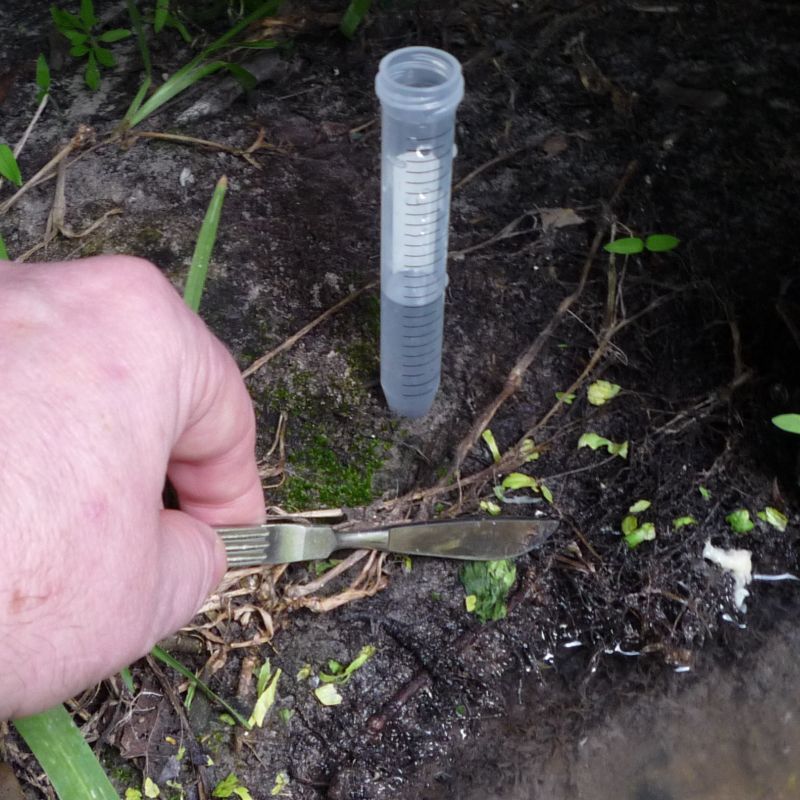
Taking the sample
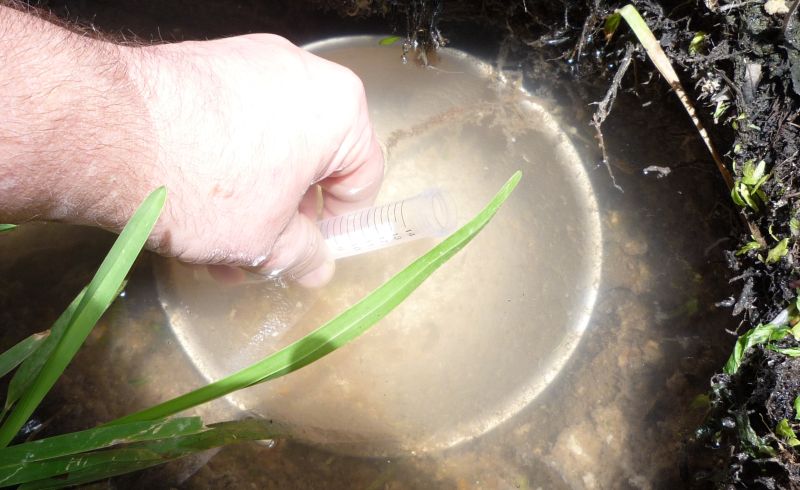
Go on! Stick your hand right in there! They won’t bite.
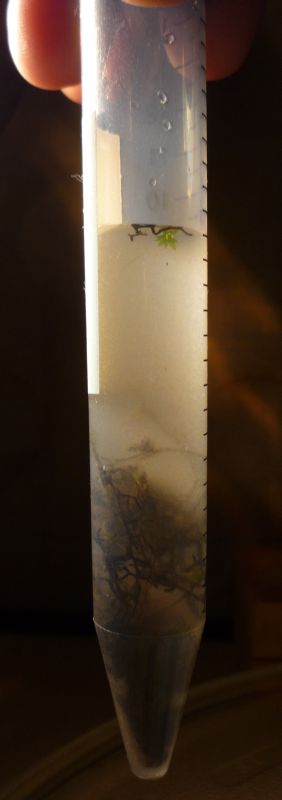
Ponds will naturally stratify with sand at the bottom, then soft mud, then brown algae, then nearly clear water. Most of the critters are in the soft mud and algae, so it’s best to take your sample as near the bottom as possible without picking up any mud. The best sample container I have found is the 15mL centrifuge tube, because it has a cap and a pointed end, into which will settle the sand and mud. Invert the sample tube and push it under, down close to the algae, then slowly tip it up and let the bubbles out, drawing in water from that level.

Cap it, wash it, and then wash and dry your hands.
Clean a depression slide and a coverslip with alcohol on a Kimwipe.
Take a plastic pipette and pick up a half-mL from exactly the stratum you want, which is usually just above the clumps of algae. Look at the pipette against a light. If it has too much algae in it, do over, because your viewing will not be fun if all the critters are hidden behind clumps of algae, which are nearly opaque.
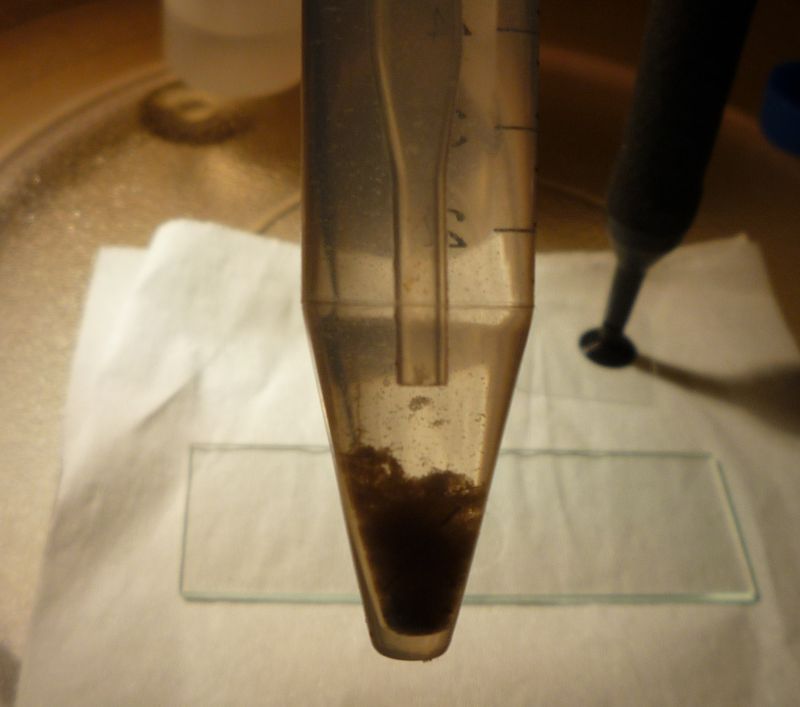
Take about a half-mL with a pipette, just above the sediment.
Making a Wet-Mount
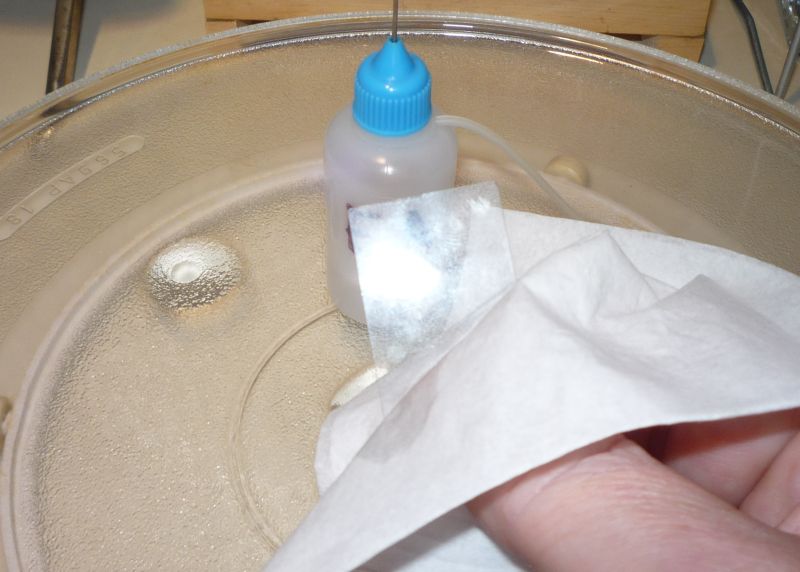
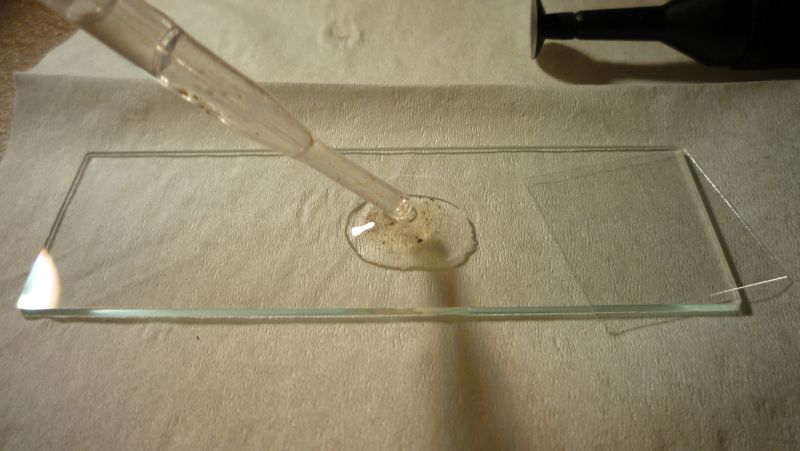
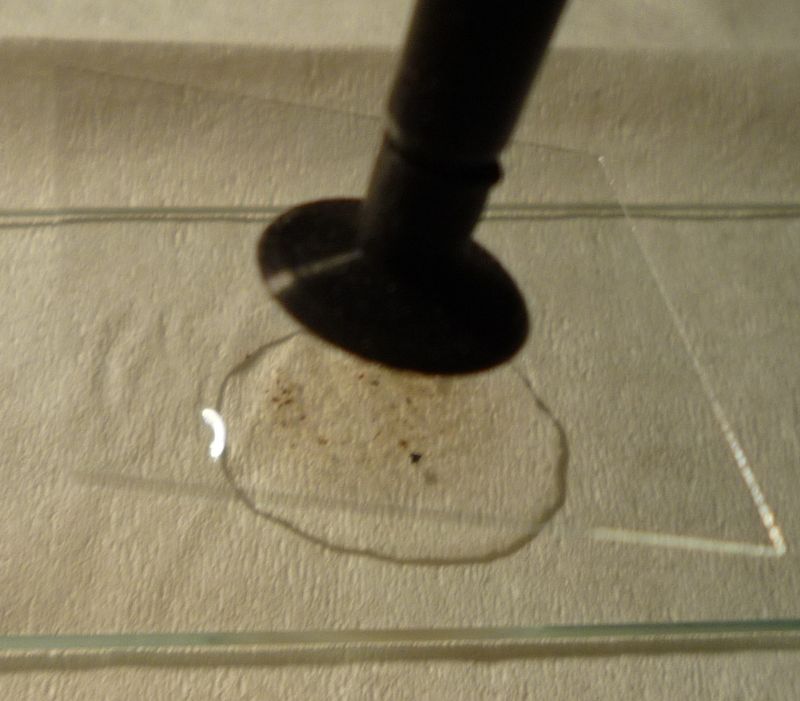
During this procedure, make sure to keep the bottom of the slide and the top of the coverslip dry. Take a clean depression slide and expel a couple drops from the pipette into the depression. Now place a coverslip over the depression. Start with one edge catching the water tension, then slowly lower the other edge, thus expelling any bubbles.
3 drops in the depression is more than enough.
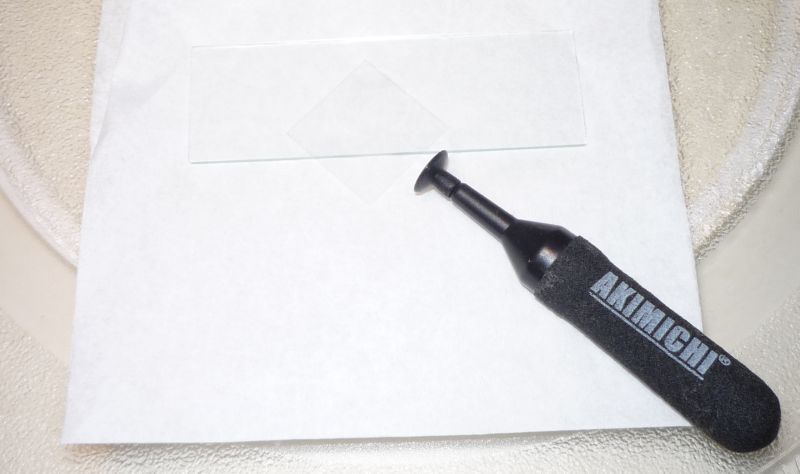
You can handle a slip by the edges, but I like this little IC pick up vacuum tool better.
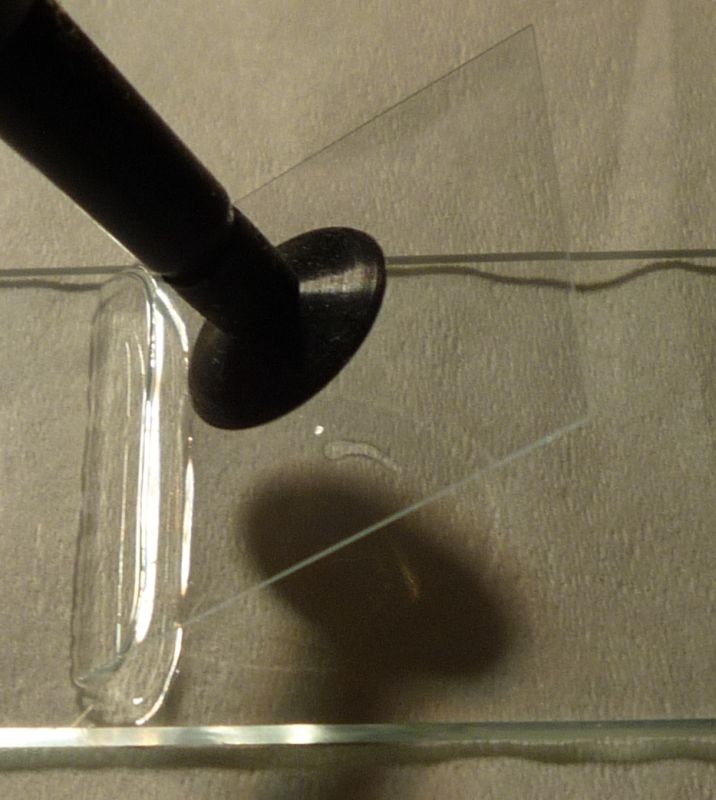
Catch the water with one edge of the slip. Then lower it, like closing a door, to expel
bubbles. Release it just before it touches down; you want it to float, not mash critters.
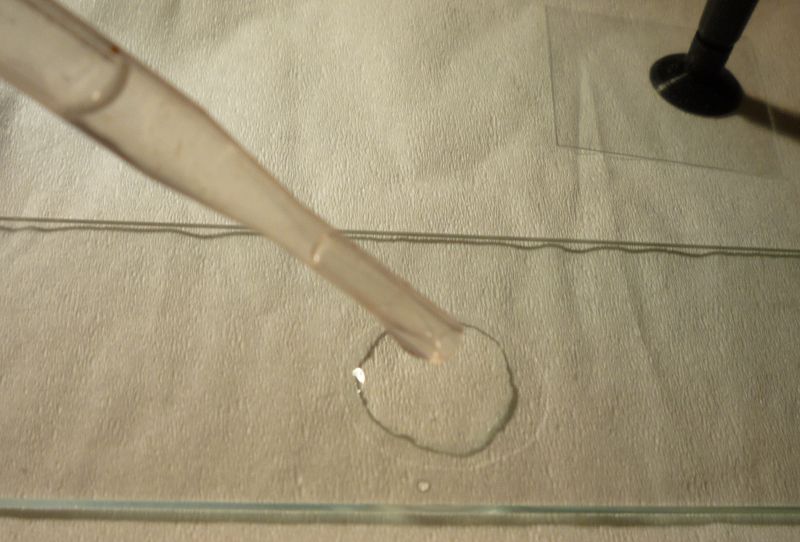
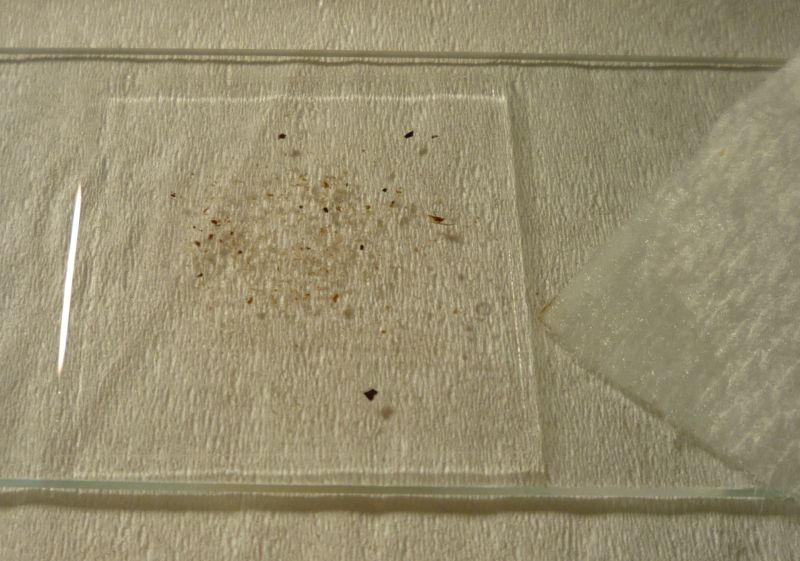
If the depression is under-filled, there will be a void along one edge of the depression. Simply add a small drop to the edge of the coverslip, lift it a bit, and surface tension will pull it under the slip. If it is over-filled, the slip will float, and will jiggle around as you wiggle the slide. Simply wick away a bit of water from one edge of the slip, using the corner of a Kimwipe, just until the slip “lands” and doesn’t wiggle any more.
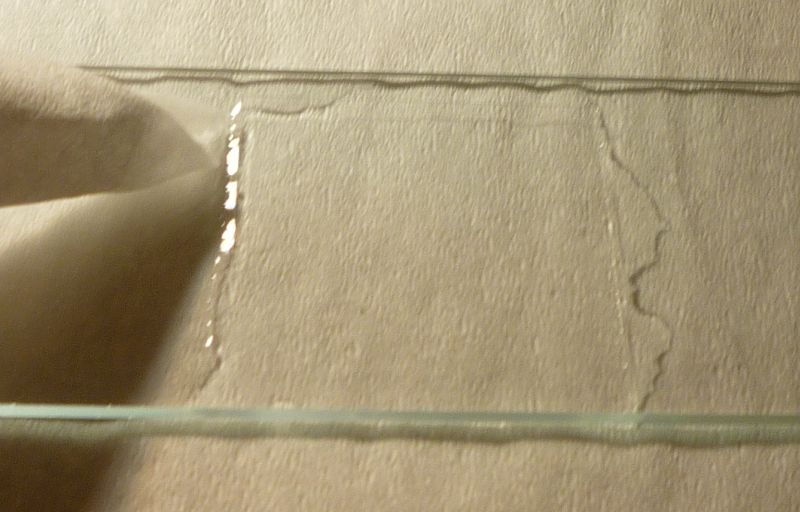
Soak up the excess with the corner of a Kimwipe.
Using the Microscope
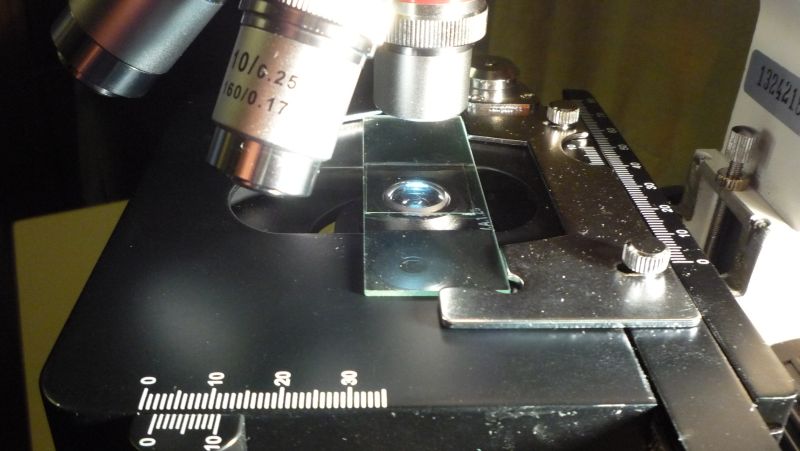
Keep the slide level, slide it onto the microscope stage and into the slide holder.
One should always start an observation with the stage down, the lowest-power objective selected, and the lamp dimmer at its lowest setting. Look into the eyepiece and increase the light to a comfortable level. Raise the stage to bring the sample into focus. As you focus through the sample, you’ll first see particles on the top of the coverslip, then on the bottom of the coverslip, then through the tiny pond in the depression, then the bottom of the depression.
Still on lowest power (the 4x objective), adjust the condenser iris nearly closed, then adjust the lamp dimmer as needed. Find a corner of the slip and start scanning the depression in a zig-zag pattern. You may see a few or a great many critters. When you see one you want to really see close-up, swing the nosepiece to the 10x objective, then adjust the focus again, open the condenser a bit, and adjust the light again. After observing that specimen for a while, switch back to the 4x and continue scanning.
You’ll likely first see nematodes, which are green-brown roundworms. They feed by anchoring their tail and rapidly swinging their head back and forth. Unless the sample contains mosquito larvae or copepods, nematodes will probably be the largest critters in the sample. Then you may see rotifers. These are fascinating critters that anchor their tails then pump water in circles to feed.
The nematodes and rotifers are easy to watch because they usually feed in a stationary position or slowly move around. Other things, like the peranema, cruise around at a constant speed and you can easily follow them with the mechanical stage controls. Still others, like ciliated protozoa, zip around at extreme speeds like flies, and you’ll rarely see but a flash of them as they cross the field of view. Such highly motile critters may be slowed for observation by thickening the water with a drop of 1–3% methylcellulose solution.
Second Sample
I didn’t find anything moving in the first sample taken from the bowl, so I washed and dried the slide, and went back out for another sample. This time, I’ll collect some moss and moldy soil at the edge of the little pond, drop it in the tube, and mix well. Hopefully, this will dislodge critters from the junk and suspend them in the water in the tube. It worked!
Collecting the second sample.
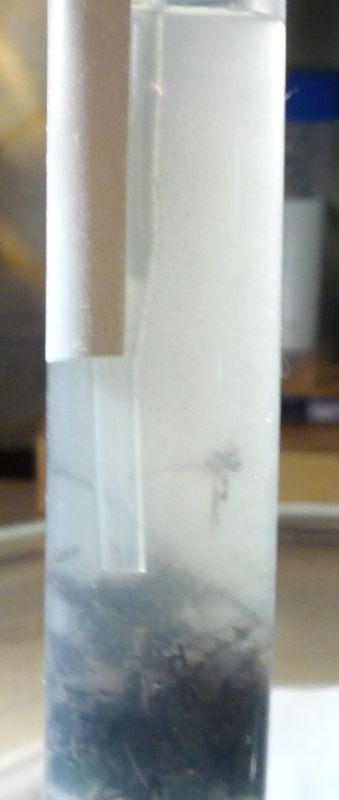
I mixed the tube, then let it settle, then pipetted a few drops of the murky liquid.
Put 3 drops in the depression. Lots of visible stuff in there now (mostly algae).
Applied the coverslip as before…
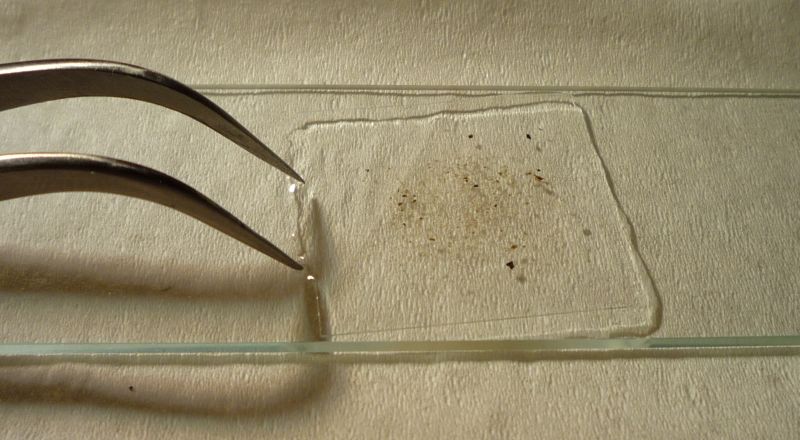
…squared it up with the tweezers…
…and soaked up the excess.
Taking Photomicrographs
Not so long ago, capturing images of critters required hand-sketching or expensive black-and-white film cameras. Today we can enjoy full-color digital photomicrography and even videomicrography with a digital imager and the click of a mouse. Furthermore, these photos may be improved and enhanced by digital post-processing. Sharing these photos on-line has become part of the hobby.
To take a good picture, the critter must be relatively still, and the microscope must be carefully adjusted. In particular, the imager has a lower dynamic range than the eye, and the light must be low enough that the brighter areas don’t “wash out” to white.
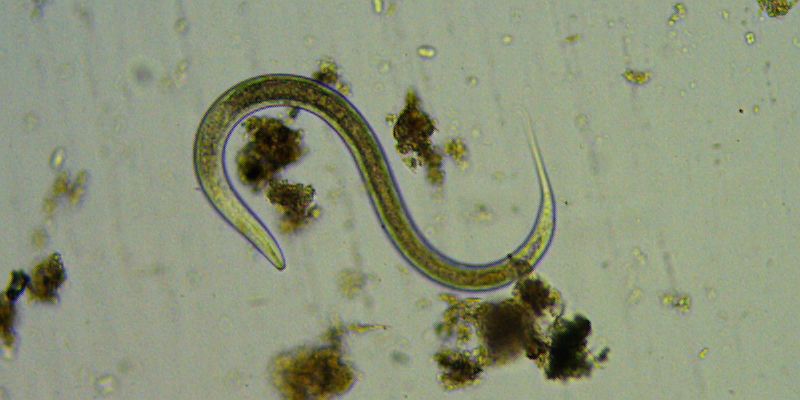
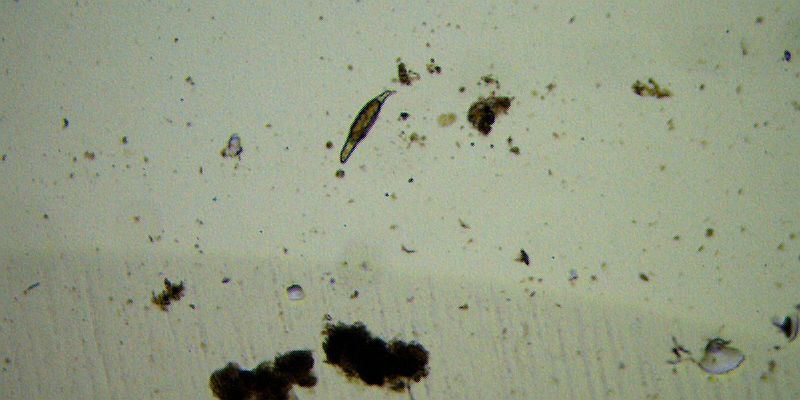
Nematode (roundworm), 100x, brightfield.
Bdelloid Rotifer, 40x, BF. Notice that she’s just outside the depression.
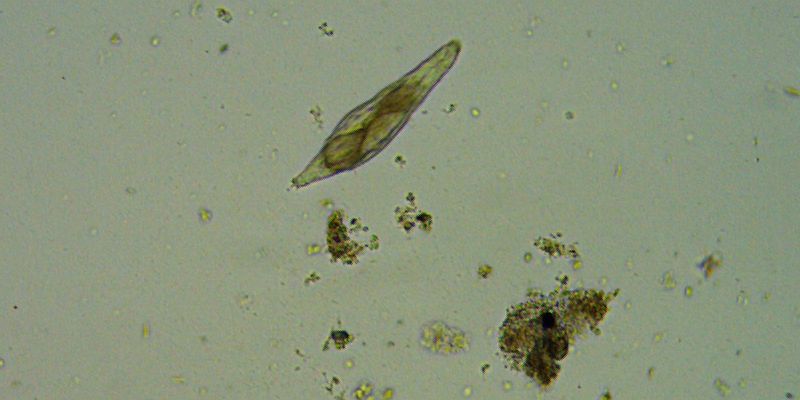
Bdelloid Rotifer, 100x, BF.
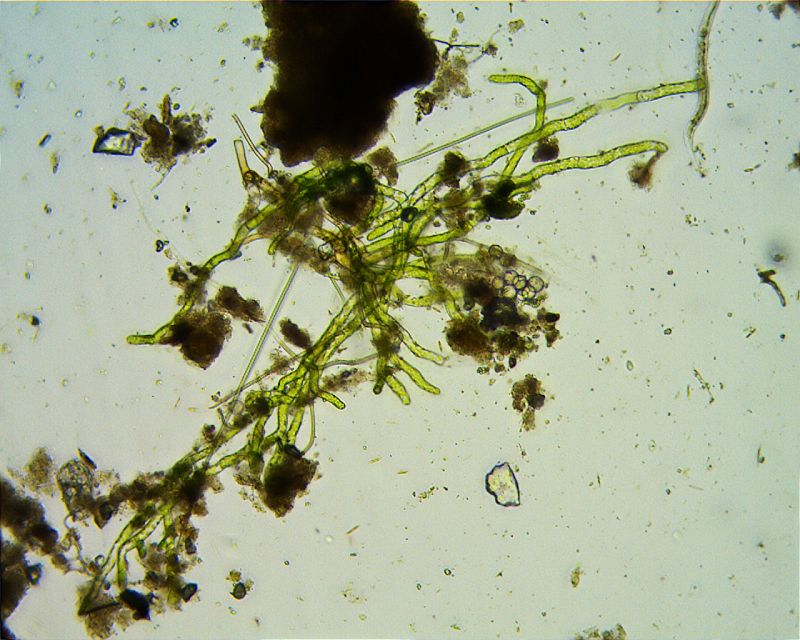
Some green plant material, 100x, BF, focal stack of 7 images (note the depth-of-field)
Video
I examined the second sample for about 35 minutes, and took video instead of photos, since lots of little critters were zipping around like flies. I then edited the video down to about 9½ minutes (with PowerDirector) and reduced its size and bitrate (with HandBrake), for web streaming. The video requires a modern browser that supports the HTML5 video tag, and mp4/avc codec. There is no audio track. During the observations, I switched between brightfield, darkfield, and oblique lighting, just to show what they do.
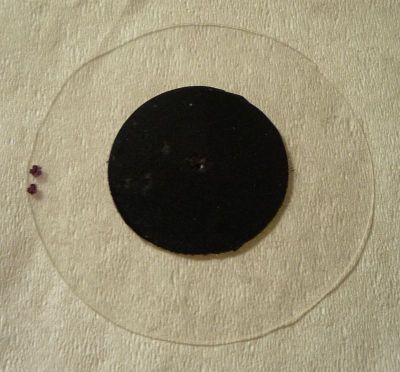
This is the DIY darkfield stop I used, made with overhead transparency (32mm) and electrical tape (16mm, for the 10x objective), cut out with a circle cutter. To create the oblique effect in the video, the filter holder (with darkfield stop) was simply swung out a little off-center. Better oblique stops are black discs with a crescent-shaped cut-out.
Ending the Session and Cleaning Up
To end an observation session, always return the microscope to the starting position by lowering the stage, switching to the 4x objective, dimming the lamp and then turning it off, removing the sample slide, removing the imager, and covering the microscope. Wrap the imager in a soft cloth to keep it free of dust.
To clean up, simply dump the sample back in the pond, then wash and rinse the sample tube, pipette, slide, and coverslip. Lastly, wash your hands with soap and water. If you have young children around, make sure you double-check the microscopy lab, securing all dangerous items away from curious little hands.
Next, we’ll take a close look at what’s in a probiotic pill, and even culture a jar of the gut-friendly bacteria for consumption.
—KV5R