
give your laptop that SSD performance…
© 2014 by KV5R. Rev. May 4, 2014.
Introduction

I decided to get the jump on an impending hard drive failure in my Dell D630 laptop, so I went on-line looking for an SSD. After a lot of research, reading, and comparing, I decided to go with the Crucial M500 240GB SSD. It’s not the fastest SSD around, but the laptop is only SATA-II (3.0 gbits/sec), so speed doesn’t matter, as any SSD will max out a SATA-II interface. Add to that the price, $109 (on Amazon), which is far less than any other 240-256 GB SSD at this time (April 2014); indeed, it’s ~$30 less than no-name imports, and a lot less than the best (Samsung 840 Pro Series
). Crucial is the consumer-products name brand for Micron, a major OEM SSD manufacturer, making their own memory chips and controller, and are well-respected in the industry.

I decided to do a clone, not a fresh Windows install. Since a laptop only has one HDD port, one needs an external USB-SATA drive case for doing the cloning. After more research, I landed on the Inateck FEU3NS-1E, a well-rated 2.5-inch USB-3 external drive case. While there are cheaper cases (~$10), they are all USB-2 and also have lower ratings. So, for a few dollars more (<$18), I opted for the Inateck and, being a USB-3 device, it will run at 5 gbits/sec if/when I upgrade to a computer with USB-3. For the present project, it will run fine at slow (~40 MB/sec) USB-2 speed, and will both allow me to clone the laptop drive, then afterward I’ll use it as an external drive with the old laptop drive inside (until that old Fujitsu dies).
How to Replace Your Laptop Drive
Whether you are replacing the old hard drive with a solid-state drive or a new hard-drive, the easiest way to do it (if your old drive is still working) is to simply “clone” the old drive to the new one, using an external drive enclosure or dock, then swap the drives around. It’s really simple.
You need a new drive, an external USB drive case, and disk cloning software. Some SSD packages come with cloning software, but buying a bare SSD is a little cheaper, and there are many free drive copy programs. I used Macrium Reflect Free because it was already installed, and it worked fine, but I didn’t get any screen-shots, so for this article I did a clone-back (to the old drive) using MiniTool DriveCopy.
Note that if you want to do a fresh Windows install, you should see my other SSD article.
If you are down-sizing from a big hard drive like 500GB to a smaller SSD, the first thing you must do is reduce the total data size on the old hard drive to less than they capacity of the SSD. Since a Windows 7 install is only about 30 gigs, if your old drive has more than ~120 gigs on it, it’s likely a bunch of audio and video files. These can be off-loaded to another external or networked drive, until the Properties dialog of the old drive shows that it contains less “used space” than the capacity of the new SSD. You might also run C-Cleaner to blow out all your temp files, and browser cache, since these just don’t need to be cloned. In my case, I was actually up-sizing from a 160 gig HDD to a 240 gig SSD, so didn’t have to do any off-loading or even a clean-up.
Pictures
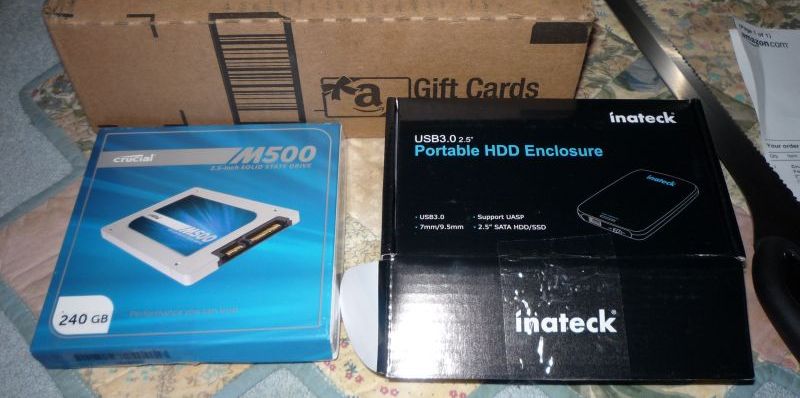
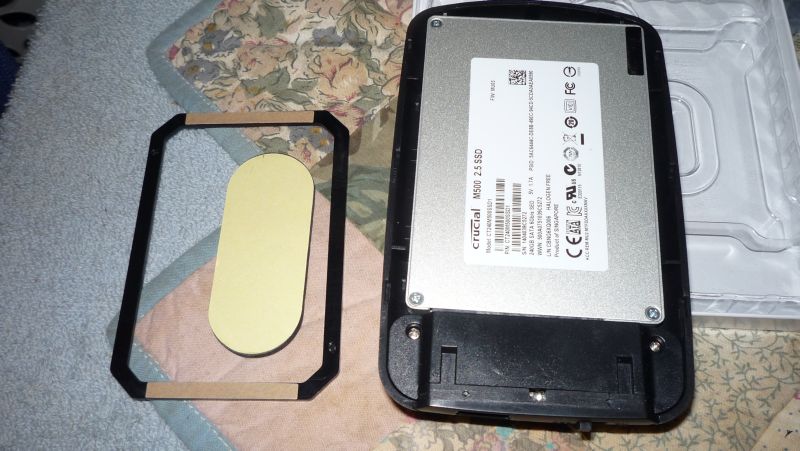
The Crucial M500 240 GB SSD and the Inateck external drive case. Both together, with taxes, were about $135 from Amazon.
Open the boxes.
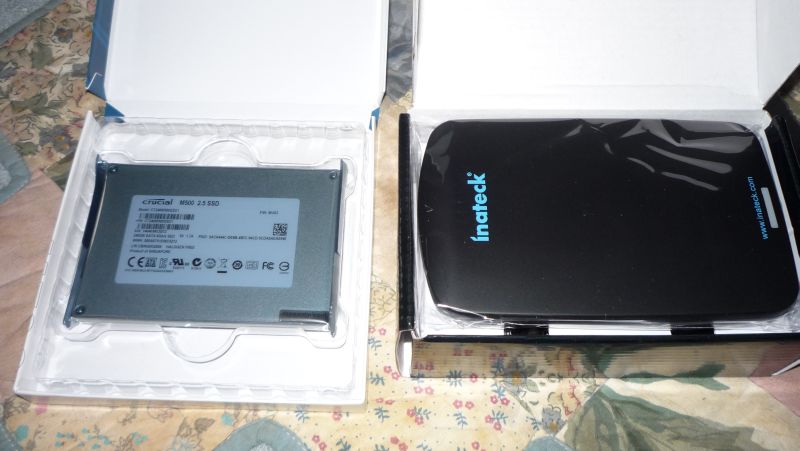
Un-box the parts.
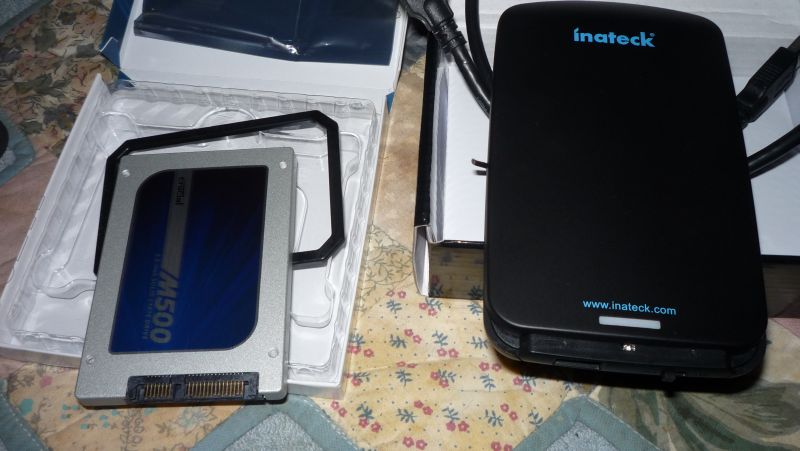
The Inateck case confuses some people. To open it, push the top straight back about 1/8th-inch to unlock it, then just lift the top straight up.
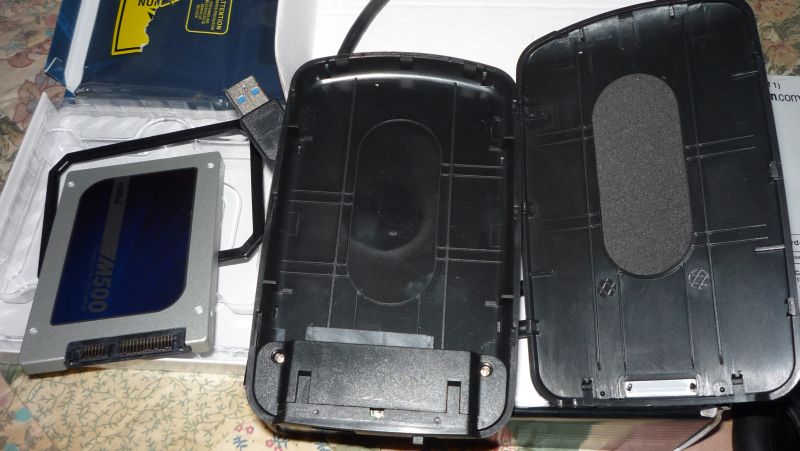
Put the new SSD in the case.
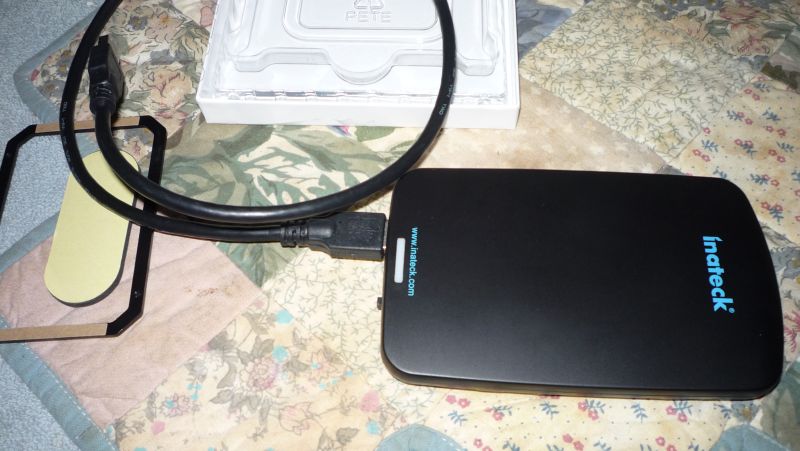
Plug it in. At this point, the drive is blank and will not show up in Windows.
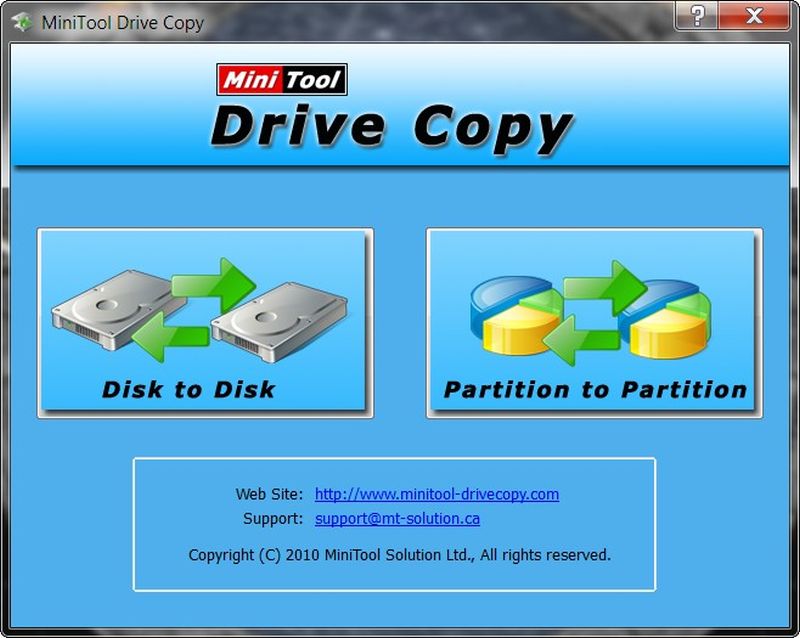
Download, install, and run MiniTool Drive Copy. Click Disk to Disk.
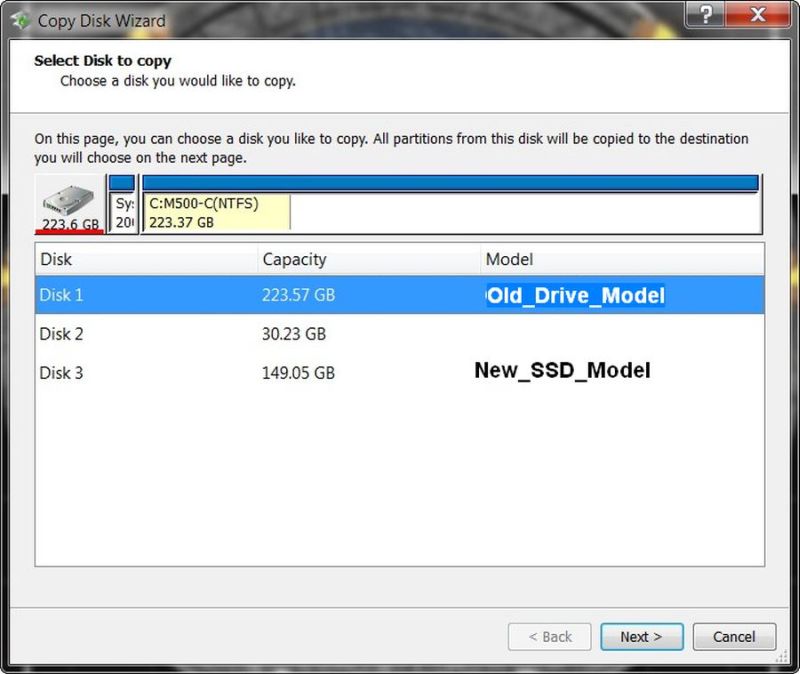
Choose the old drive as the source…
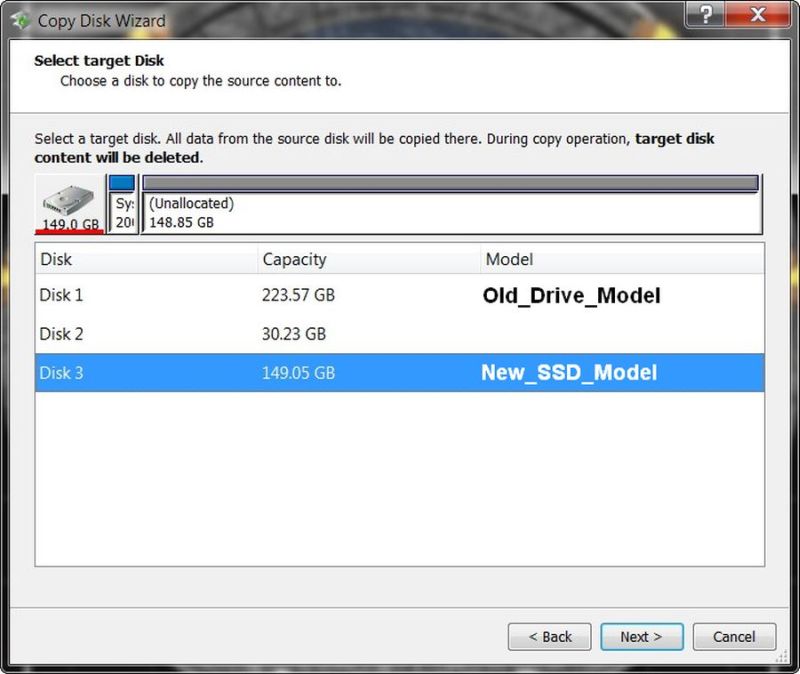
…and the new SSD as the destination.
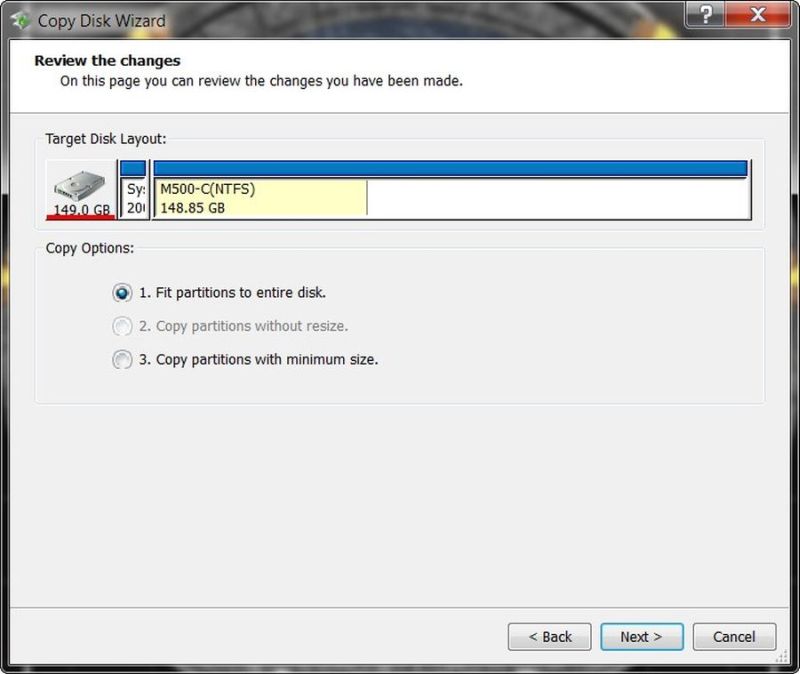
Fit partitions to entire disk. This makes it adjust the partitions on the new SSD to use the entire unallocated space.
I forgot to do this.
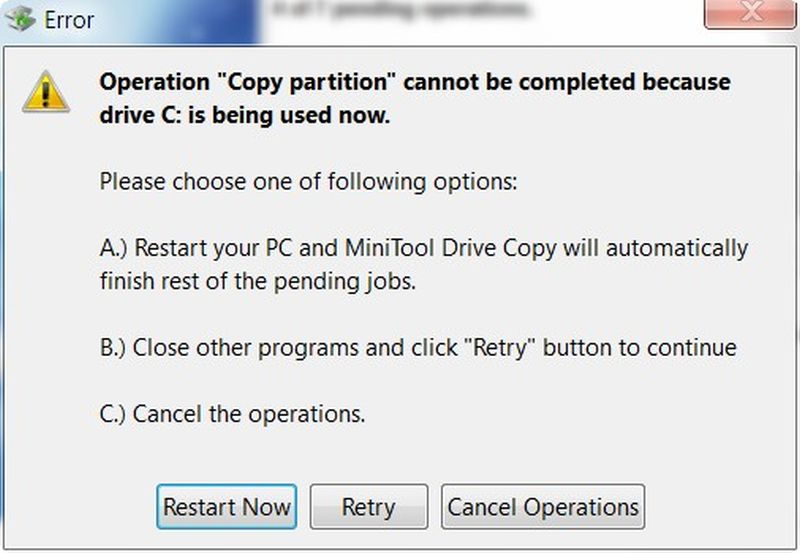
Since you’re trying to clone a booted/running operating system, it wants to reboot into a pre-OS mode. Close your other open programs and click Restart Now.
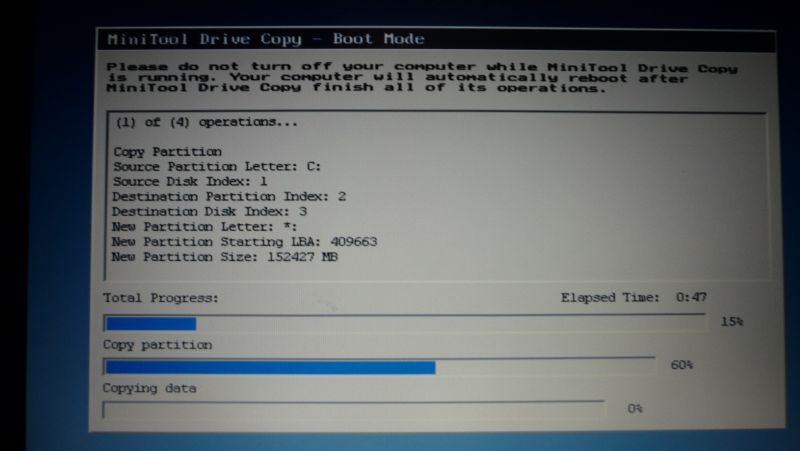
Drive Copy’s pre-OS booted. It’s cloning the drive, and since the new drive is on a USB-2 port, this takes a while. Mine was about 55 gigs in about 45 minutes. USB-3 would be much faster.
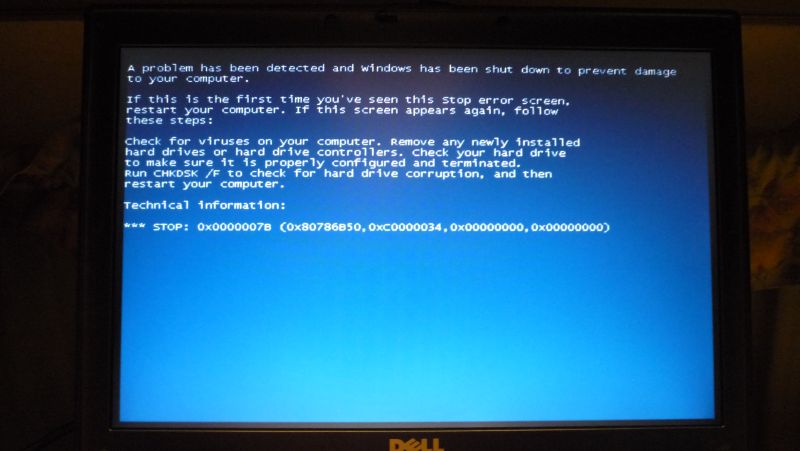
When done, it reboots. OOPS! This screen means it’s trying to boot the external USB case, and Windows will not boot from a USB drive.
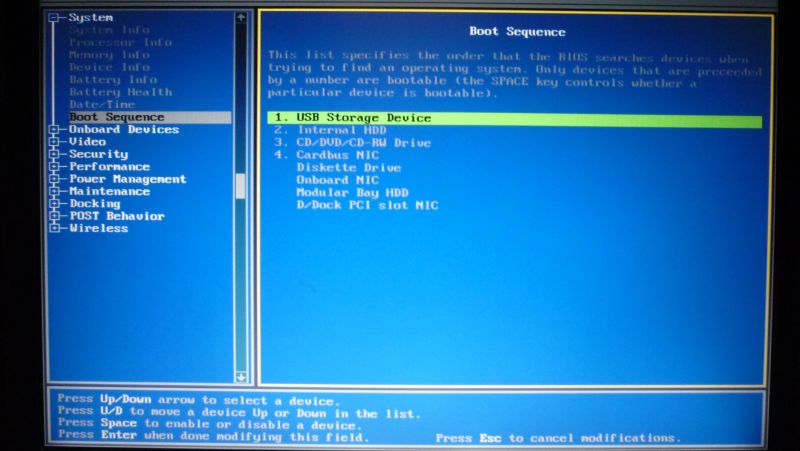
Go to BIOS setup. Sure enough, I had set it sometime to boot a USB drive (with Ubuntu on it). At this point I could either just unplug the external drive, or…
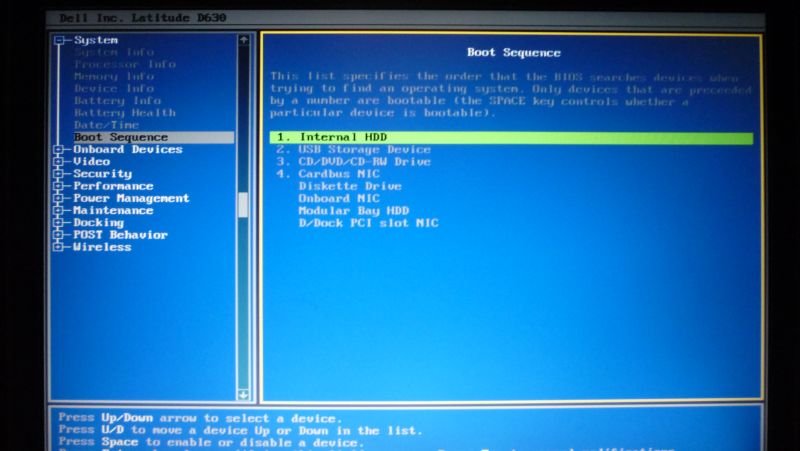
…set it boot the HDD first.

After saving and exiting BIOS, it boots successfully (still on the old drive).
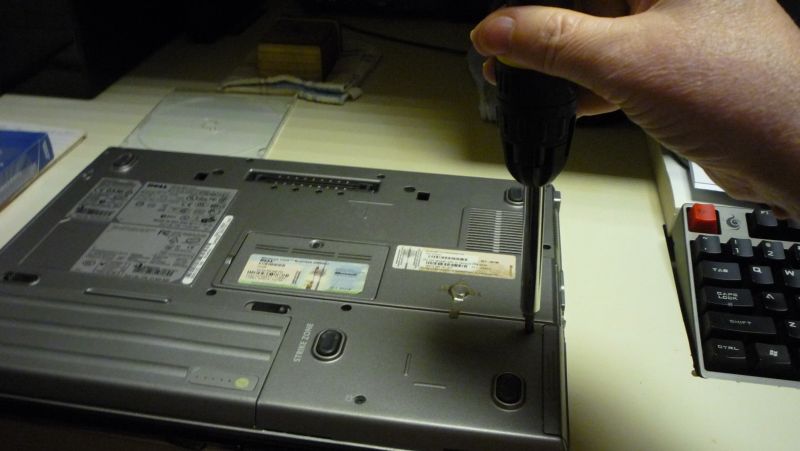
Now it’s time to swap the drives. Power down, unplug, and remove the hard drive. This Dell uses 3 screws to hold the drive in. Some laptops place the drive completely inside, requiring you to remove the top trim and keyboard to get to it.
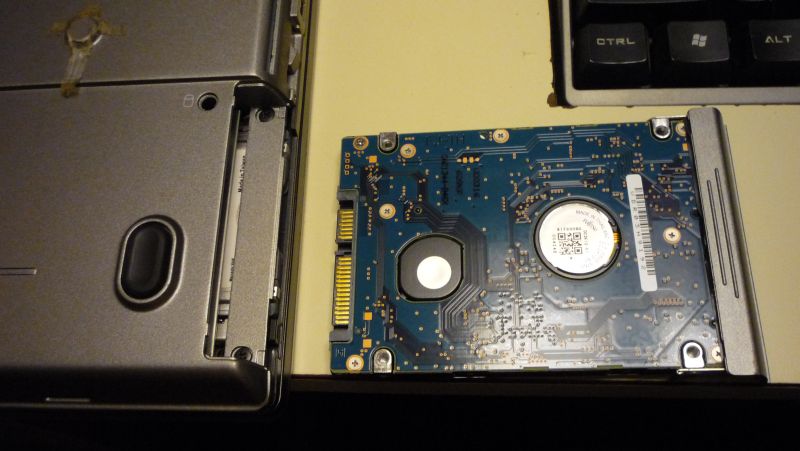
Pull the old drive out, noting which way it goes in, and any case trim or cage attached to it.
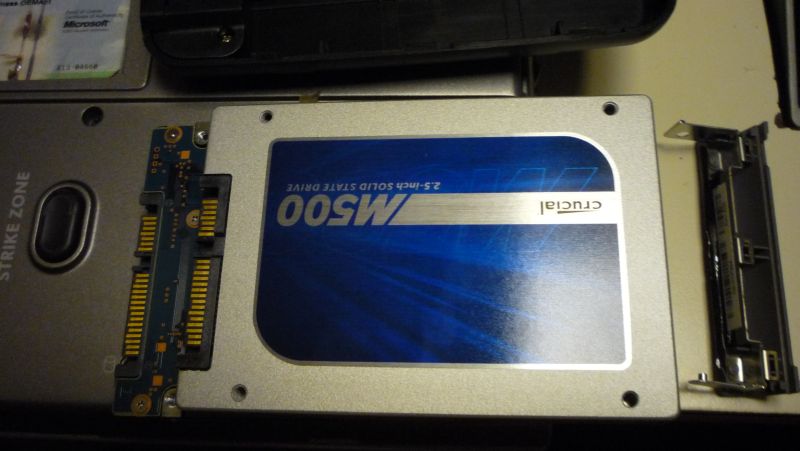
Compare the connectors, and put the case trim or drive cage on the new drive.
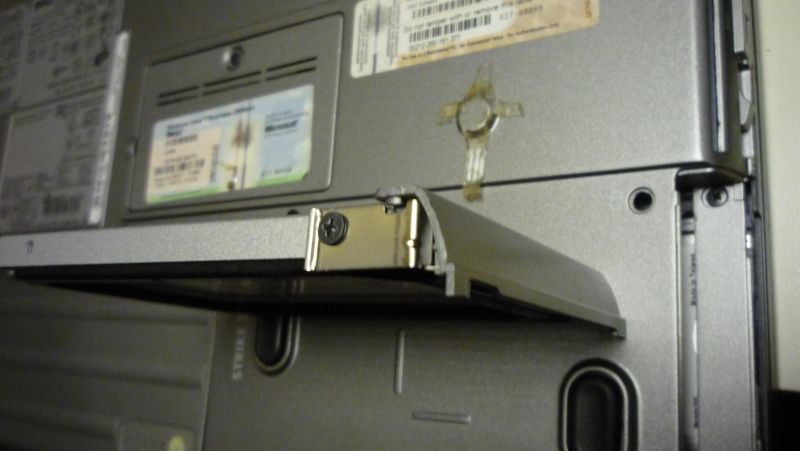
The Dell Latitude has a simple case trim with a pin on one side and a little screw on the other. Just make sure to put on the right way!
![]()
If the old drive was 9mm high and the new one is 7, stick on the spacer. Which side? Obviously, the side that doesn’t screw to the laptop.

Put the SSD in and screw in the little mounting screws.
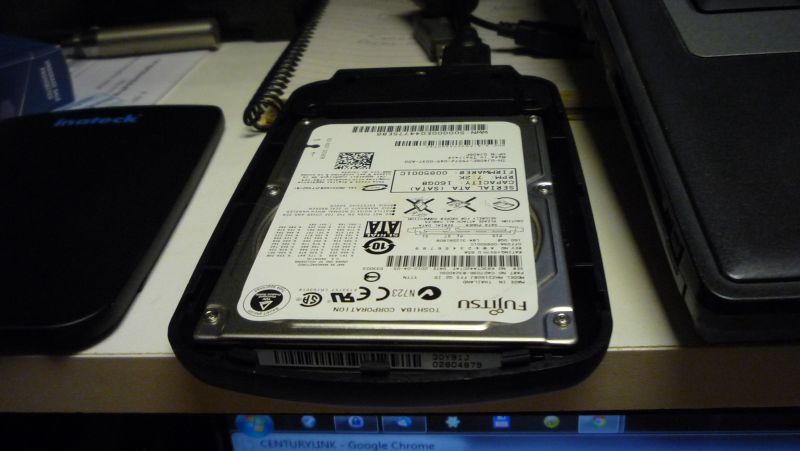
Put the old drive in the external case, if desired. As long as the old Fujitsu is still working, I’ll use it as a backup drive for the laptop.

Now the big moment…
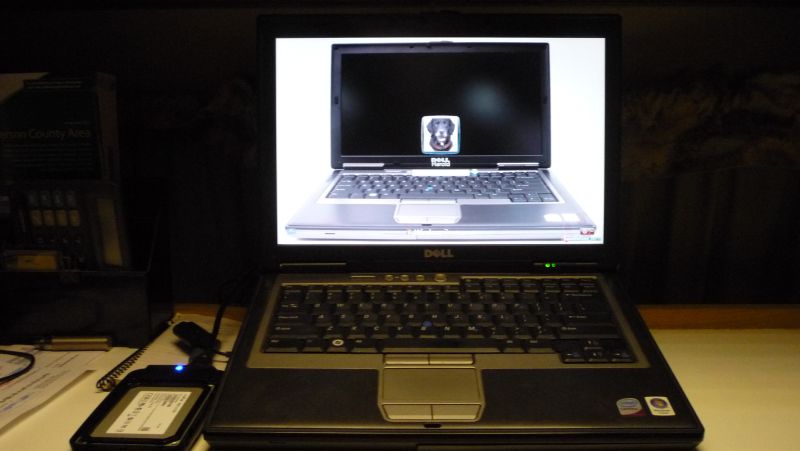
TA-DAAAAAA!! Windows boots on the new SSD! In about 15 seconds.
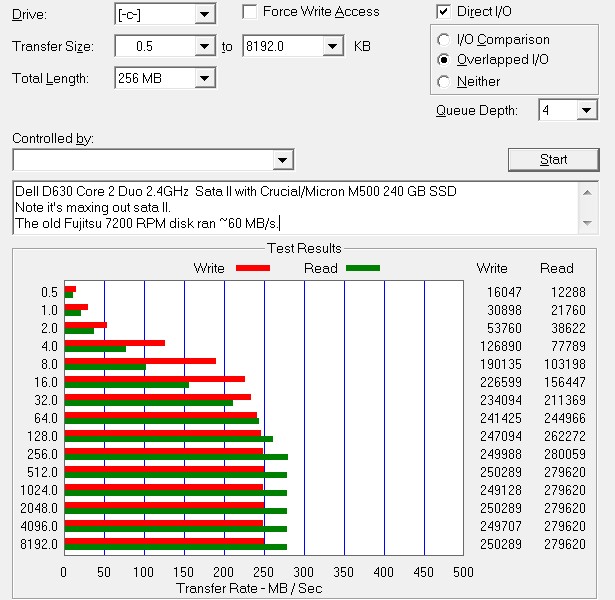
Atto shows it’s running 250-280 MB/sec! The old hard drive was running ~60, so it’s now about 4.5x faster. Note that it would be ~450 on a computer with the SATA-III interface.
Closing Notes
So there you have it! Old (~2010) corporate Dell laptop now running an SSD. Much faster, lower power, no noise, and no possibility of shock-force damage.
I mostly use this laptop to feed Internet radio and television to my TV. As for reliability, it’s been running 24/7 for a couple months now, with no problems. I occasionally clone the new drive back to the old one, so in case the SSD fails, I can pop the old drive back in and be running in a few minutes, while waiting for a replacement. Very few SSDs fail prematurely, but those that do, usually do so withing the first month or two.
After installing an SSD, you need to tweak Windows a bit for SSD operation. Please see After the Install and Optimizing Windows, earlier in this series.
—KV5R