
how to build cheap photo video lights for about $20 each
Copyright © 2011 by KV5R. Rev. Aug. 2, 2011
Shop for studio light kits here.
Note: Please also see my pyramidal light reflector page. They are more efficient than the ones in this article.
Lighting: amateurs avoid it, and pros dread the high cost of it. But like so many other things, you can buy commercial products, or you can improvise and build it yourself and save a bundle. I spent several days searching the ’net for cheap photo lights, and what I found was a pair of stands and white umbrellas, with 30-watt bulbs, for around $60. Sorry—not acceptable! The bulbs are too small and the white umbrella diffusers reflect most of it away from the subject. So I decided to see just how much it would cost to build lights with a decent output, using common materials.
Better in 720p HD, fullscreen…
My plan was to design and build soft-box-type lights using foil-backed rigid foam insulation. They would be 16 inches square and 8 inches deep, with a socket and 45-watt ALZO photo CFL inside, and sheer white diffuser cloth on the front. That didn’t work so well, so I went back to square-one and made triangle boxes instead. The triangle shape reflects virtually all of the light forward. Each light reflector is made of three 16×16-inch pieces of ¾-″ rigid foam insulation, and a 4×8-foot sheet will make six lights. The 16×16 pieces are simply taped together with 2″ packing tape. The fixtures are simple lamp sockets.
These lights work great for the home amateur photo/videographer. Set a couple on your computer desk, both side of the monitor, for webcam recordings; set up a couple more in the background for green-screen work. You can make SIX of these for about $100, and that includes six ALZO 45-watt 5500K 2800 lumen photo CFL bulbs (~$9/ea.). You can set them on a desk or table; set them on the floor on their sides pointing up at a 45° angle; or even mount them on some kind of DIY stands. They are very light-weight. I haven’t made stands yet, but if I do, they will be ½″ EMT (thin-wall steel conduit), and the lights being attached with a pair of conduit straps. Some people use PVC for stands, but EMT is much more rigid at about the same weight and cost.
These lights are made of polystyrene, or better, polyisocyanurate, and are not very sturdy. If you take care of them, they should last a long time, but don’t expect them to survive road trips in the trunk of the car. They can, of course, be built of stronger materials, including plywood or MDF, and be very strong—and very heavy… What ever rigid sheet material you use, it can be purchased with aluminum coating, or coated with spray contact cement (Scotch 77) and aluminum foil. In any case, the aluminum should be sprayed with clear acrylic to keep it from oxidizing, and the outsides can be painted flat black to match other photography hardware.
The front diffuser may be a sheer fabric or plastic prismatic diffuser, as used in drop-ceiling fluroescents. The 2×4 sheets run about $6 each, and one sheet should cover three of these lights. I prefer the sheer fabric, because it can be folded back if needed, and it lets the box ventilate and cool the light.
WARNING: DO NOT use incandescent or halogen lights in these reflectors! Way too hot! Polystyrene will BURN like crazy, and make toxic fumes, if you get it hot enough. Compact fluorescents ONLY! Write a warning inside with a permanent marker.
Photos
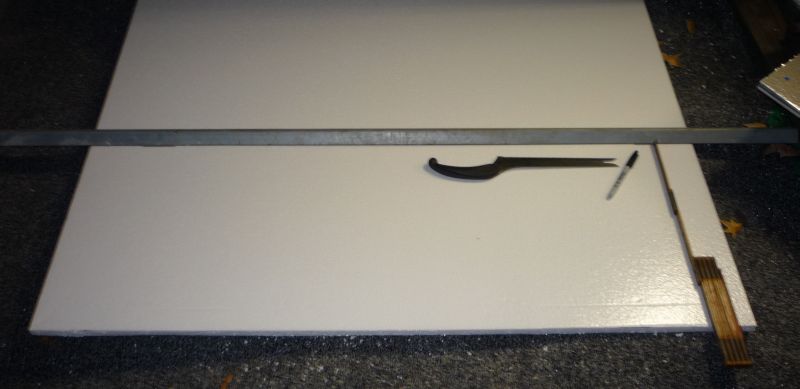
Use a metal straight-edge and bread knife to cut the foam insulation sheet into 16-inch pieces.
Cut each 16×48-inch piece into three 16×16 pieces. Cut one of the three diagonally.

If the foil side has printing, remove it with alcohol and paper towels, three times.
Then spray the foil side with clear acrylic or polyurethane.
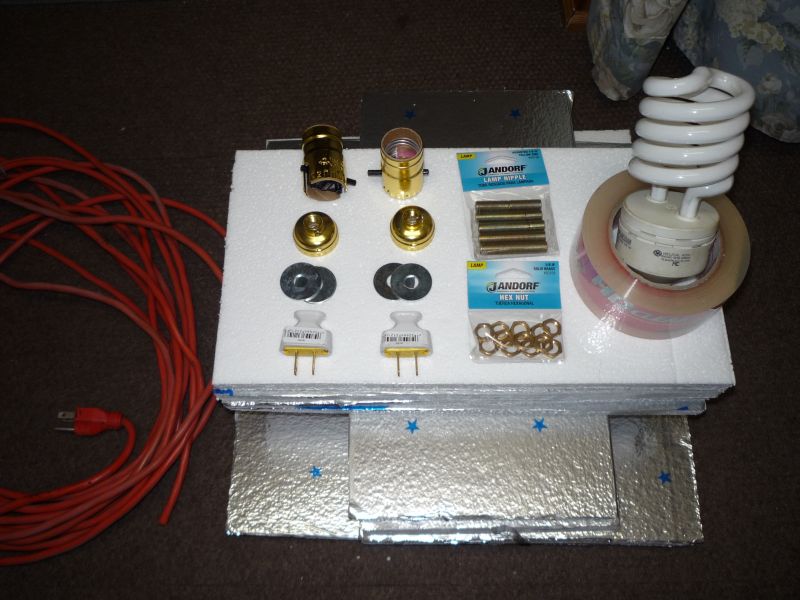
Parts
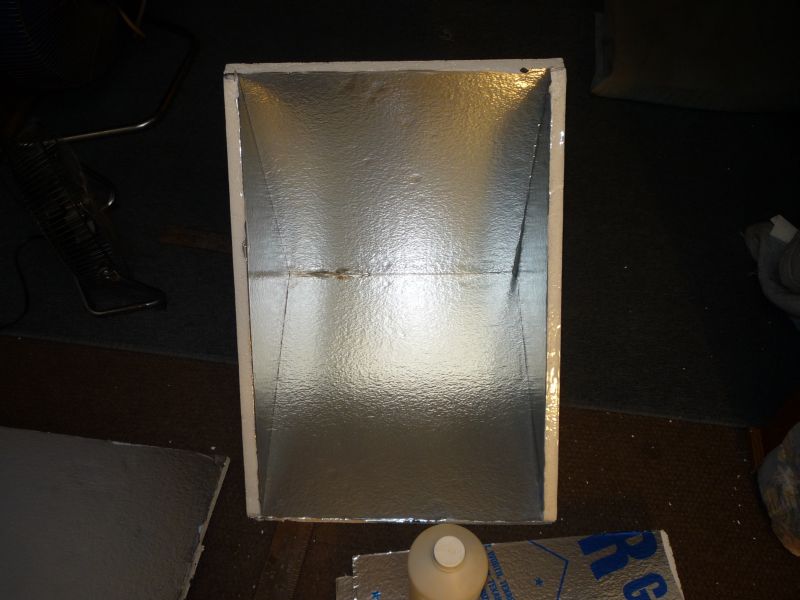
The first one I built was square, and it just didn’t project the light well.
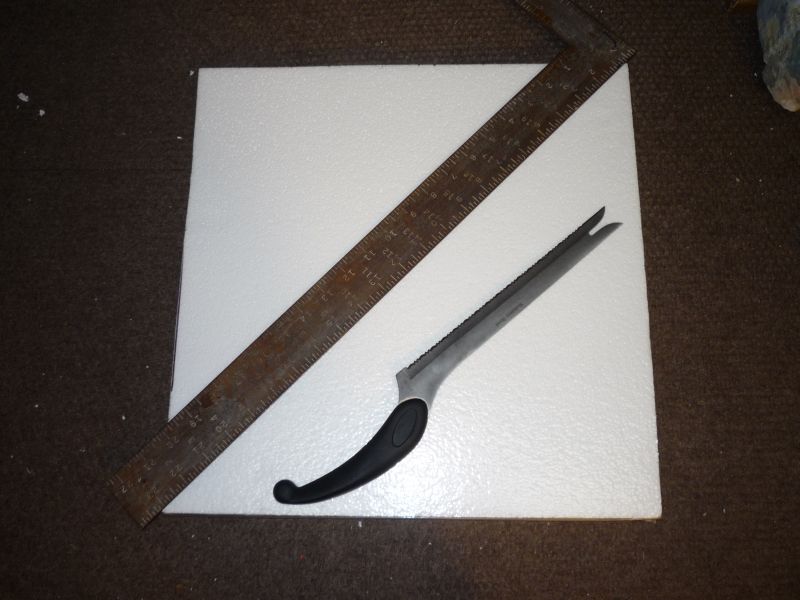
Much better and simpler: cut a 16×16 diagonally…
…and tape a 16×16 piece on each side.
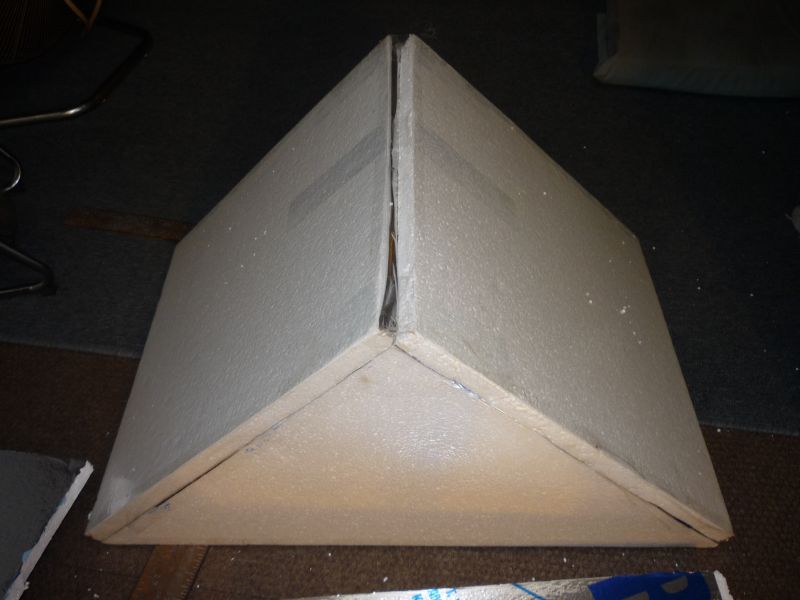
Reinforce the corners with more packing tape.
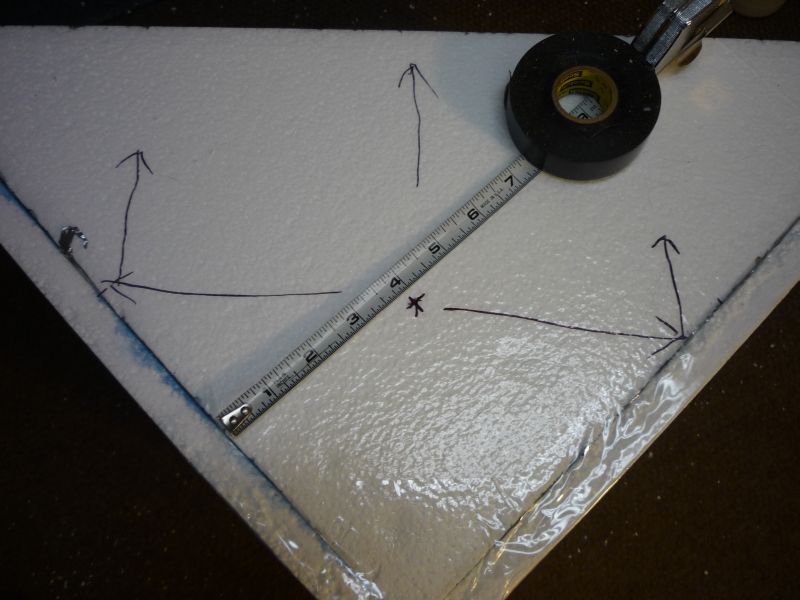
Put the lamp socket 4 inches from each inside edge. Put a cross of packing tape
on both sides to keep the flat-washers from breaking through.
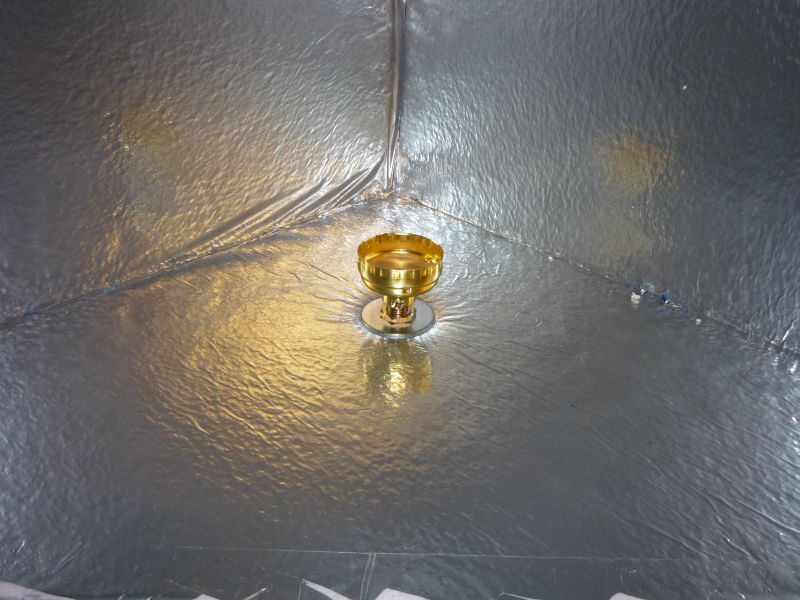
Mount the socket base.
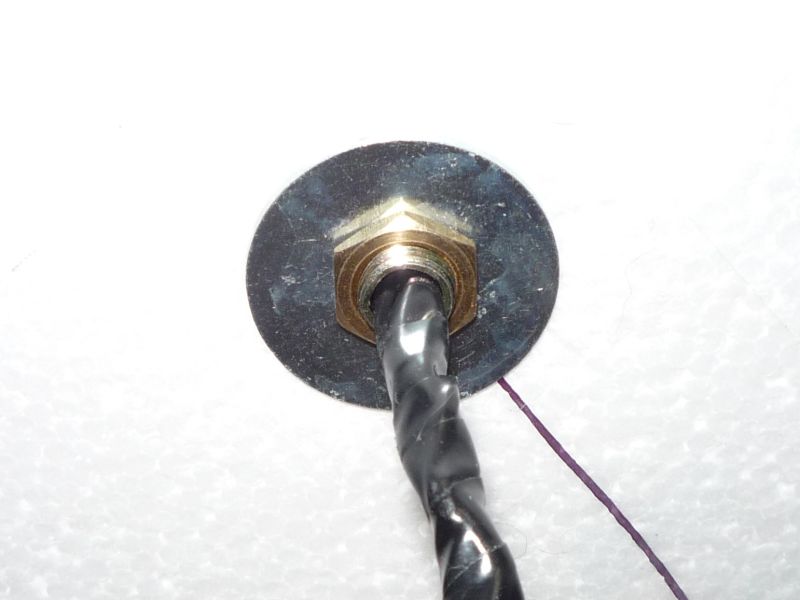
Protect the wire with electrical tape where it comes out of the lamp nipple.
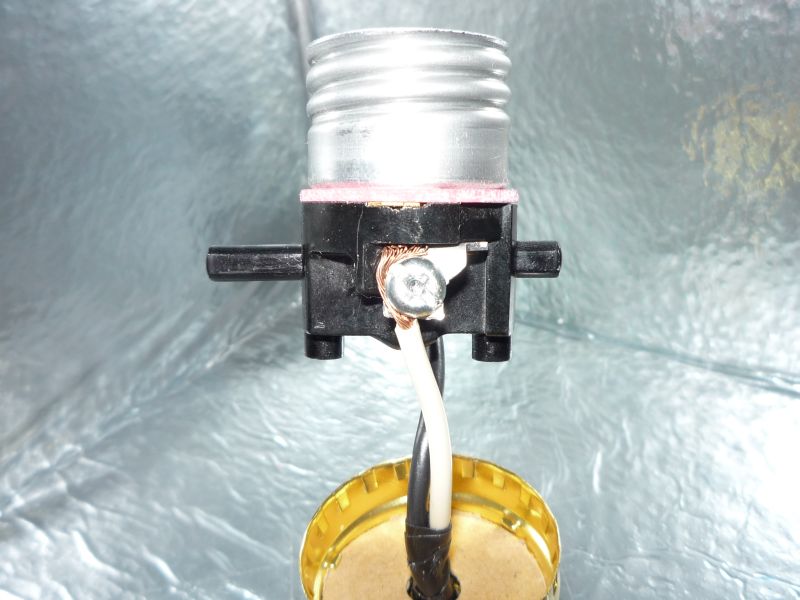
Wire it carefully, don’t let any stray strands stick out. Get it tight.
The black wire (hot) goes to the brass side; the white (neutral) to the silver side.
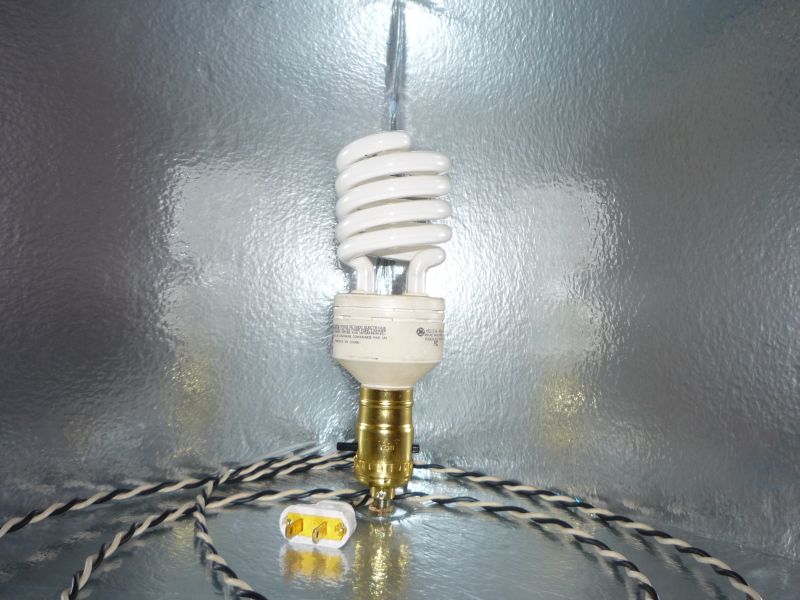
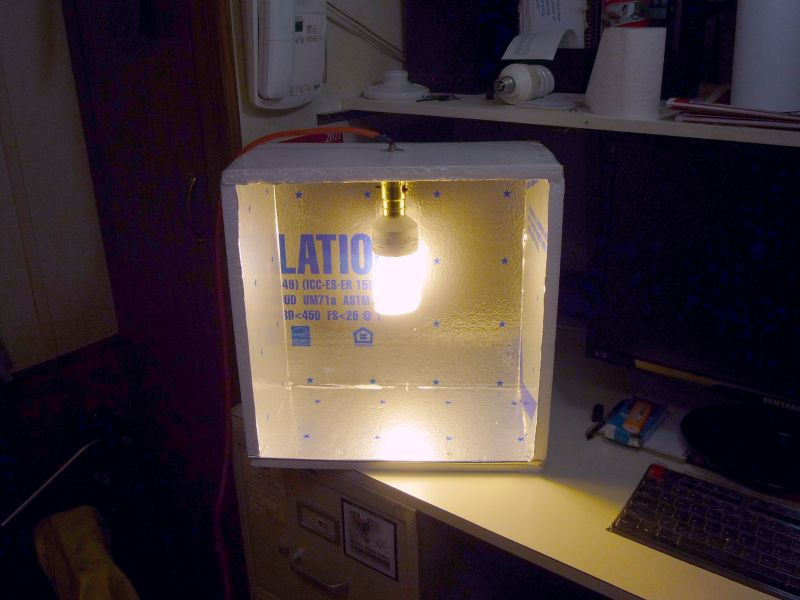
There it is, ready for testing.
Note that the 45-degree sides reflect the bulb 2x.
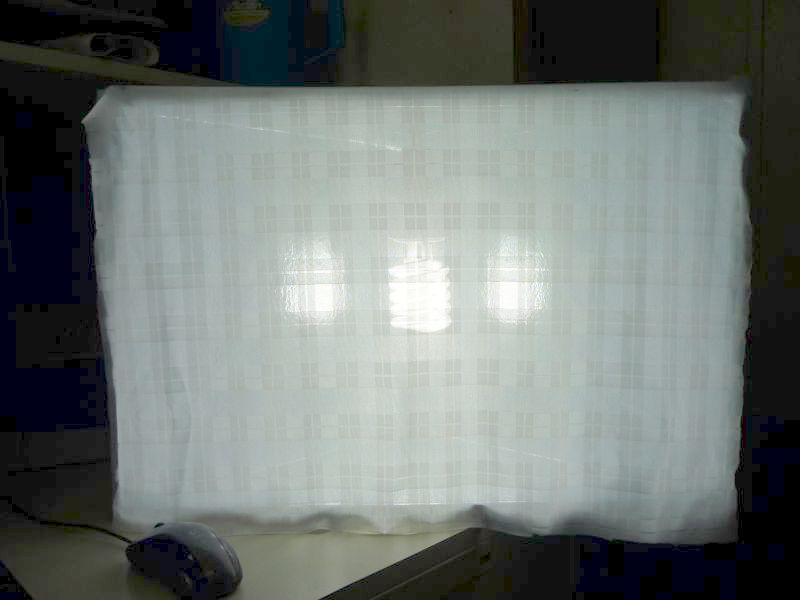
The fabric is some sheer I had laying around.
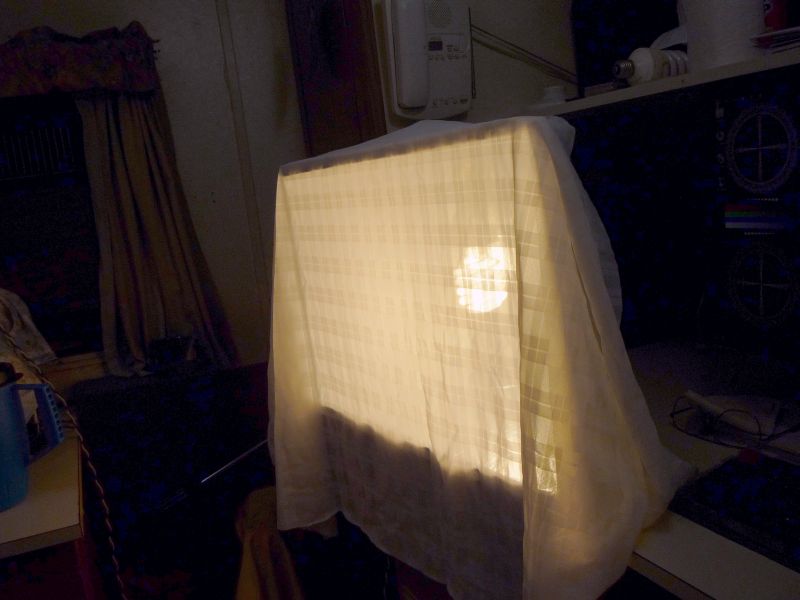
Not much light is wasted to the sides.
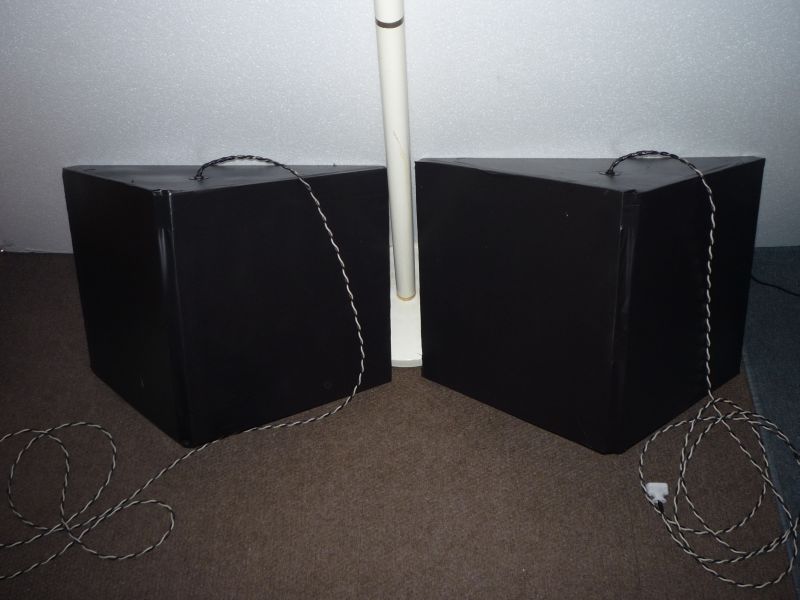
After painting the outsides.

Set up for a webcam video about making these lights.
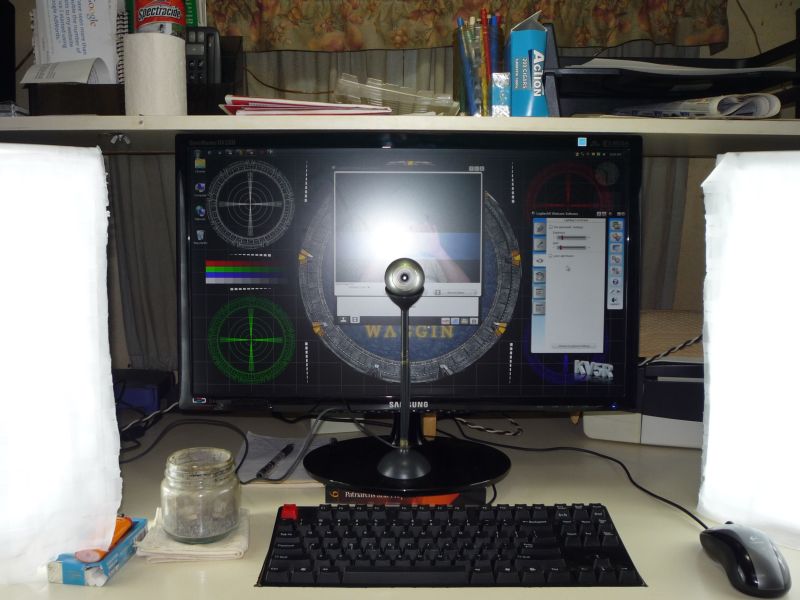
That would be a great setup for people with Seasonal Affective Disorder.
The output is 5600 lumens. The CCI is 5500°K and the CRI is >93.
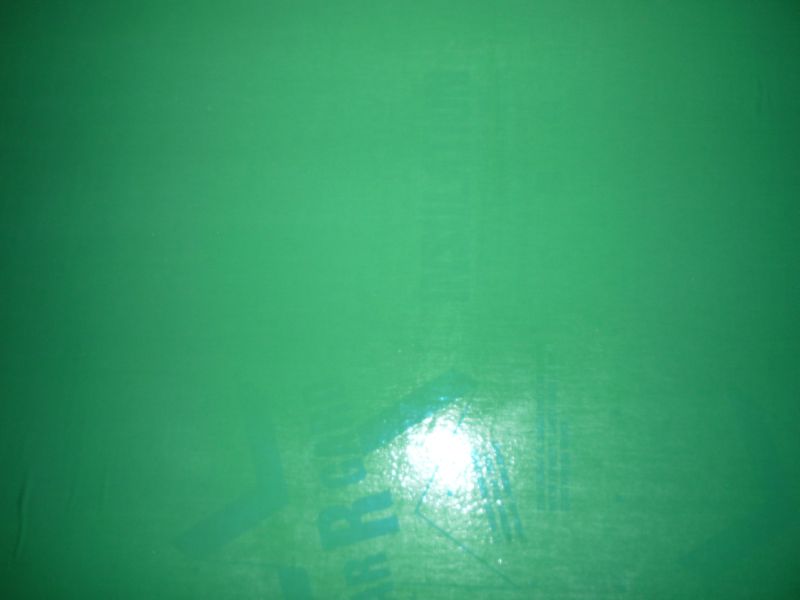
My first green-screen—you can see that it’s a bit too thin! The backing is 4×6′×¾″
polystyrene; the fabric is cotton-polyester from Wal-Mart (2 yds. @ $2.49).
My first chromakeyed video with it shows problems with keying.
Planning to put a heavier, brighter green cloth on it.
Notes
- Please see the next article for building improved light reflectors.
- These reflectors could be quite a bit smaller, but I wanted a fairly large diffuser surface area.
- I suppose you could use the giant ALZO 85-watt bulbs, but a pair of the 45’s in a Y-adapter would be brighter. In either case, the socket would need a stronger mounting surface, perhaps a 4×4-inch scrap of paneling on each side.
- If you use a considerably longer lamp nipple (8-12″), you could mount that to a stand. Then the flat-washers would only be supporting the reflector, not the socket and bulb.
- Tape (or Velcro) the diffuser curtain sheer on one side only, then it can be folded back when you need max brightness or harder light.
- If you use a denser diffuser cloth (or a solid plastic prismatic diffuser), cut ventilation holds in the reflector. Excess heat will kill the electronic ballast.
- Make sure no one can trip on the cords—doing so would probably destroy the light, and injure someone.
- It’s better to use polyisocyanurate (Rmax brand); it’s denser, stronger, and much less flammable than polystyrene foam. If you cut it on a table saw, the edges will be smooth enough to glue with contact cement. I couldn’t find any locally, but the big-box stores like Home Depot usually have Rmax.
- When, oh when, will someone ever start making cheap clamp lights with spun aluminum reflectors large enough for the base of a CFL?
Stay Tuned!
I’m still working on the 20-foot carry-around jib! It’s coming along slowly—so hot outside!
I’m still thinking about building another Merlin-style stabilizer using ¼″ 6061-T6 aluminum.
—KV5R
ham radio
rc planes
cooking
microscopes
metal shop
sailboats
Real Cameras (analog silver film)
you really need a greenhouse for orchids… they’re a lot of fun 😉