
cutting #1 down to size… smaller, lighter, better, wiggle-free
© 2011 by KV5R — Rev. June 20, 2011.
Shop for Camera Stabilizers here.
About
I took the first stabilizer and completely redesigned it so that it’s smaller (13 inches high) and uses less weight. The CG of the rig is much closer to the CG of the camera, so the balance leg can be shorter and lighter. It now works very well, as you can see in the video. It doesn’t jiggle any more, but it’s so light (1.3 lb.) that the wind blows it around.
Better in 480p, fullscreen…
Notes
Be sure to read the previous article, where I started this deisgn.
- The redesign is a complete success.
- Well, the last photo shows one little oops. Make sure your frame’s knee is deep enough to clear the handle. I could slide both the camera and the handle aft, but then it’d need more rear weight, and that would upset the dynamic balance.
- The total weight of the system (with camera) is a mere 1.3 pounds (590 grams).
- It’s not aerodynamically balanced so does not work well in gusty winds.
Tools and Materials
See stabilizer1. It contains lots of tips on the parts and tools needed.
Photos
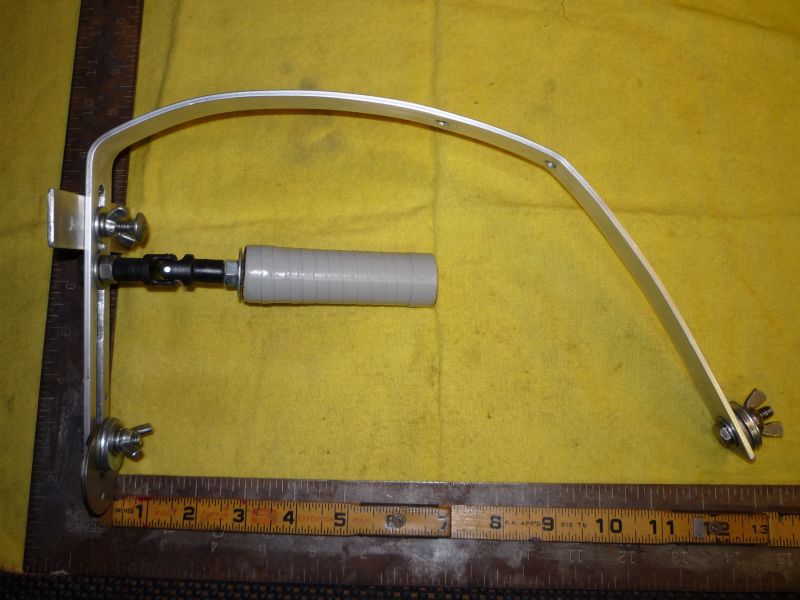
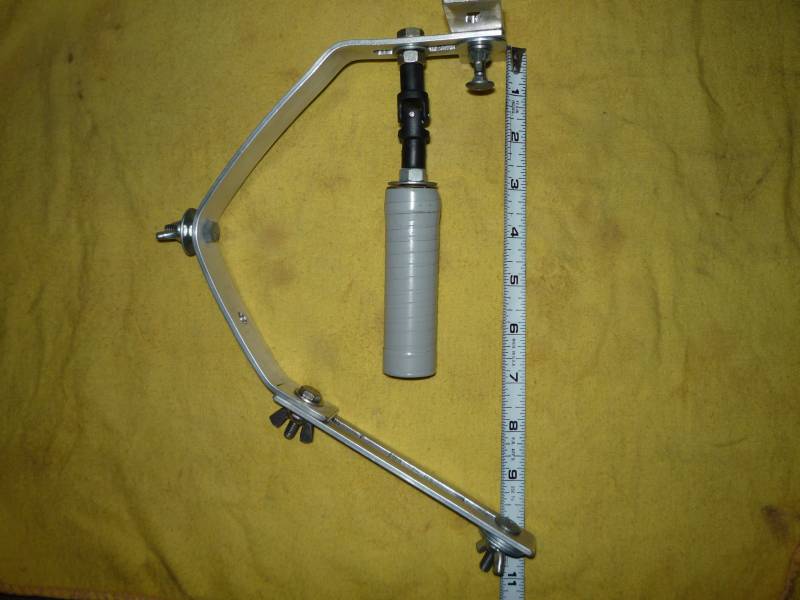
Now 13 inches high (down from 19). At first I had the bottom bent level to 9 inches,
but it ran into my forearm so I had to bend it back down some for clearance.
Front-to-back is now about 7½ inches (down from 9). This was a mistake,
as the handle can bump into the front of the leg.

The top is now laid out with the camera in the front and weight in the back.
This allowed me to eliminate the 1½″ high camera bracket, and get
the camera CG much lower and closer to the u-joint.
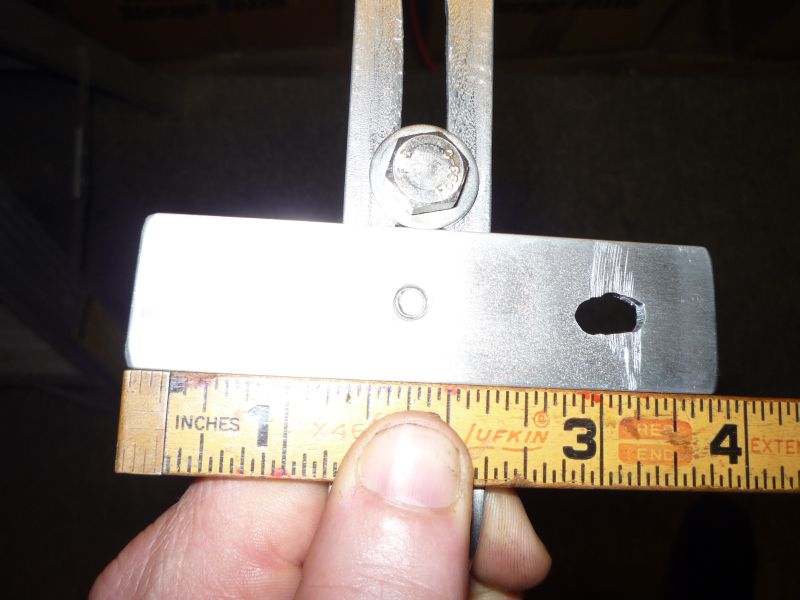
The camera, which needs a 1-3/8ths″ offset, now mounts to a flat plate.
The small slot allows a little side-to-side balance adjustment.
I tapped the camera plate (¼-20) to mount it to the frame from below.
One might use a countersunk flat-head stove bolt here instead.
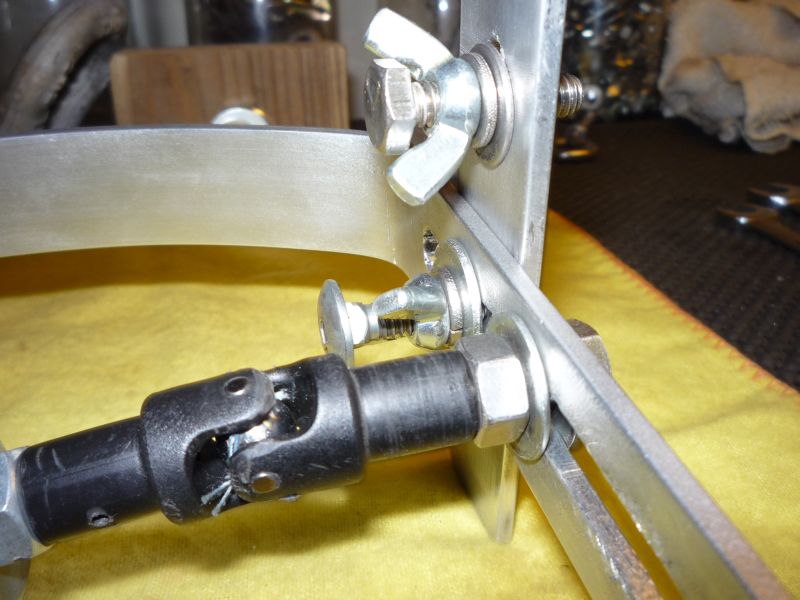
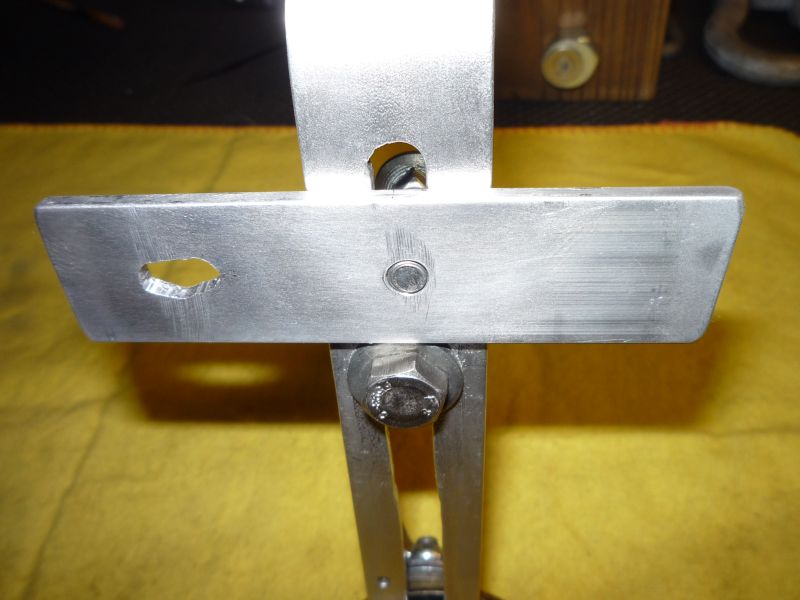
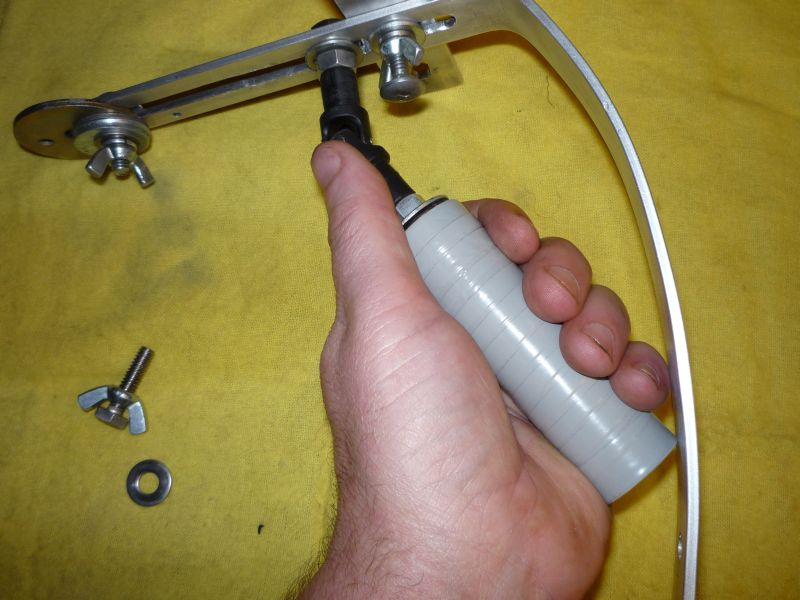
There’s the camera mounting bolt in place. Note also the sewing thread
in the u-joint—it takes up the slack to keep the u-joint from rattling.
If your u-joint yokes move side-to-side, even the tiniest bit, it’ll never balance.
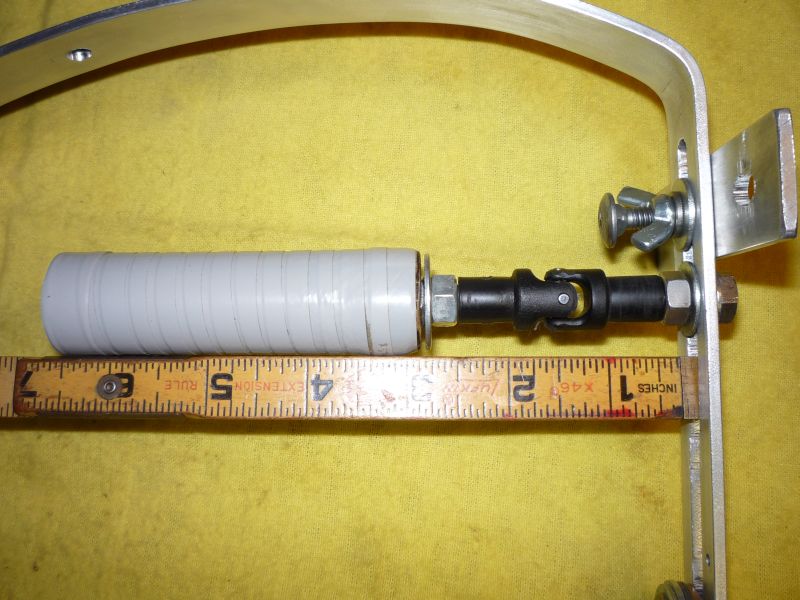
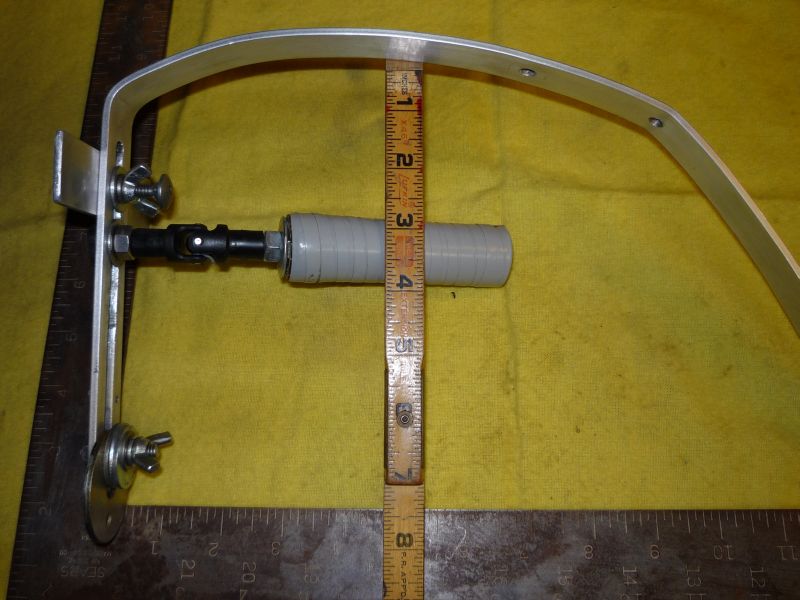
I cut the female half-shafts down to ½″ long. They are both force-threaded
onto 5/16ths″ hardware, which is correct for both the Traxxas 5151 half-shafts
and the type 607 skateboard bearing. I also cut the handle down to 3½ inches.
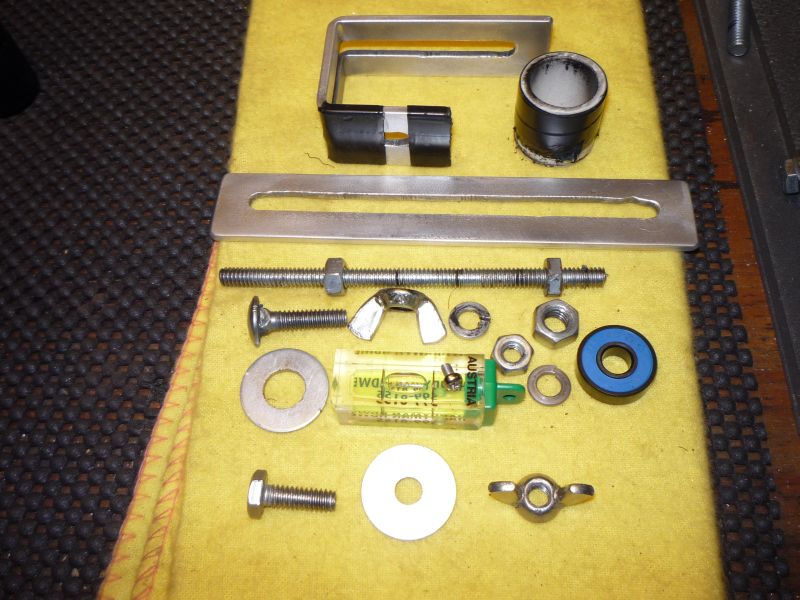
Left-overs. I’ll put the level back on later (then re-balance, again…)
The upper and lower rear weights should be in-line when it’s balanced and level.
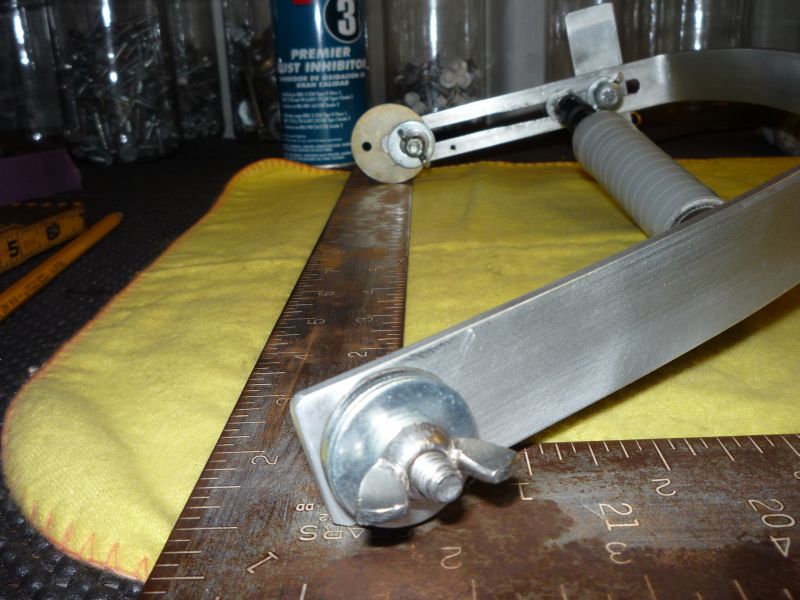
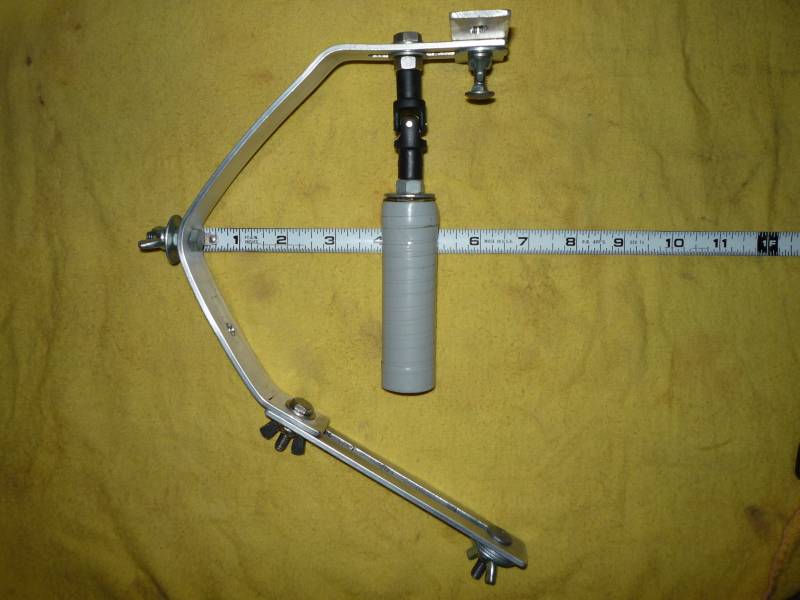
Oops! The knee of the frame should have been a little deeper. I didn’t expect the
u-joint to need to be that far forward in the slot. But it’s OK—usually your hand is
tilted a little toward the back.
Later, I rebuilt it again. I made the bend deeper for more hand clearance, put the
camera behind the u-joint and removed the top weight, cut the top slot down to 3 inches
(from 6), cut the leg again and added the slotted piece to it.
This is about as small as you can get and still have hand clearance.

Top detail

Bottom detail

Hand clearance
So there you have it! My second camera stabilizer experiment. It works! 🙂
Stay Tuned!
Next, I’m gonna build a mini-sled! It’ll be much better (I hope), and even have a simple body mount. Also thinking about a shoulder-mount, walk-around, 20-foot telescoping jib, with a stabilizer on the end, controlled with 4 fishing lines… Imagine that!
—KV5R